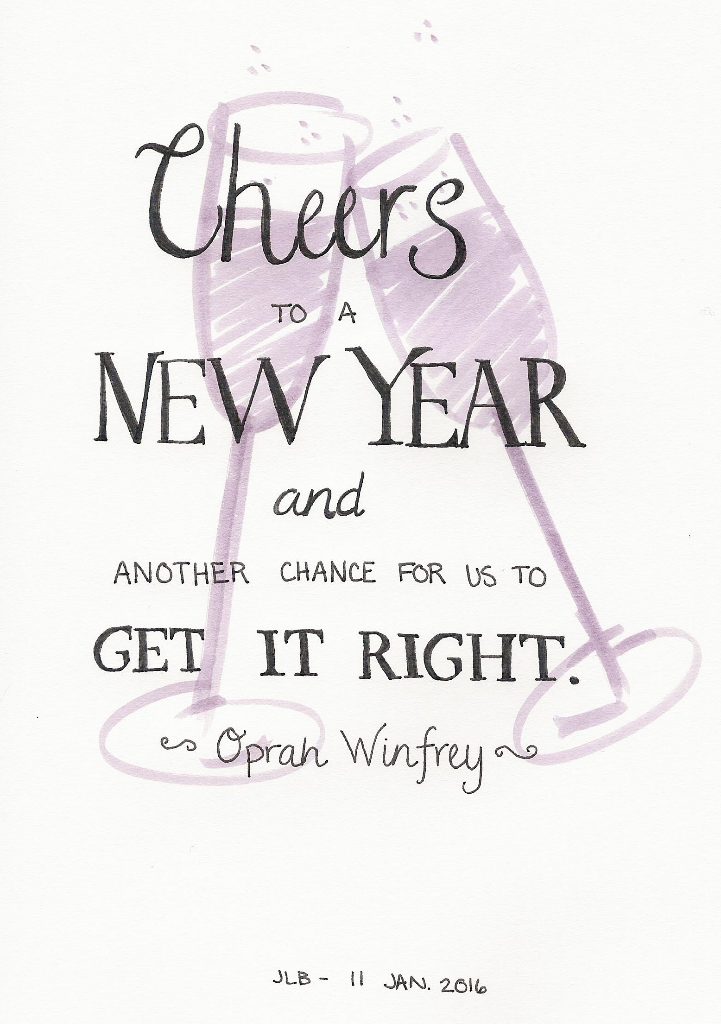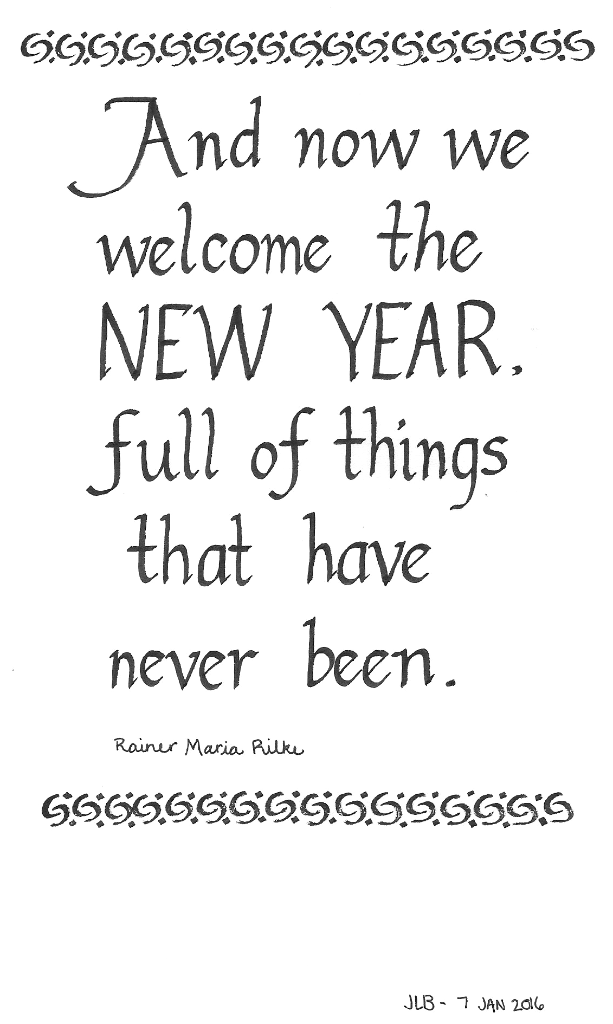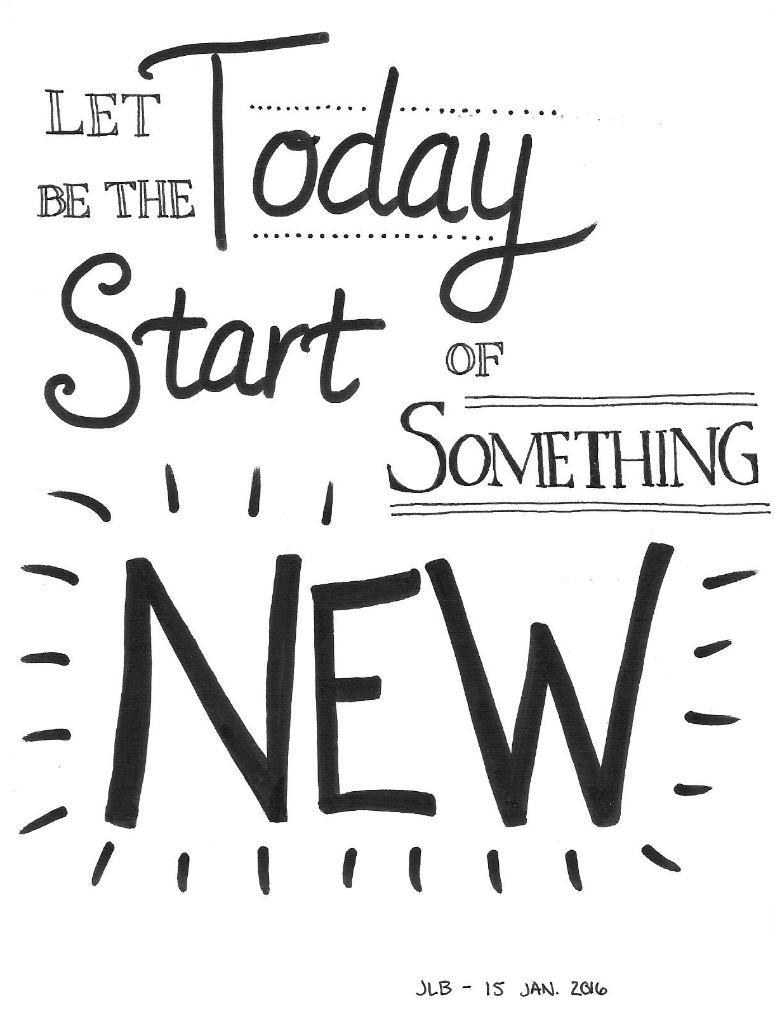

Happy New Year! This new year I have decided to work on my hand lettering and drawings. I do not really consider myself an artist… but I create in a lot of other ways and I’d like to improve my lettering and drawing skills. So I thought it might be fun to share some of my practice here! I won’t be posting daily… but I will post now and then. I intend to practice my lettering by writing quotes, and I plan to have a new theme for my work each month. This month the quotes will be about the new year and new beginnings.
My inspiration for this project comes mostly from an artist named Lisa Congdon. In 2012 she worked on her hand lettering and posted a piece on her blog everyday that year! Those posts turned into a book, which I was recently given and have really enjoyed. It’s called, Whatever you are, be a good one: 100 Inspirational Quotations. I have also been inspired by another little book I have: Think Happy, Be Happy: art, inspiration, joy. Both books are filled with quotes, illustrations, and lots of lettering styles.
I’m looking forward to seeing how my lettering and drawings progress through the year, and I hope you all enjoy my work as well! Here’s my first piece worthy of being shared. :-)


Merry Christmas, everyone! Welcome to my lovely Christmas house. :-) I’ve had a lot of fun decorating this year, and hosting little gatherings with friends. Christmas is a wonderful time to get together with friends and share my pretty decor and delicious baked goods. (Cookies and fudge, anyone?! Would you like a warm cup of tea with that too?) Anyway, I wasn’t going to post a Christmas tour this year… BUT then I got Matt on board to buy a bigger tree (!!!), so I figured it would be fun to share the changes here too!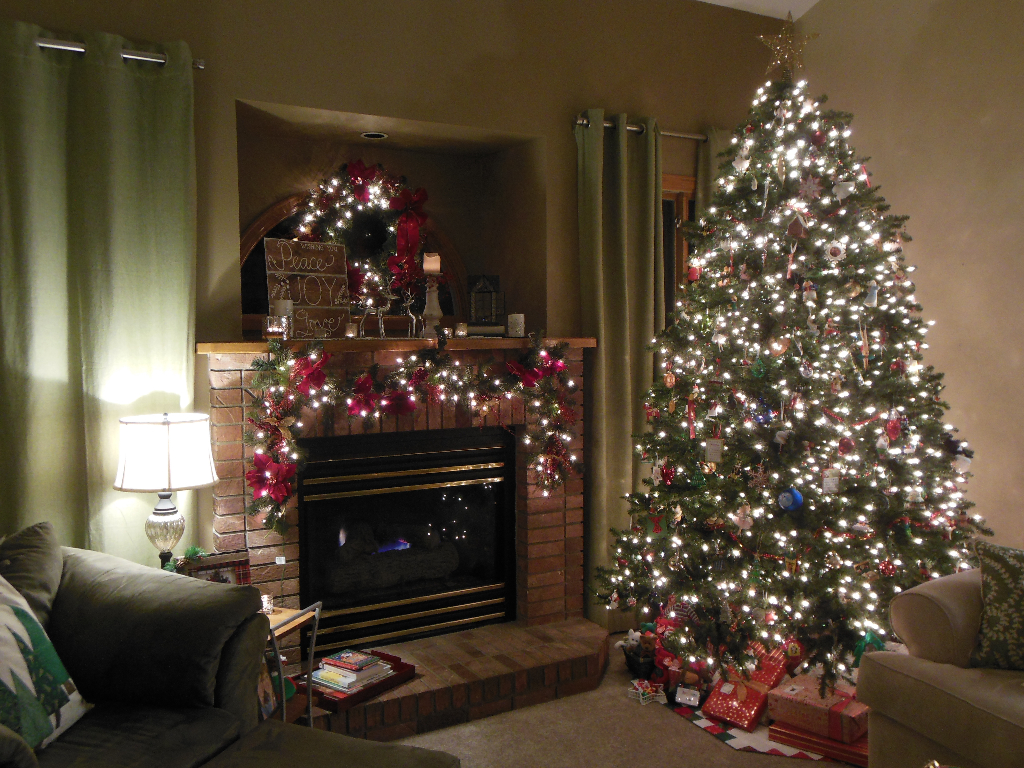
 I had a hard time convincing Matt that we needed a bigger tree. The big ones easily run between $600-$1000 if you want a pre-lit tree… and it was hard to justify the “need” for that cost. Then it dawned on me that people MUST have big trees they want to sell. So I checked craigslist and we landed a pre-lit, 9′ tree for under $100. Matt did spend some hours replacing bad bulbs, but to him it was worth it since the tree was so affordable. He was very patient and went limb by limb to replace the bad lights. (Thanks, Matt!) And now I have a 9′ tree in my big living room and I’m so pleased! Happy Christmas to me!
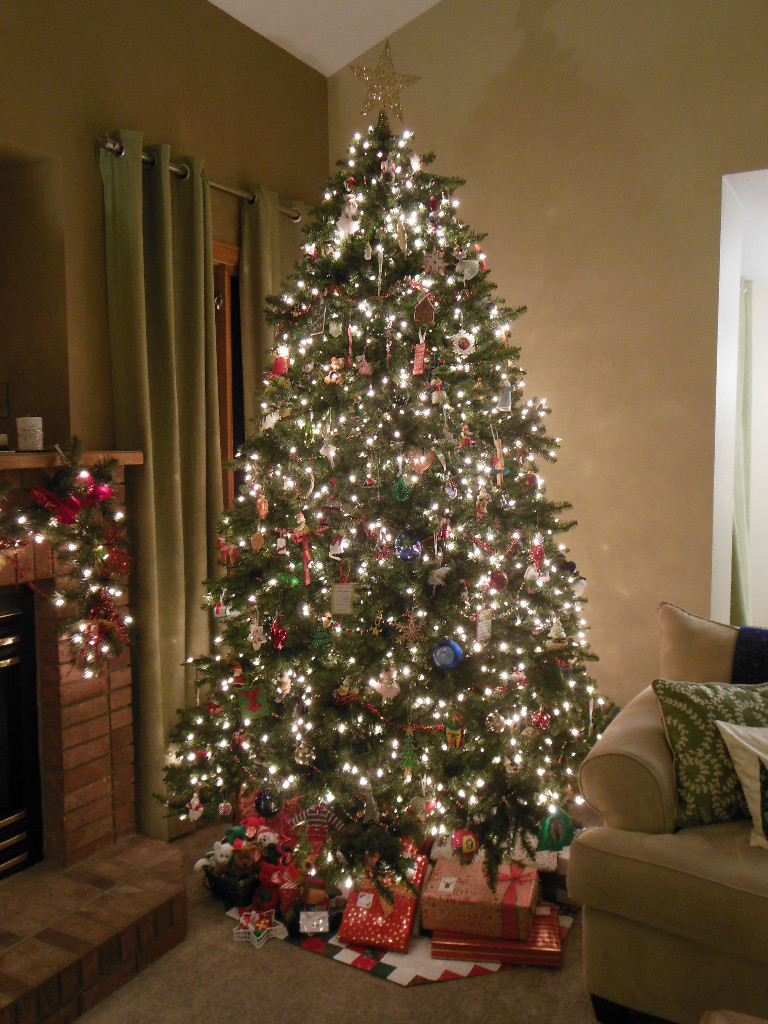
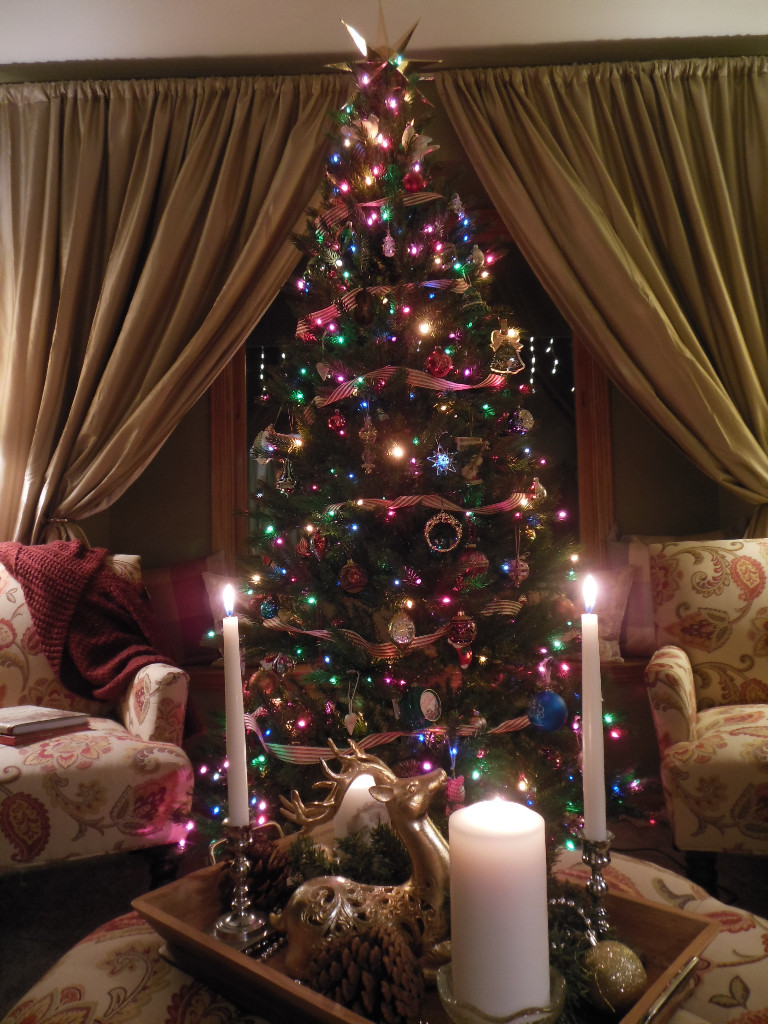
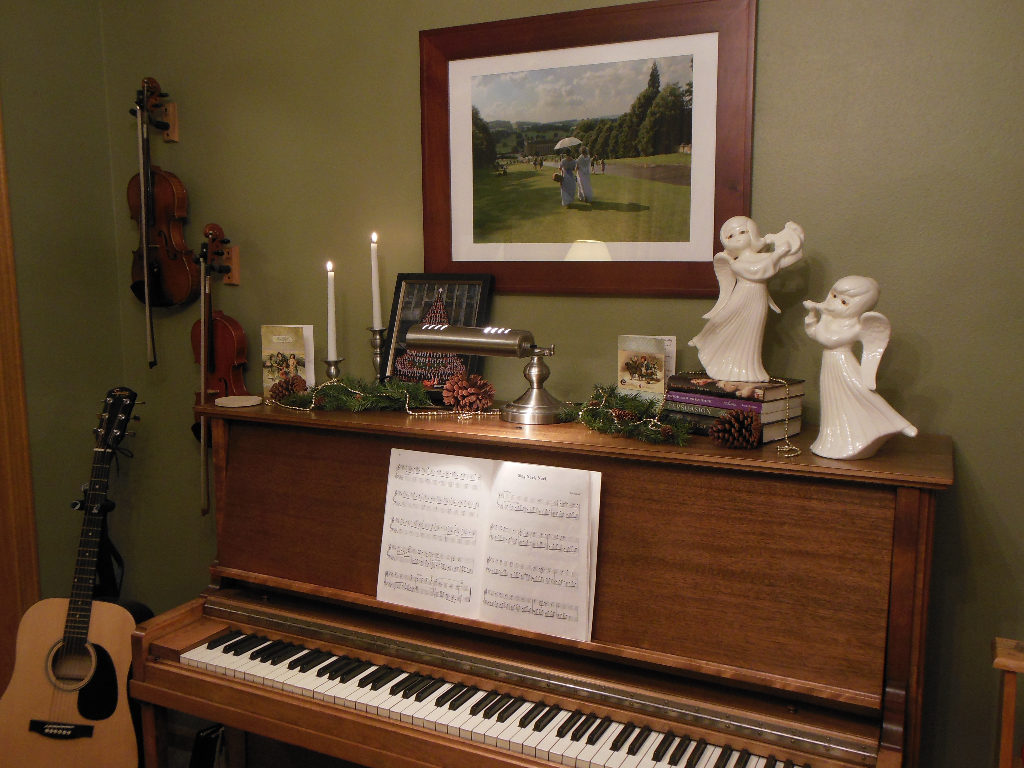
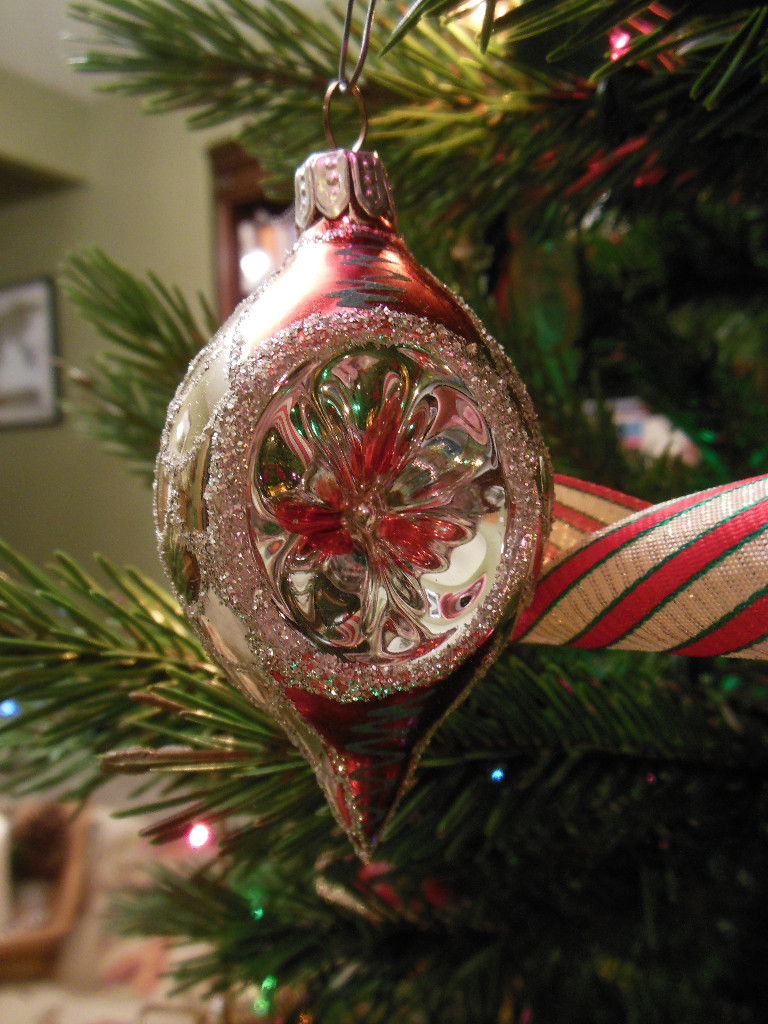 Our little tree fits nearly perfectly in the music room/library (a.k.a. the Jane Austen Room!) and it is SO PRETTY in there. The tree sits between the chairs, in front of the window. It can be seen from the street and I just love it. I selected “vintage” looking ornaments from our large ornament collection, as well as music themed ornaments for this tree. We just inherited some beautiful old ornaments from Matt’s grandmother, and they are perfect on this tree. I was short on garland since the big tree needed all of what I had, but I found a large spool of ribbon from my Grandma’s collection and used that instead. I love it. I topped the tree with a folded paper star from Target (and it was only $3.00!). The whole tree is just perfect!
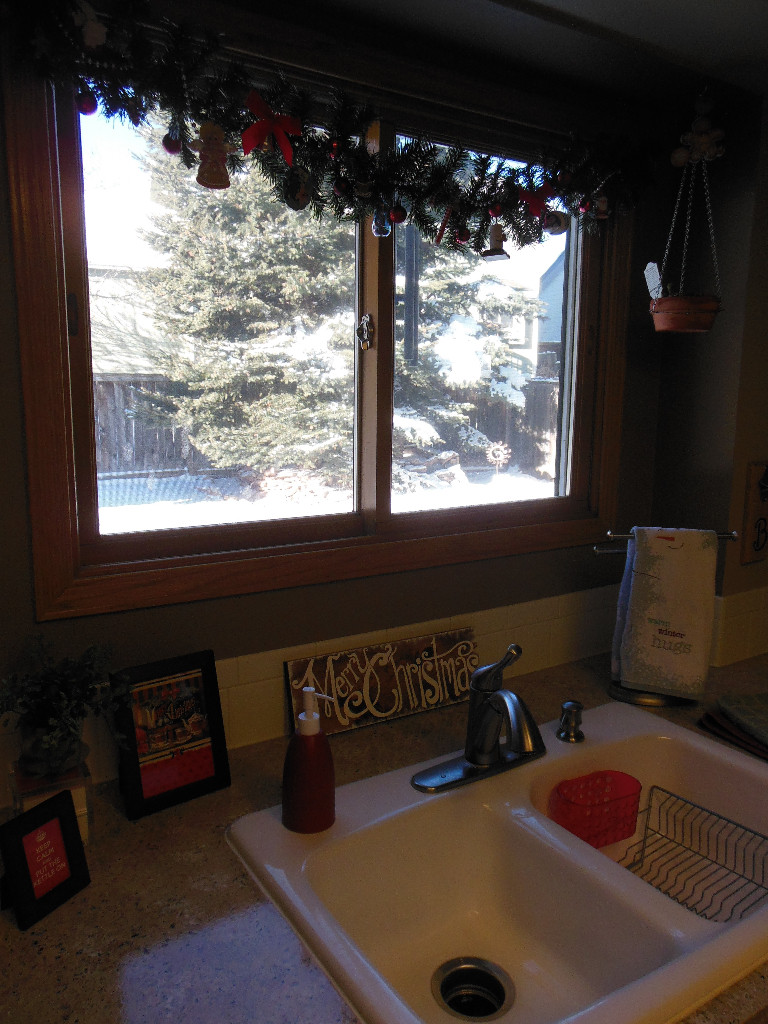
I added some garland to the window in my kitchen. On it I hung food related ornaments, and I think it’s adorable. (It also makes me realize that perhaps it’s time to get serious about hanging some kind of window covering in that window..!)
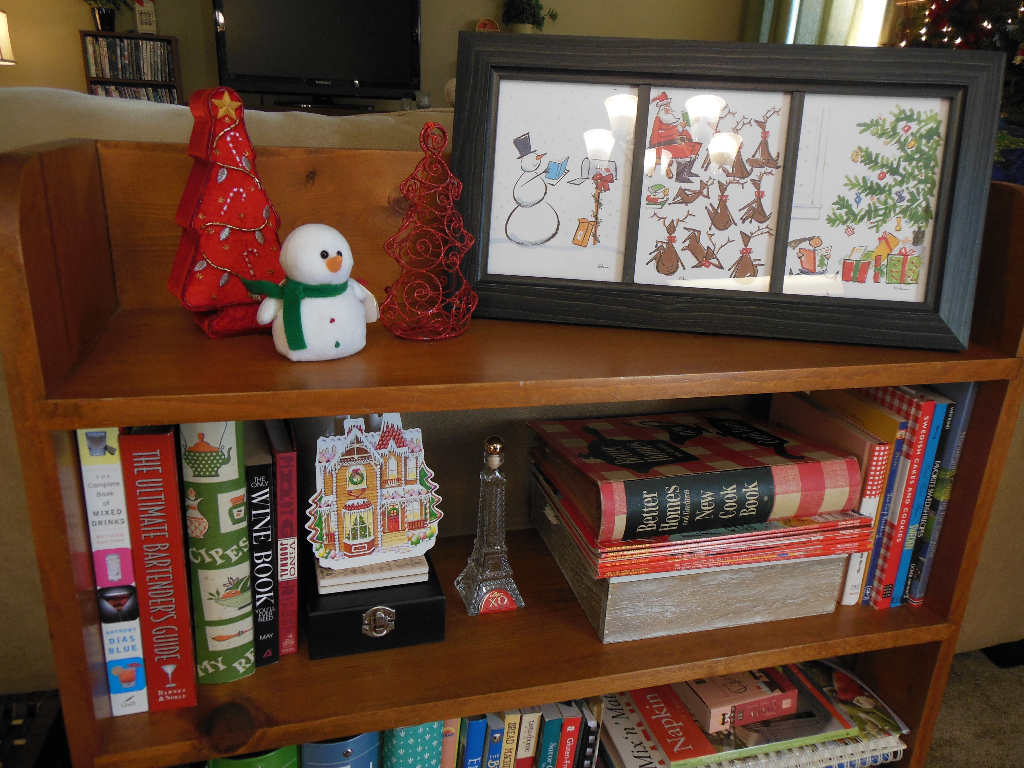
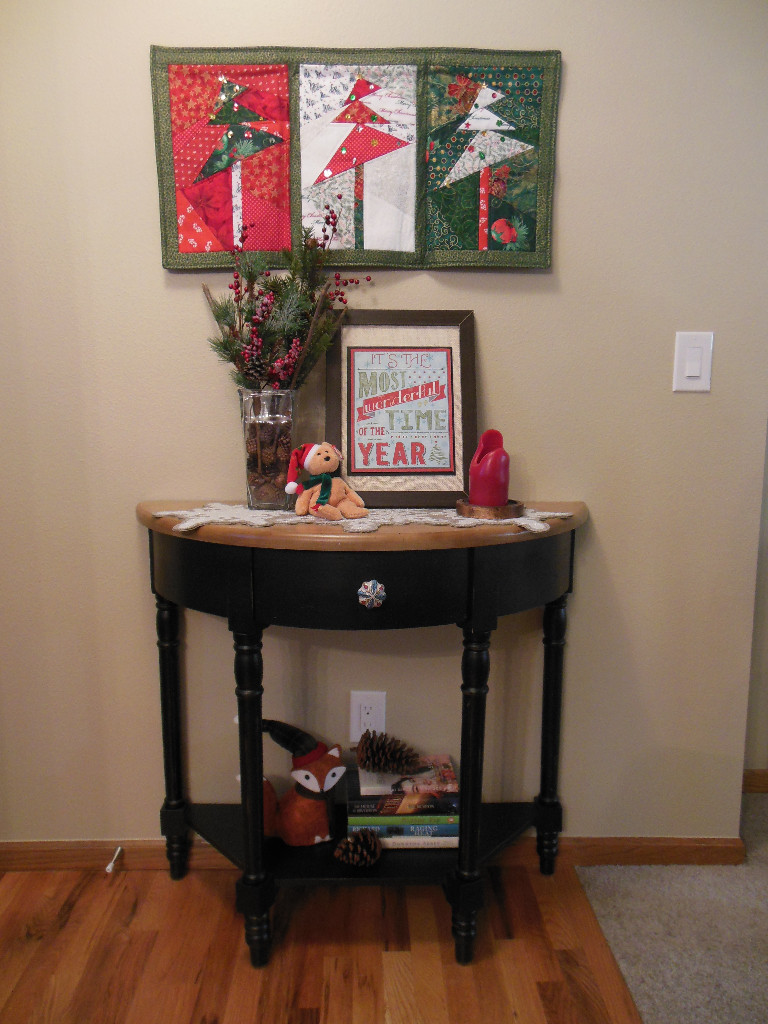
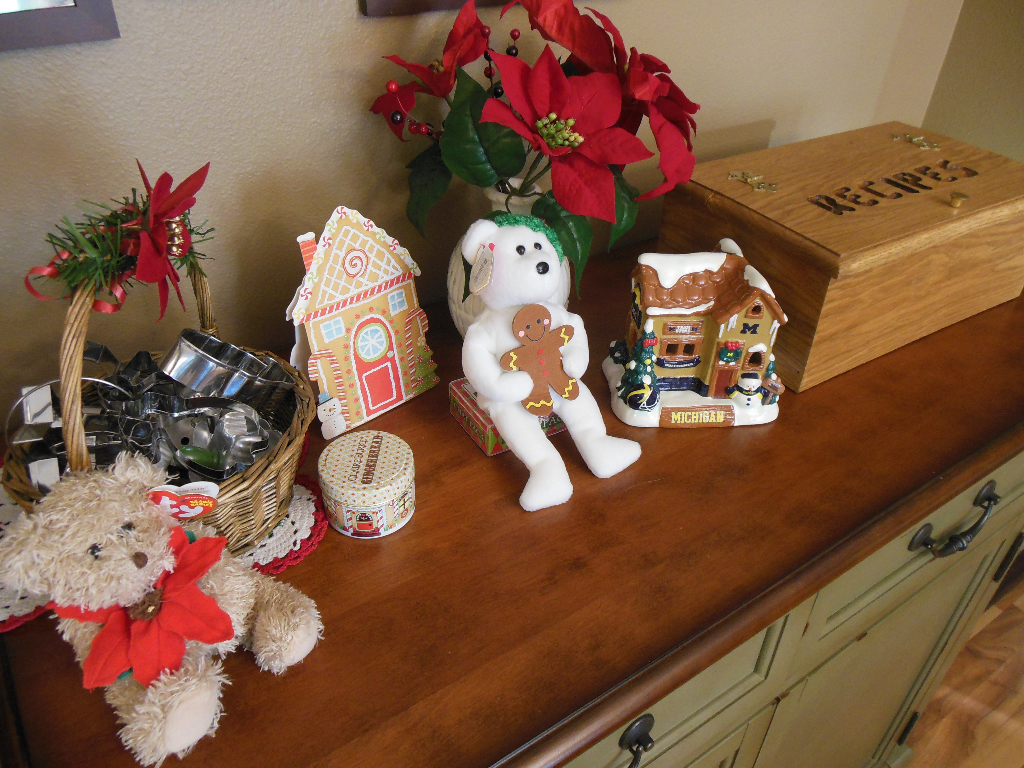
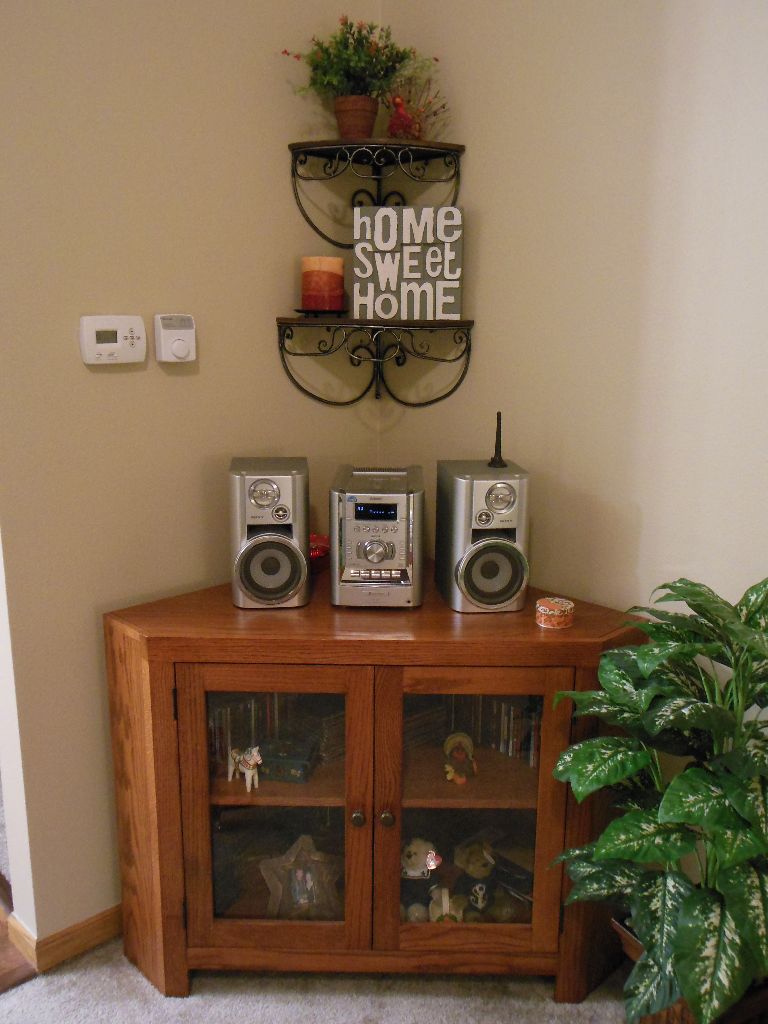
I have a few fun little spots around the house too. Here are a few I love.
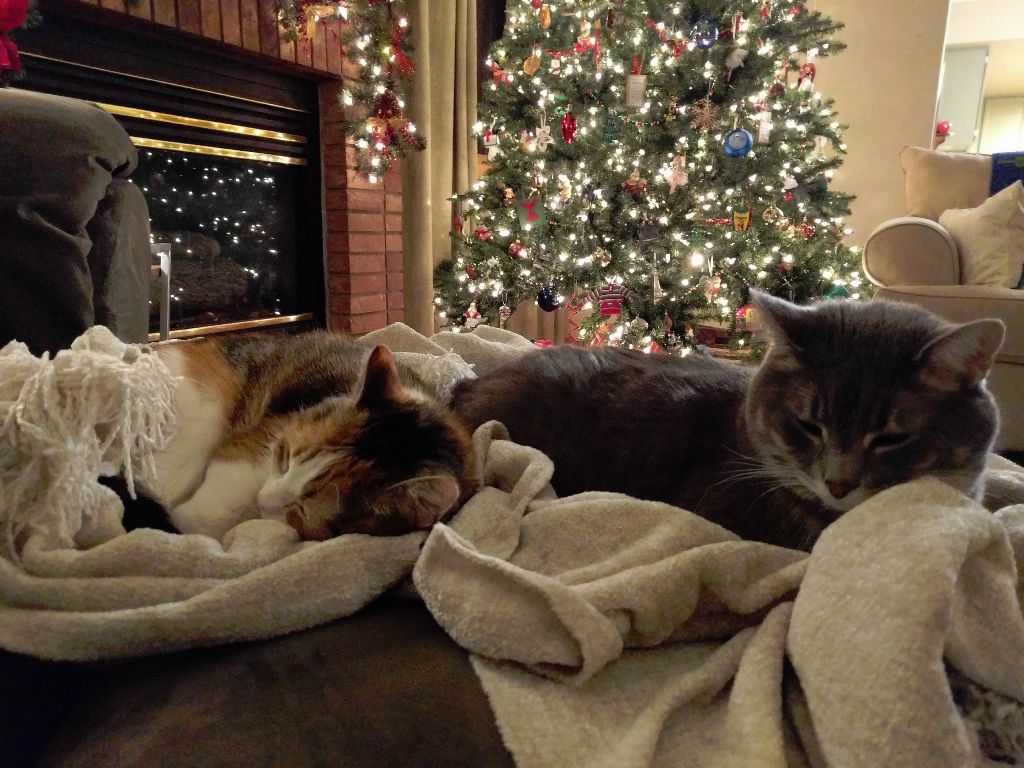
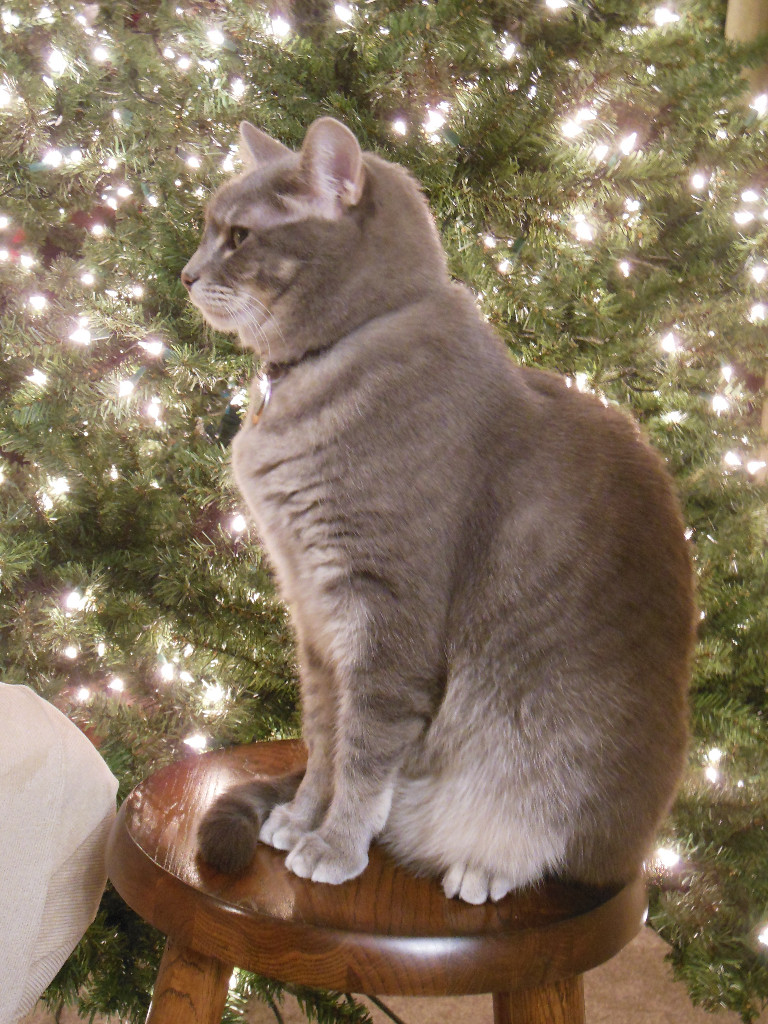
Oh, and my cats are cute.

Merry Christmas! :-)

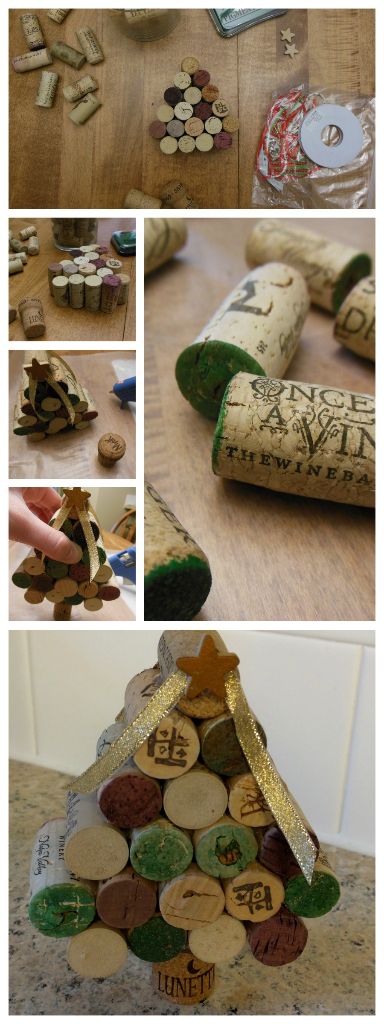
Back in 2013 I made a few Christmas ornaments with wine corks and bottle caps. At that time I had an idea for another cork craft (inspired from Pinterest, of course!), but had to replenish my supply of wine corks first… So here we are, 2 years later and my wine corks were overflowing again! I was able to make another cork craft — so here’s my wine cork Christmas tree!
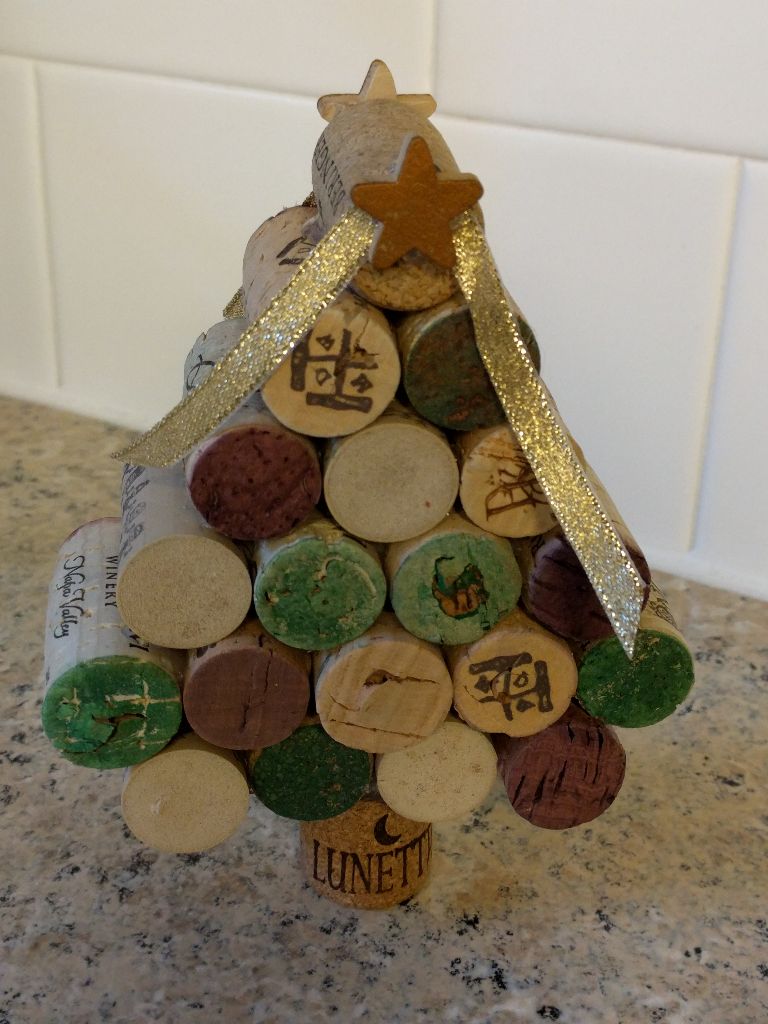
This little tree was very easy to make. I selected my corks, dipped a few tips in green ink, hot glued them all together, and then added a little ribbon and wooden star to the top. This little tree is pretty similar to the cork pumpkin I made too… :-) They’re just adorable!

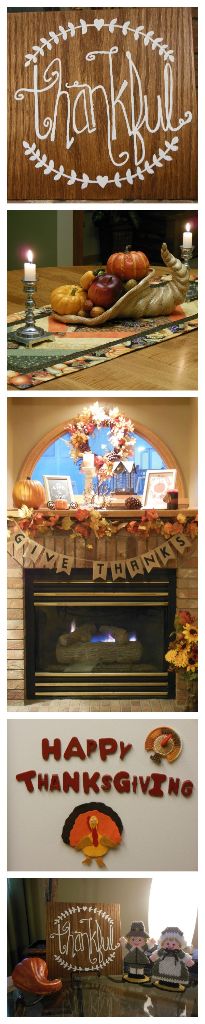
Happy Thanksgiving, friends! With the yummiest holiday of the year only a week from tomorrow, I thought it might be time to post some pictures of my Thanksgiving decorations. As you saw in Part 1, my fall décor starts with general fall items featuring pumpkins, leaves, earthy colors, and natural elements. In Part 2 I showed how I added Halloween accessories to some spaces. Now, for Thanksgiving, I have packed away the Halloween things and added a few Thanksgiving pieces here and there!
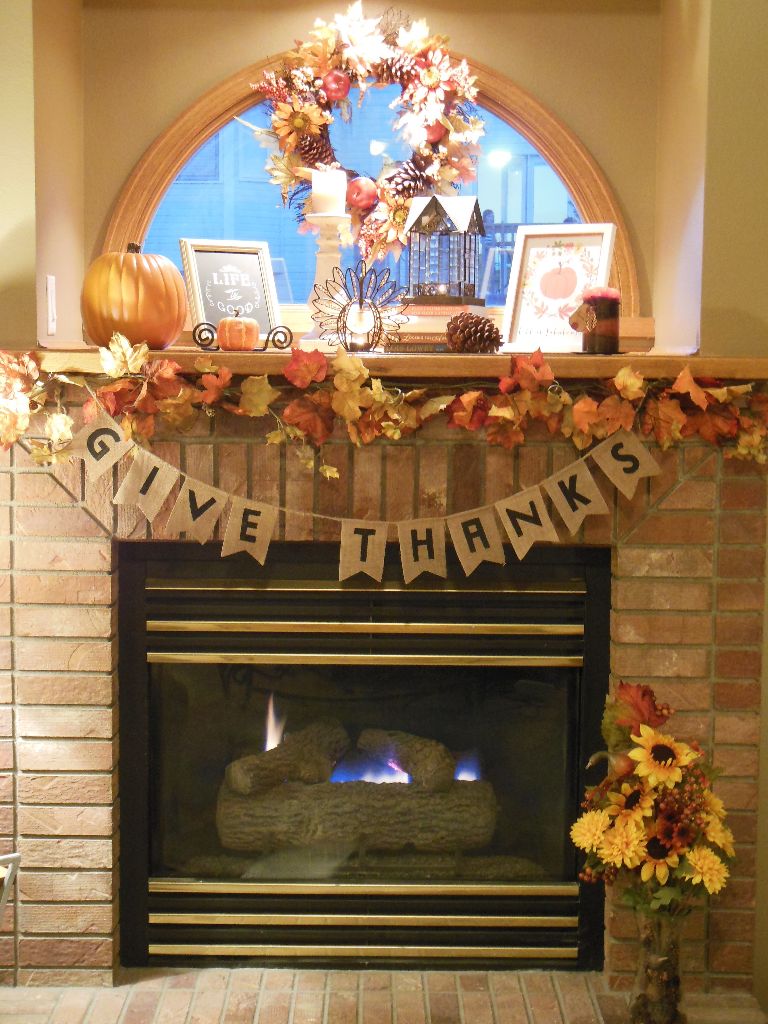
We’ll start the tour in the living room! I added a cute banner to the fireplace and a cute little turkey (he holds a candle!) to the mantel.
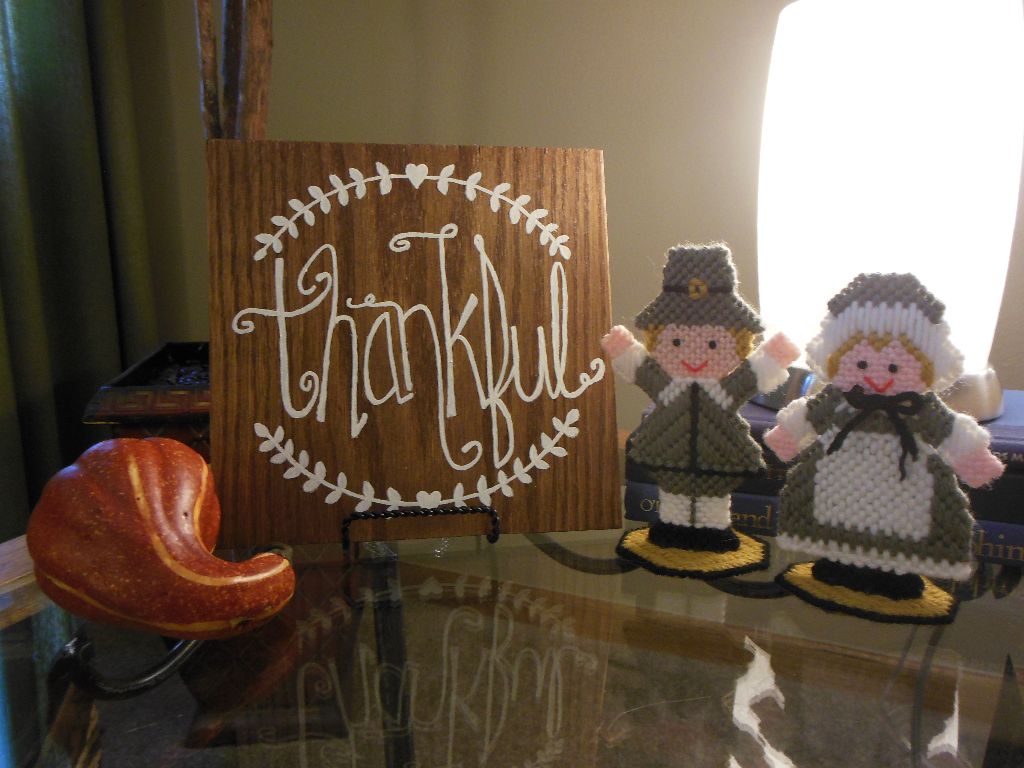
On the side table, I replaced my Halloween kitty and framed card with a “thankful” sign I made this year and two little pilgrims that my grandma made.
I also have a few turkeys here and there… Can you spot any in this picture?
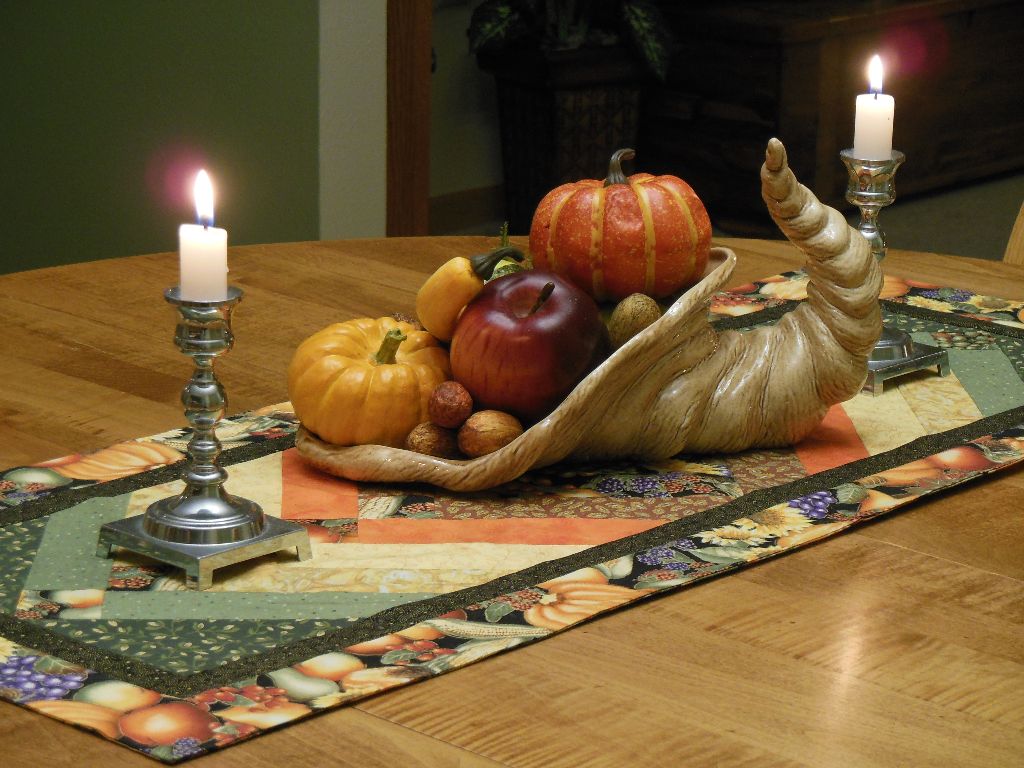
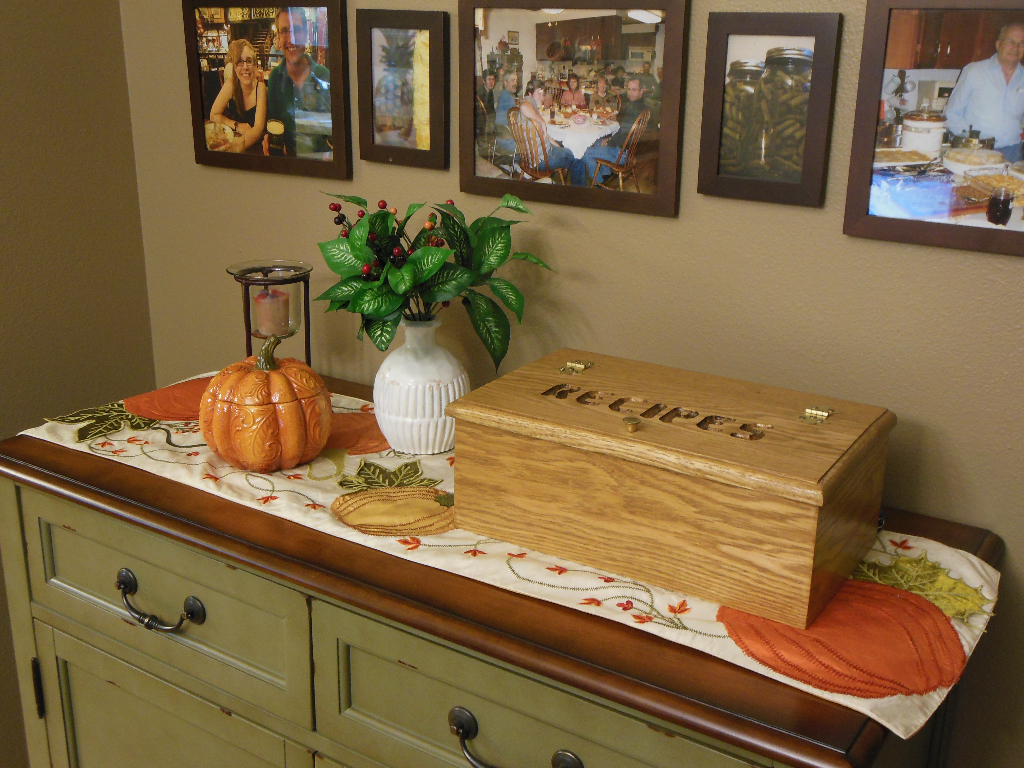
Moving on to the kitchen, I have replaced my centerpiece with a beautiful table runner that my mother-in-law made for me (it has moved around this fall — did you notice it in my previous posts?!), a cornucopia that my grandma made and used to have on a table at her house, and my grandma’s candlesticks!
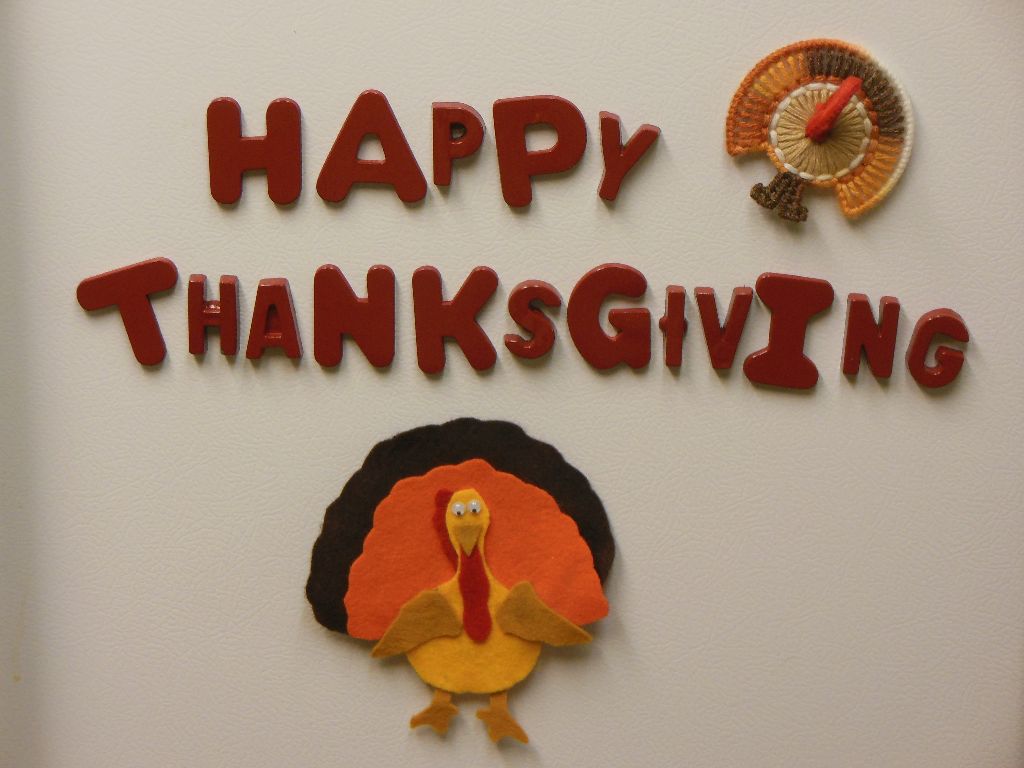
And lastly, I have a couple fun turkeys and a message on the fridge. My grandma made the plastic canvas turkey, and 5-year-old Jenna made the felt one. :-)
That’s all for my fall tour(s) this year! I hope you all have had a wonderful fall!
Pin Me:

Happy Halloween! As promised in my post earlier this fall, here are some fun details of our Halloween decorations this year.
We’ll start outside. To begin, I’ll say that our cul-de-sac is a perfect fit for us. There are multiple reasons, and one is that Halloween is a big deal here. Two houses by us have large, glowing eyes in their upstairs windows, many houses have ghosts, tombstones, spiders, flags, and other yard decor, and everyone just seems to be in the spirit of spooky fun and candy!
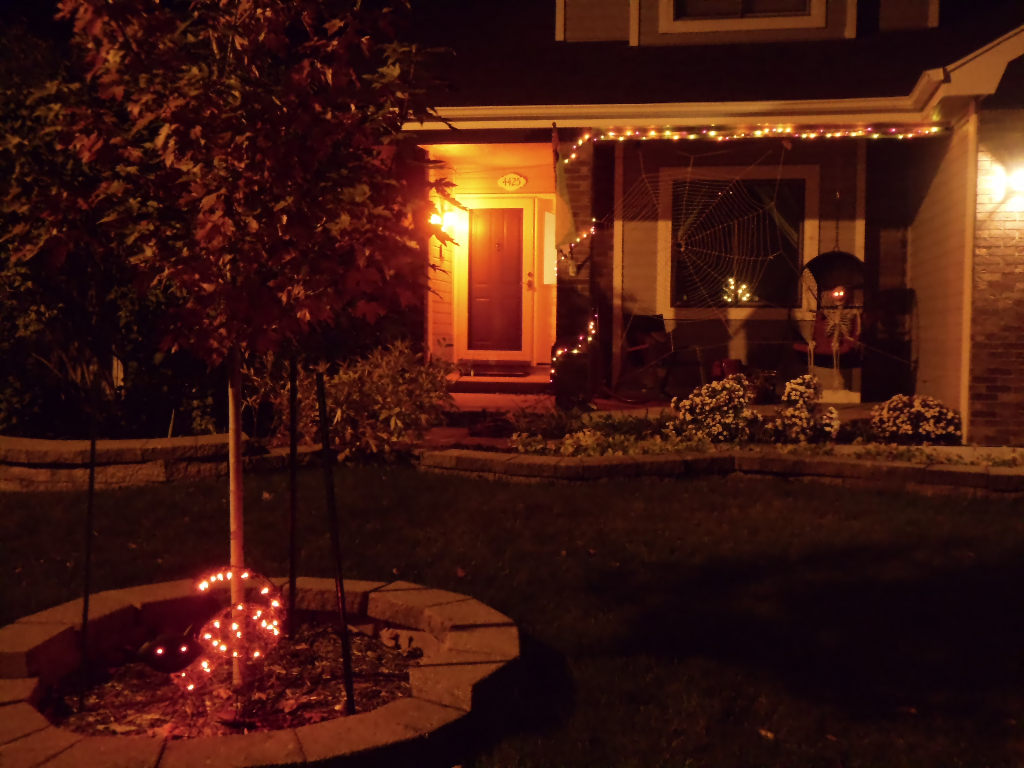
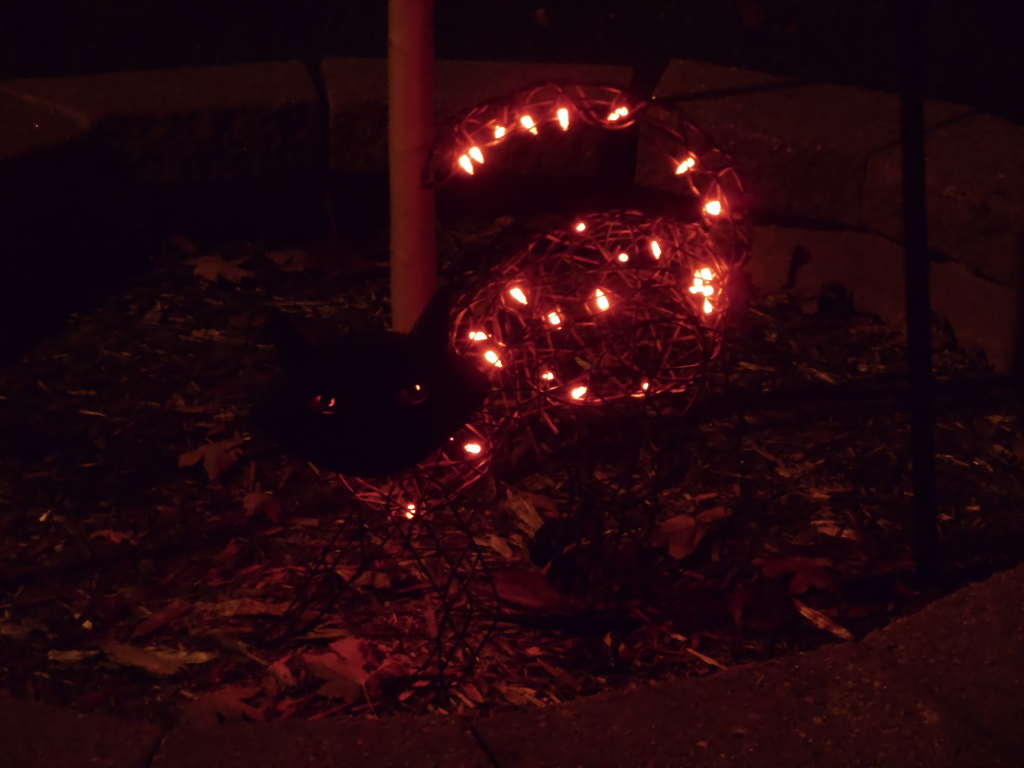
My favorite piece outside is my light up cat that we put under the maple tree (which has turned to a beautiful orange-red color!).
Our porch is really the showstopper though, and it is almost 100% Matt’s doing… I occasionally get called in for a quick consult on placing something, and that’s about it! Halloween is Matt’s favorite holiday, so he goes all out and gets really geeky about it too. Our porch consists of electronics that he created and programmed that “perform” when triggered by the trick-or-treaters approaching the front door. These include flashes of light, sounds of thunder, a spider that moves across its web, and a ghost who rises up from behind tombstones. He even has a fog machine!
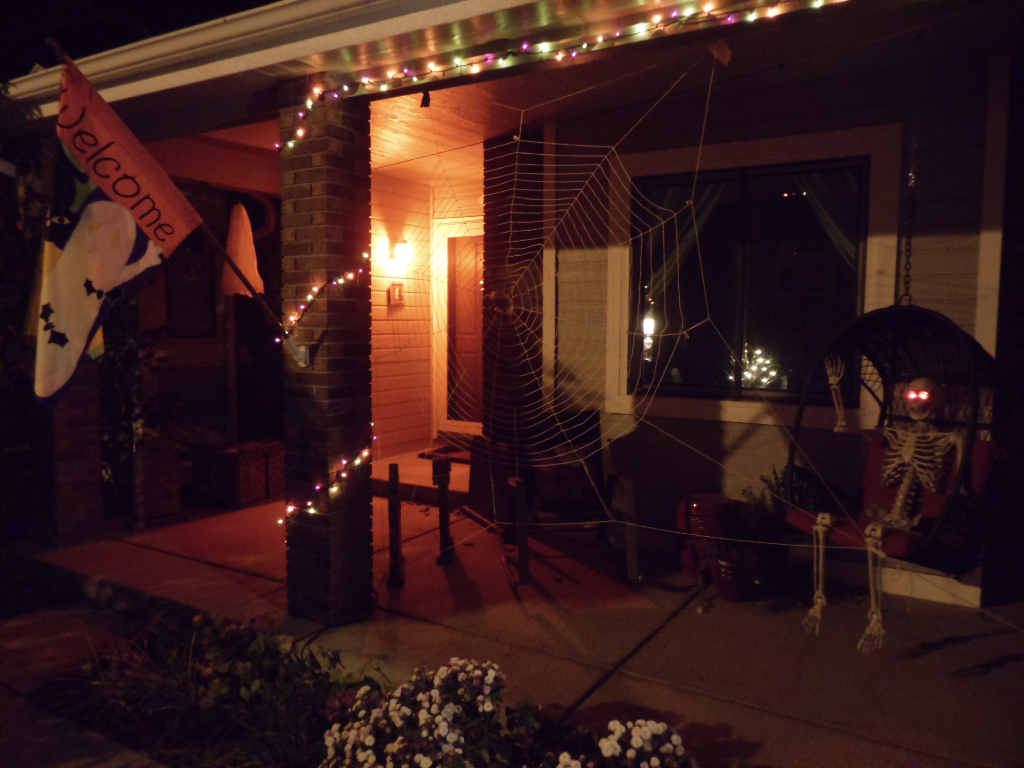
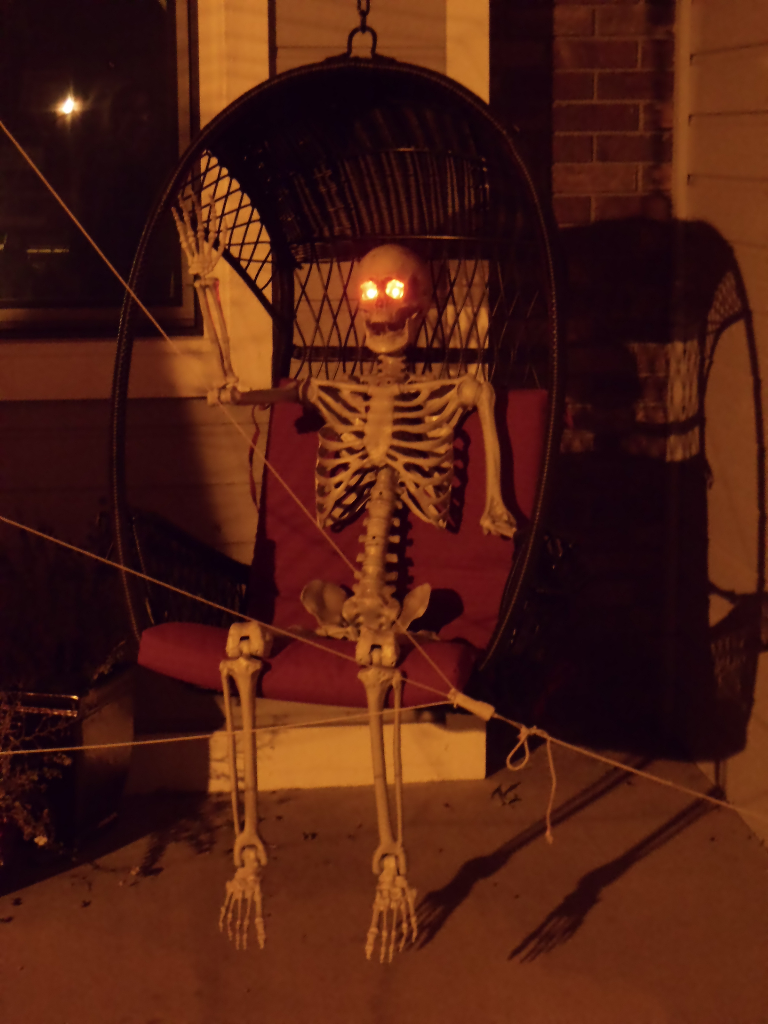
I will admit that I’m a big fan of the skeleton who’s been sitting in my basket chair all month. He’s pretty awesome.
If you survived the scares outside, we’ll welcome you and maybe even share some candy with you. Matt did the candy shopping this year, and he did well! Tonight we’ll have M&Ms, Skittles, Snickers, Twix and many others. Yum. I have mixed feelings between wanting so many kids to come and get a scare that we’ll have just enough candy, and having lots of left over candy for us to eat up later! ;-)
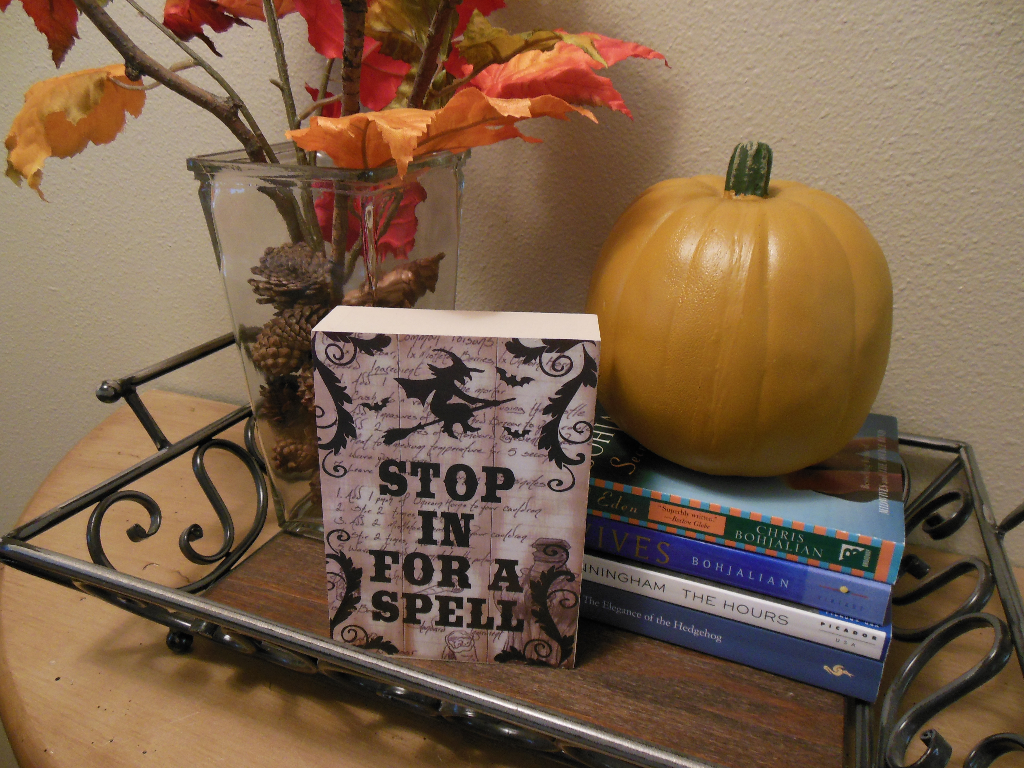
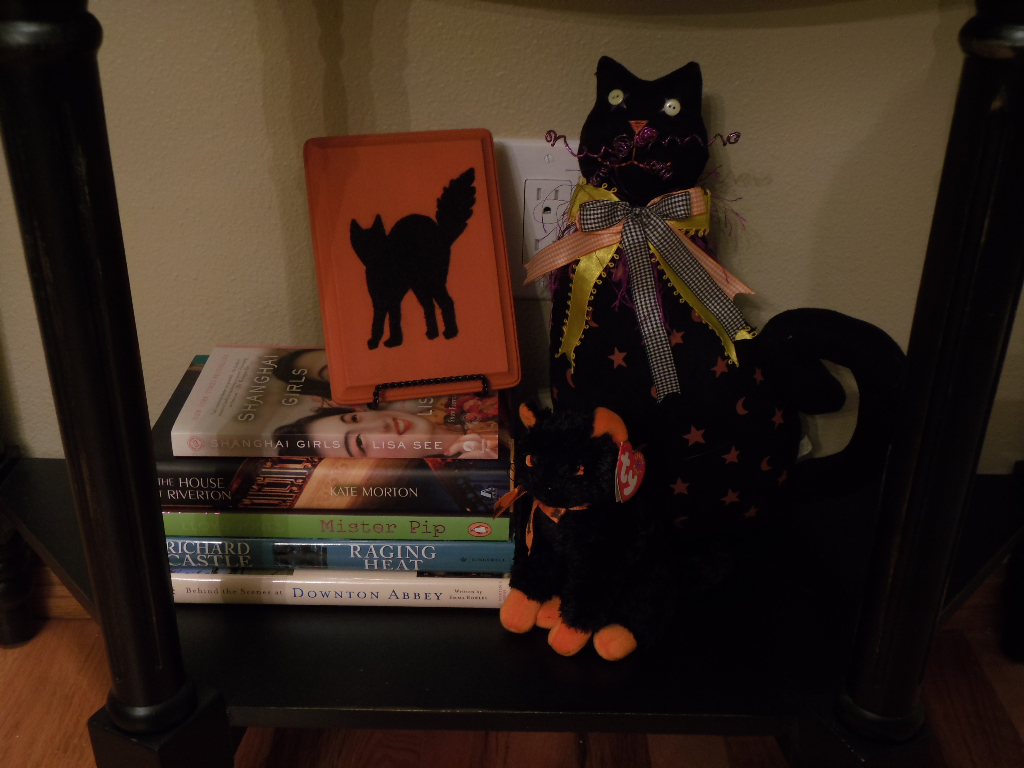
In our entry way I’ve slightly modified the table by the door… I added an adorable sign that says “Stop in for a spell” and also a few cats to the lower shelf! After all, what’s Halloween without a few black cats?
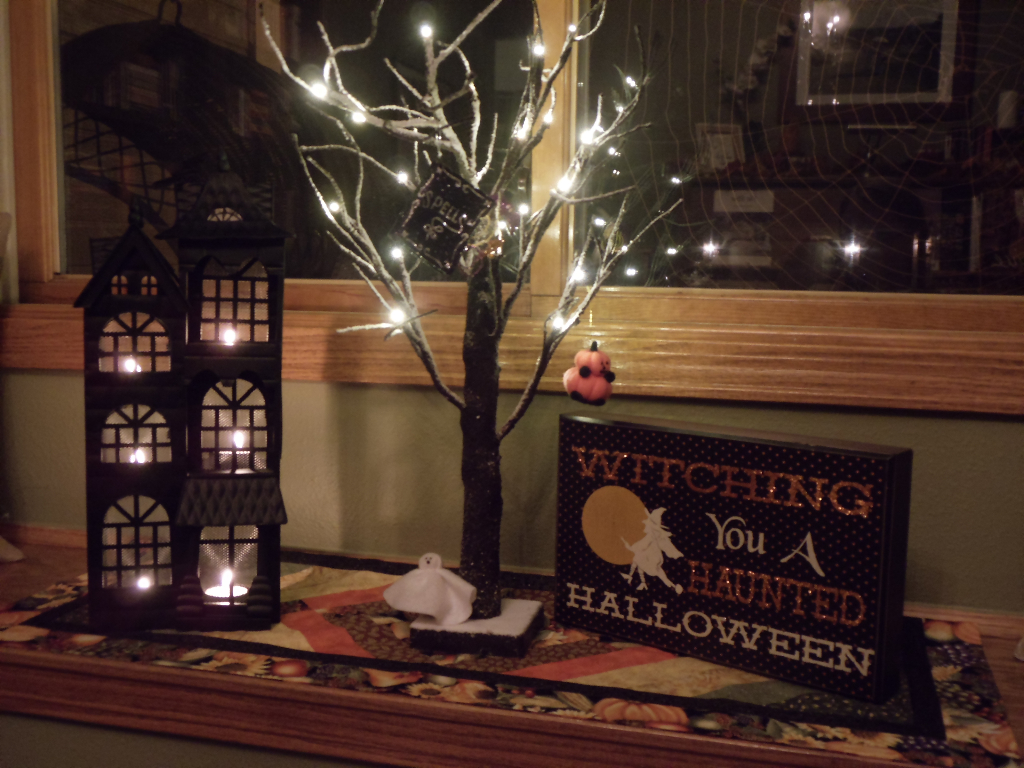
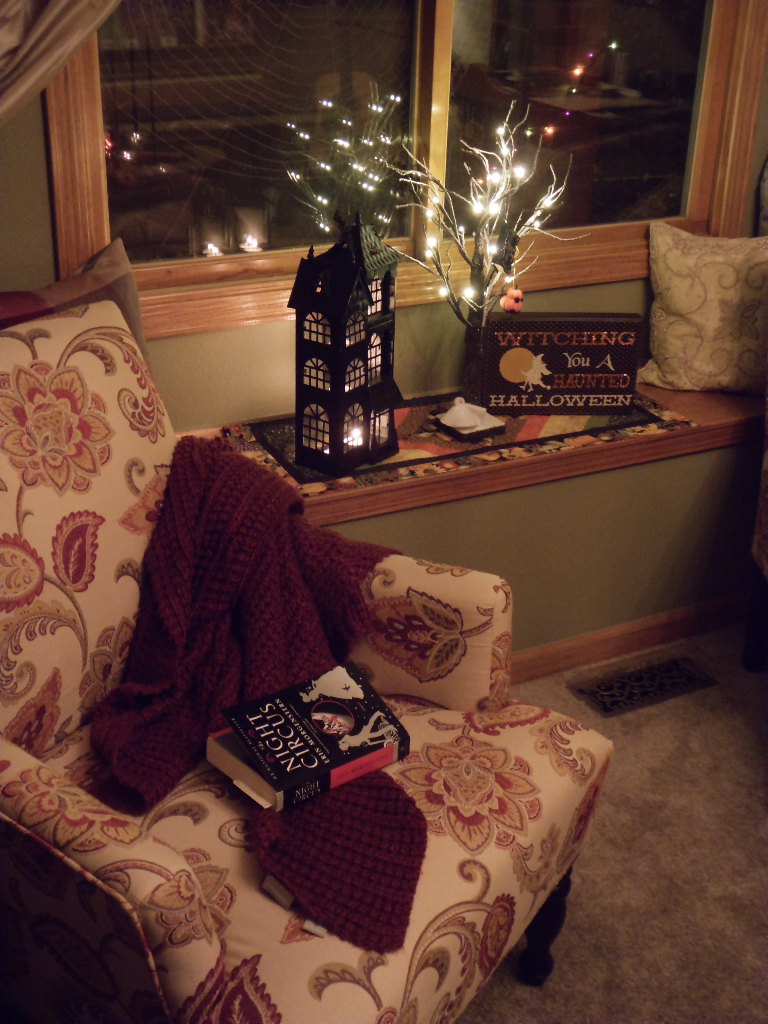
The Jane Austen room features my favorite Halloween display this year. In the window seat I added a spooky haunted house, a creepy tree, and a cute sign!
If you’re in the mood for an eerie read this Halloween, go pick up The Night Circus! (Pictured below) I just finished it this morning and it was fantastic: magical, mysterious, and even romantic. I loved it. Last year’s haunting Halloween read was Bellman & Black. It was also very good… very strange, but good!
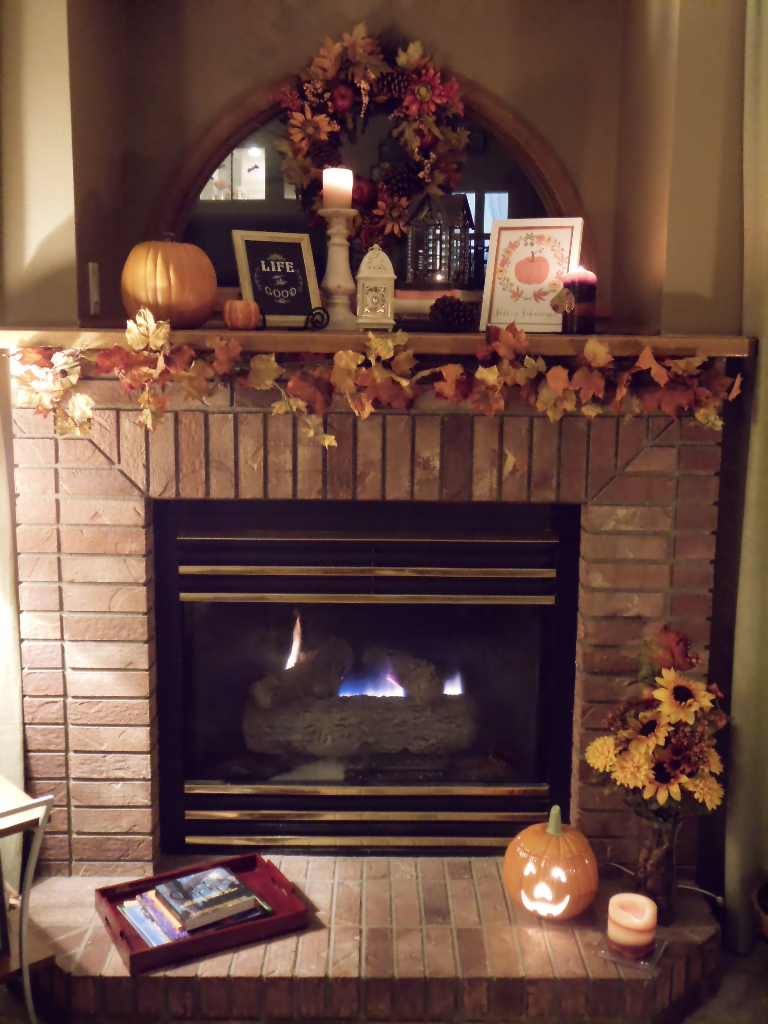
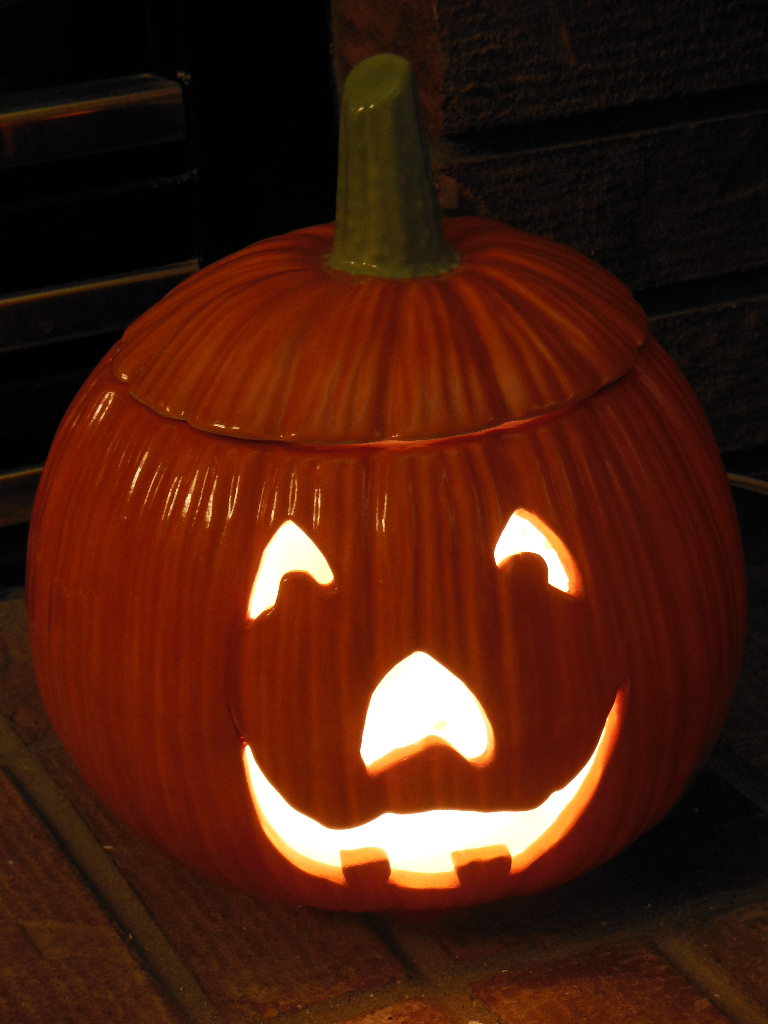
In the living room, my mantel remains the same as it did in Part 1, but I have added my grandmother’s ceramic jack-o-lantern and a tray of Halloween books to the hearth!

Many of my Halloween books are from my childhood, but I have also added a few to my collection in the last few years. Here are a few of my favorites:
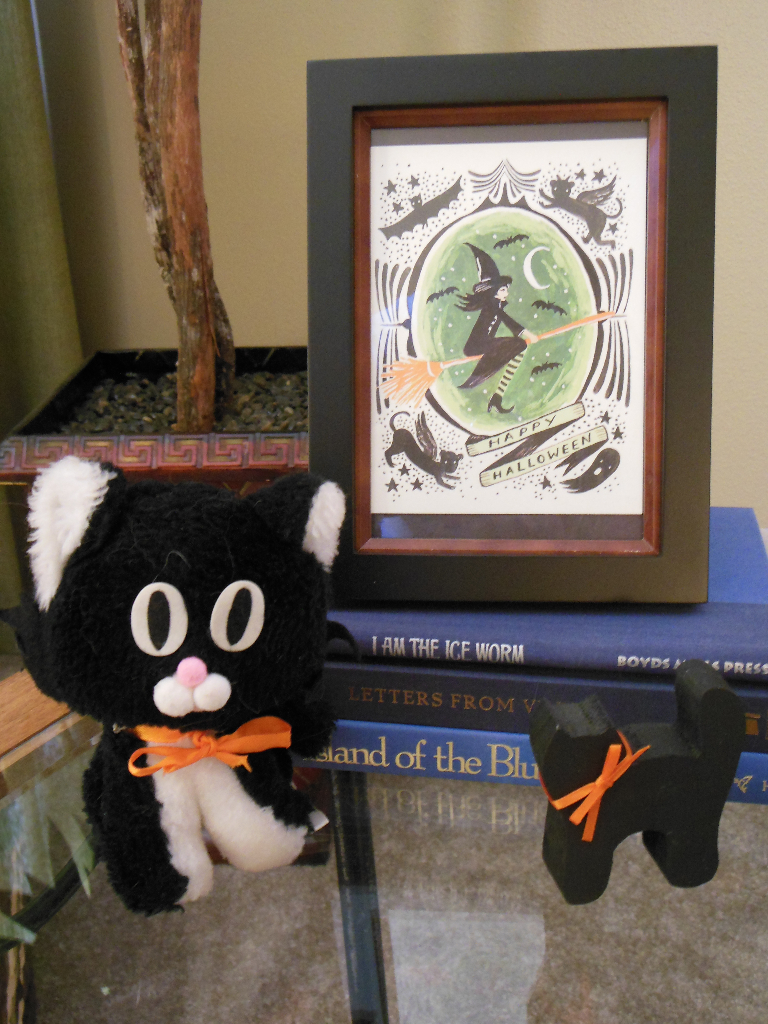
My last bit of Halloween fun is a few items on a side table in the living room! The print is from Rifle Paper Company; it’s a greeting card that I framed! I’ve had the little stuffed cat since I was a kid… I have to keep an eye on it though; for some reason my (real) cats love to pick on it!
I hope you have a very happy and haunted Halloween!

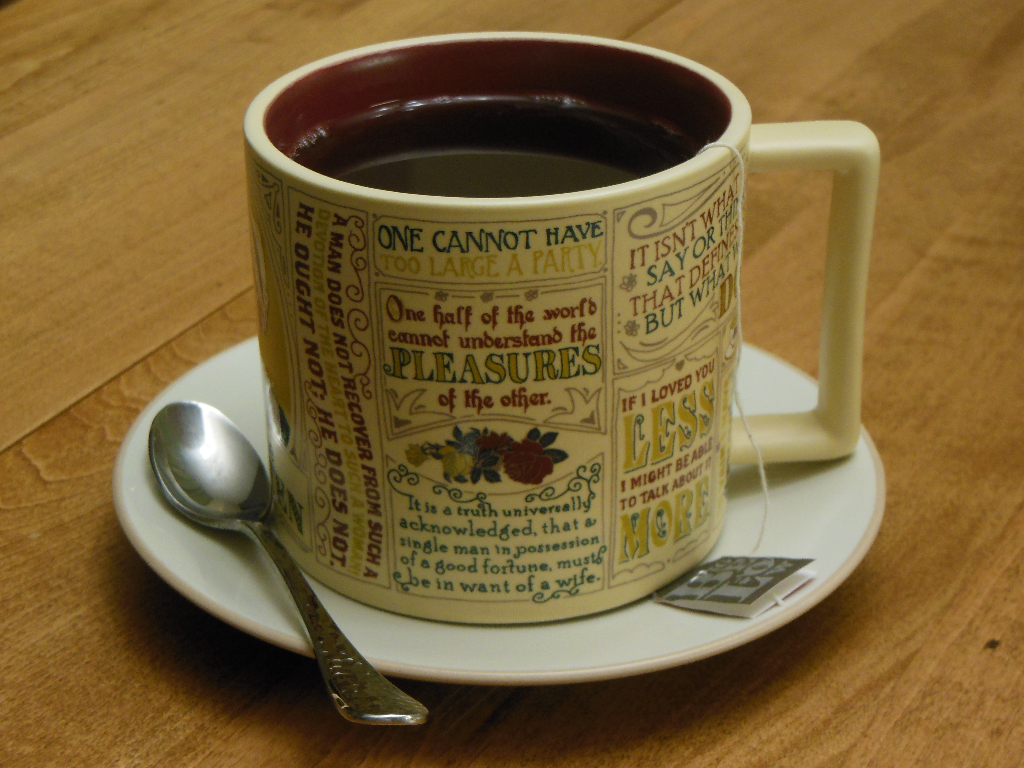
Welcome, friends! Come on in and enjoy Part 1 of my fall tour. Before we begin, please help yourself to a nice warm cup of tea or apple cider and get cozy. Maybe you want to get the fire going too and curl up with a blanket. :-)
 Fall decor at my house evolves through the weeks from the first day of fall to Thanksgiving. Therefore, my fall tour will come in three posts. This post, Part 1, features my “early fall” decor… check back later for Part 2 and Part 3 to see how my decor changes for Halloween and Thanksgiving!
Now let’s get started before your tea gets cold!
There’s a cute table in my entry way:

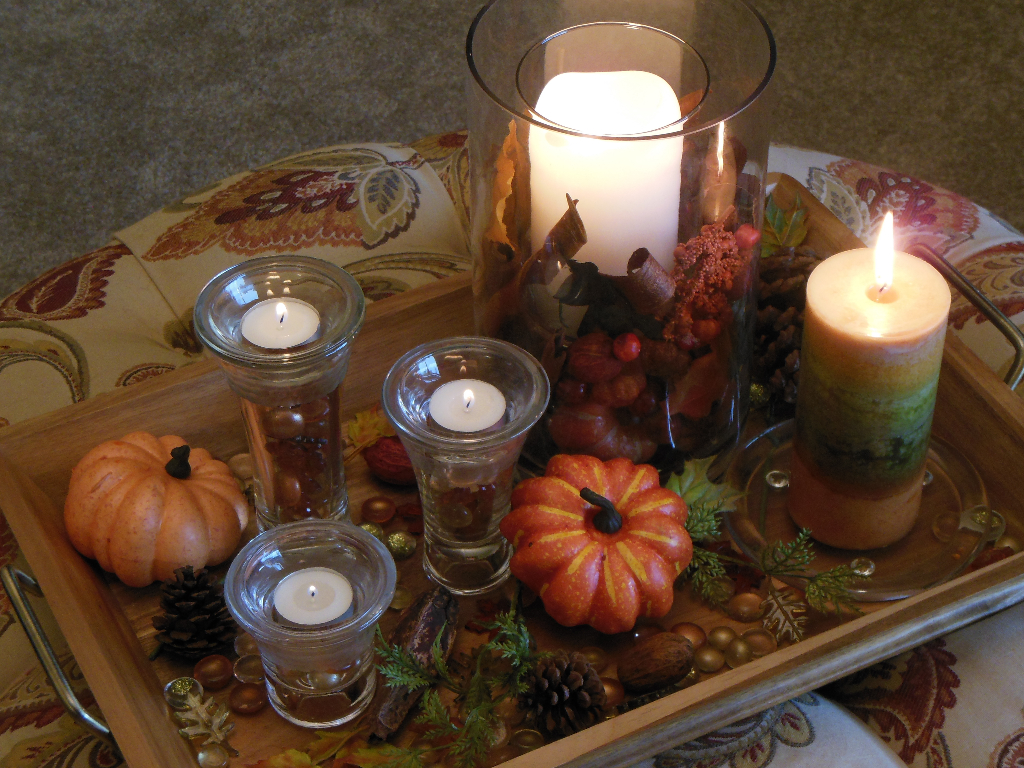
I have a delightful fall tray on the ottoman in my music room (also known as the Jane Austen Room). I was so pleased with my Christmas tray last year that I decided a fall arrangement needed to be equally beautiful. This one is a little on the messy side… but outside fall is kind of like that, so I think it’s fitting!
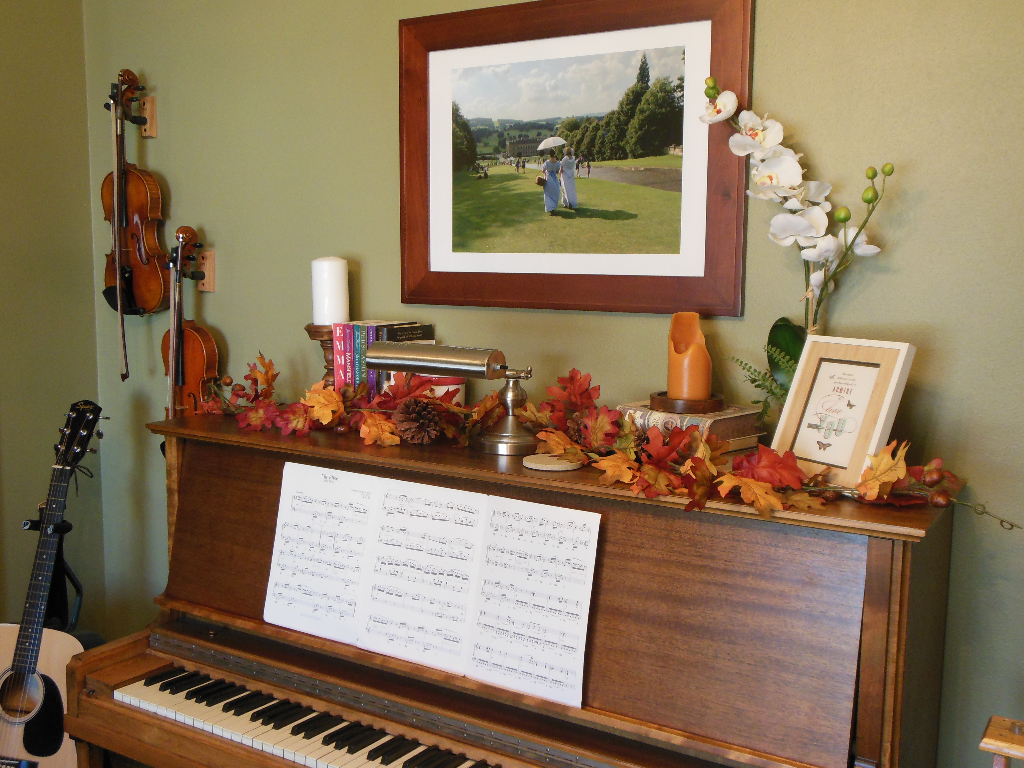
 I also added some nice fall touches to the piano:
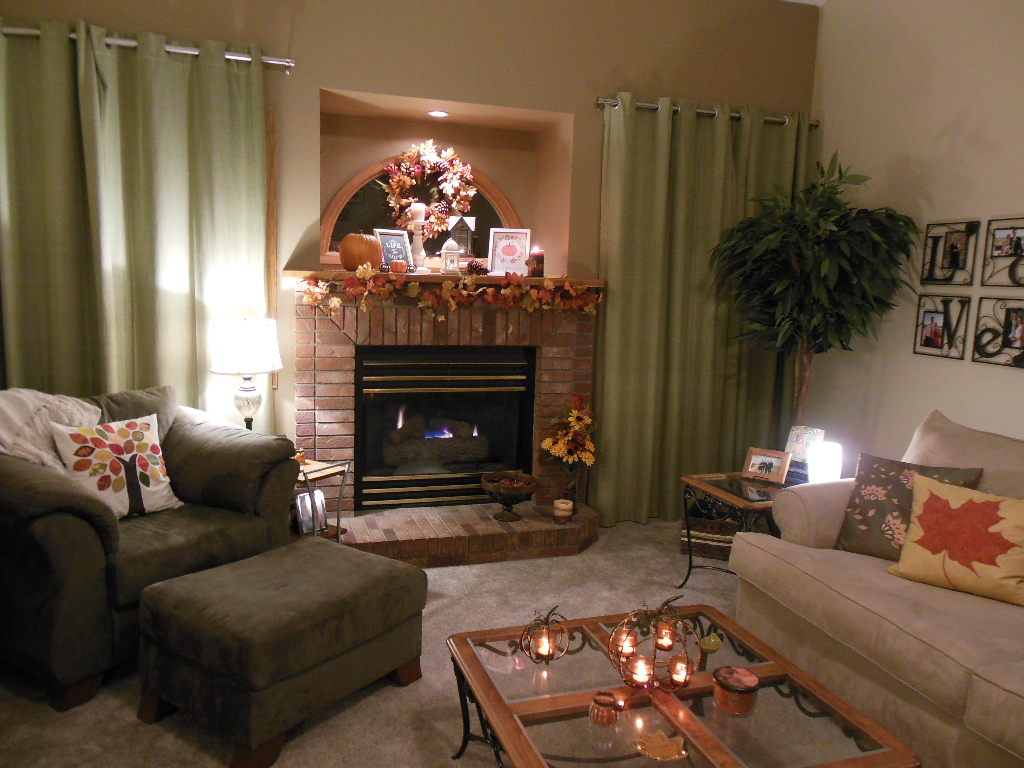
The living room is very cozy with pillows, garland, pumpkins, and candles — fall is a wonderful time of year for lots of candles!
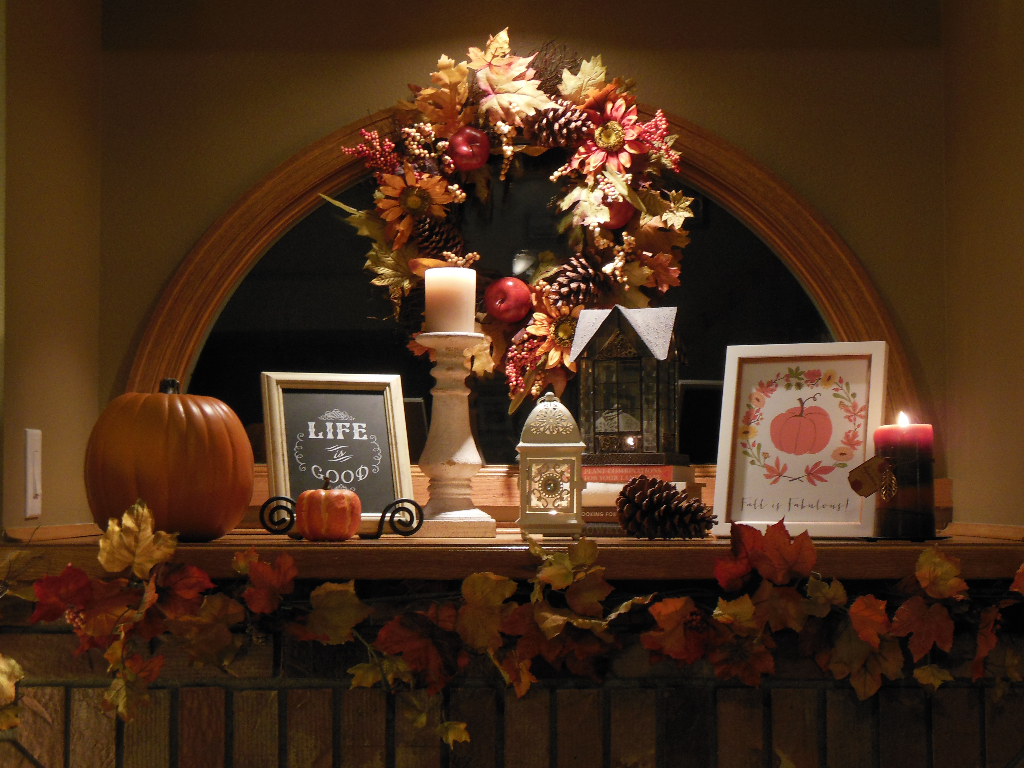
 My mantel received a makeover this season. New pieces this year include the wreath and the framed “Fall is Fabulous” print! I bought the wreath at Joann Fabric’s and then added a few sunflowers to it. I found the print free online, so all I had to do was print it out and stick it in a frame! It was easy and it’s adorable.
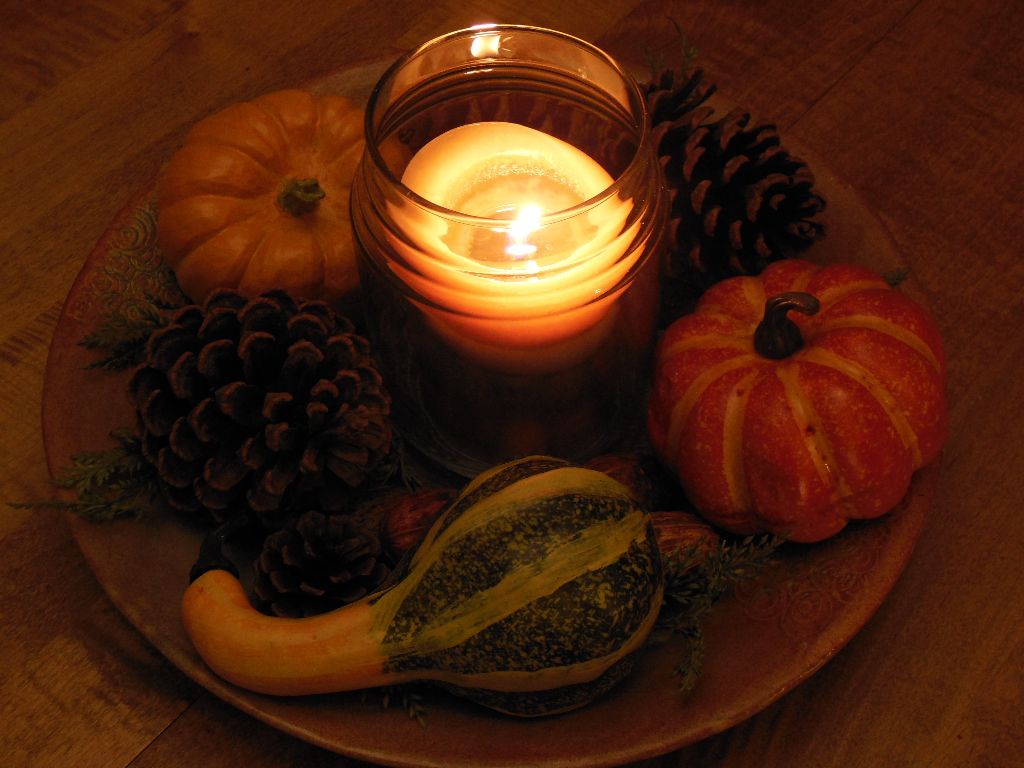
 I put together a new centerpiece for the kitchen table this year! I had to do something new because the vase I always used on my table broke last winter… But I’m so very pleased with this new arrangement. It was easy and fun to put together too! I love the colors and textures!
 Some areas in the kitchen/dining area include fun fall things too!
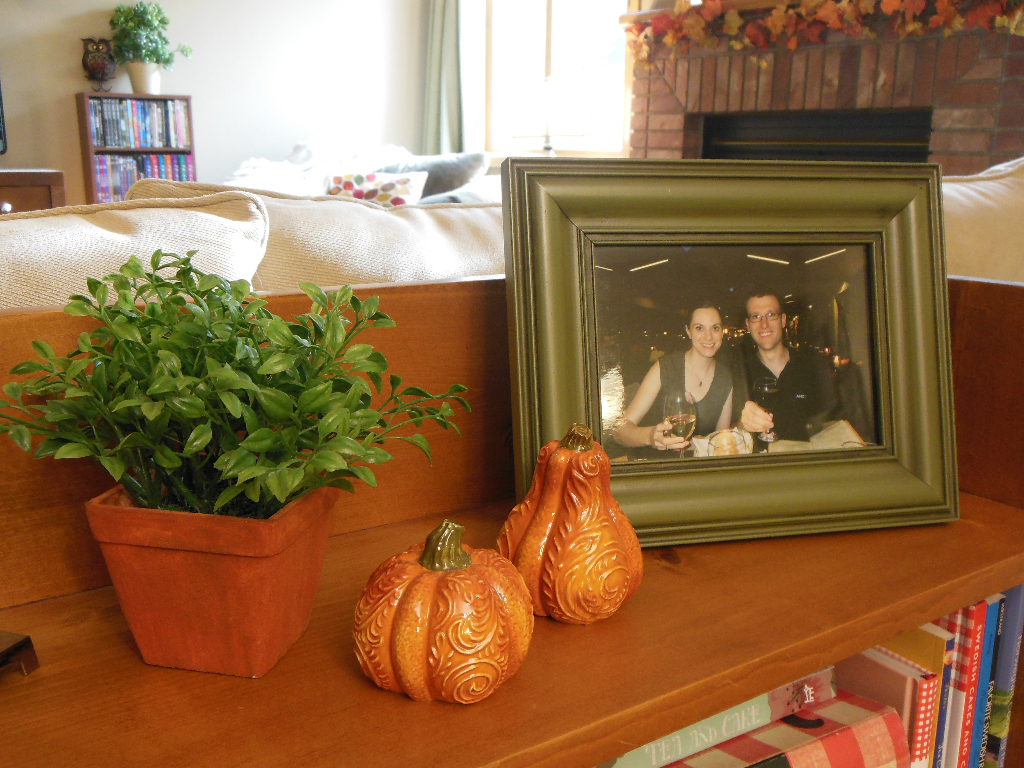 These salt and pepper shakers match the candy dish I have on my sideboard!
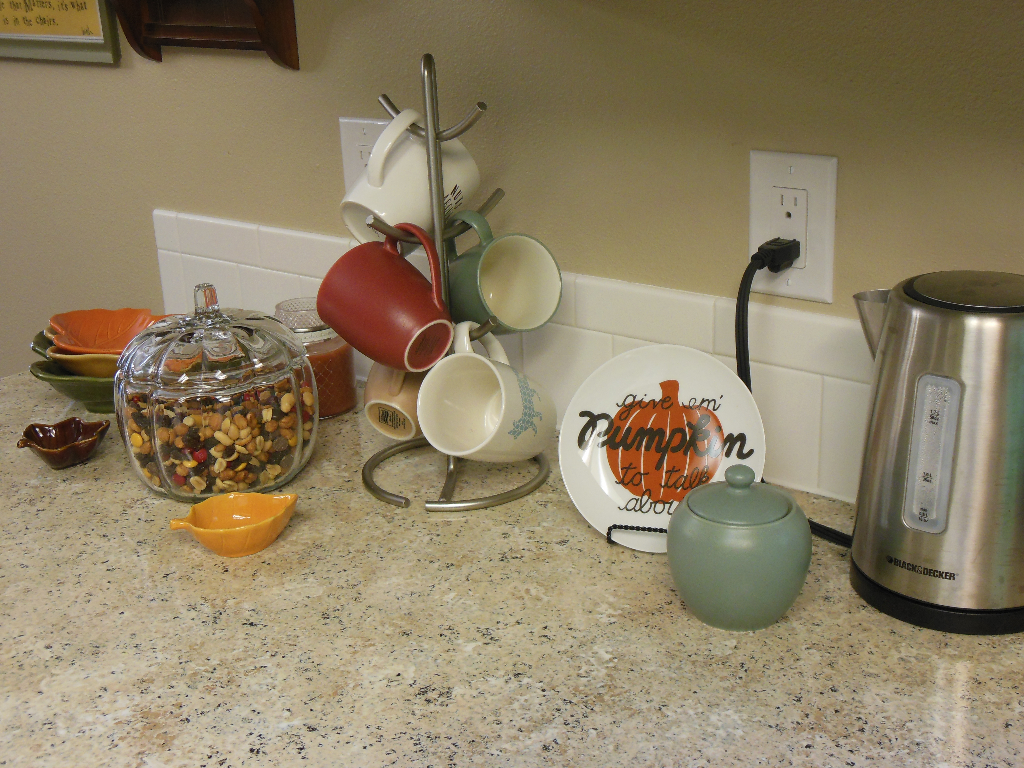 The clear lidded pumpkin bowl used to be my grandma’s! I like to fill it with yummy trail mix… this year it’s made of honey roasted peanuts, regular peanuts, raisins, milk chocolate chips, and fall colored M&Ms! Yummy!
That’s all for now! Check back soon for my spooky Halloween additions. :-)

Fridge at my previous house — lots of magnets!
Anyone who has been to my house knows that I love refrigerator magnets! My magnet collection is quite extensive — I have magnets from various countries we’ve visited, theme parks (mostly Disney ones!), broadway shows (e.g., Les Miserables, Wicked), National Parks, favorite restaurants, quotes, bottle caps, and so on. I also have a set of magnetic poetry and two sets of alphabet and number magnets.
At my old house my fridge (right) was pretty much covered in magnets. This was entertaining for me, but let’s be honest – it was pretty cluttered…
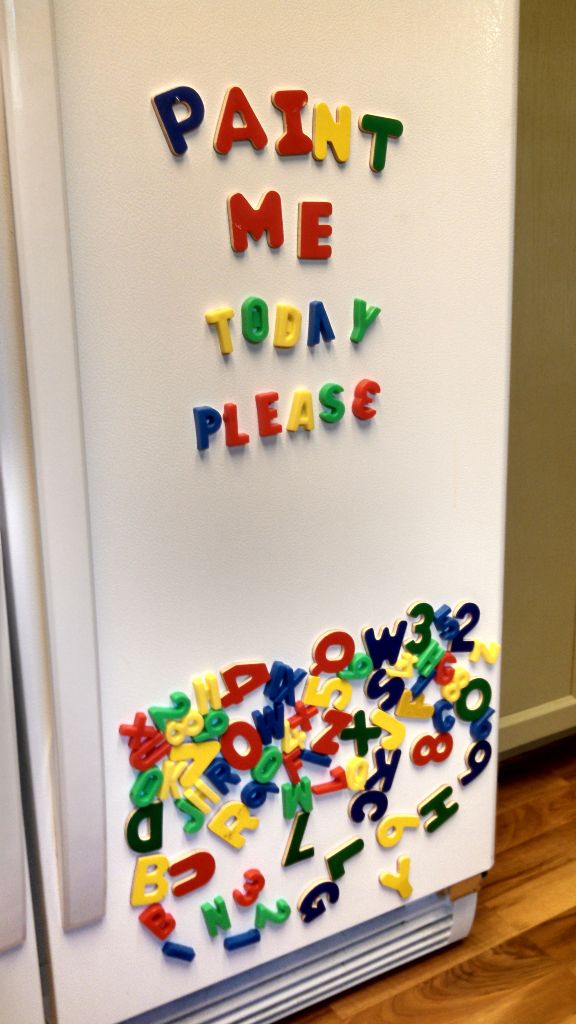
At my new house I have tried to keep my fridge a little more refined by only displaying some magnets at a time and rotating through my collection. Due to this attempt to be a little more grown up, since we moved in I have hardly used my alphabet magnets because they seem so wild on the fridge with all of their different colors. But having the alphabet around is so fun! So when I saw a pin on pinterest about painting alphabet magnets, I knew it was something I needed to do!
I decided to paint my two sets of alphabet magnets red! I use red as a fun accent color in my green and beige kitchen, so I thought it was the perfect choice. Matt had also requested a “fun” color! I picked up a can of plastic friendly, red, glossy spray paint and I got to work.
I was concerned about if the magnets would stick to whatever surface I painted them on, so I put them on a sheet of wax paper to paint them. This worked very well. The paint did get all over the wax paper, but the magnets just lifted right off the wax paper! I did a couple coats of paint… it was hard to get in a few of the small corners, so I moved around a lot when painting to try to get at those spots from different angles. I’m sure my paint job isn’t perfect, but they look good enough for me!
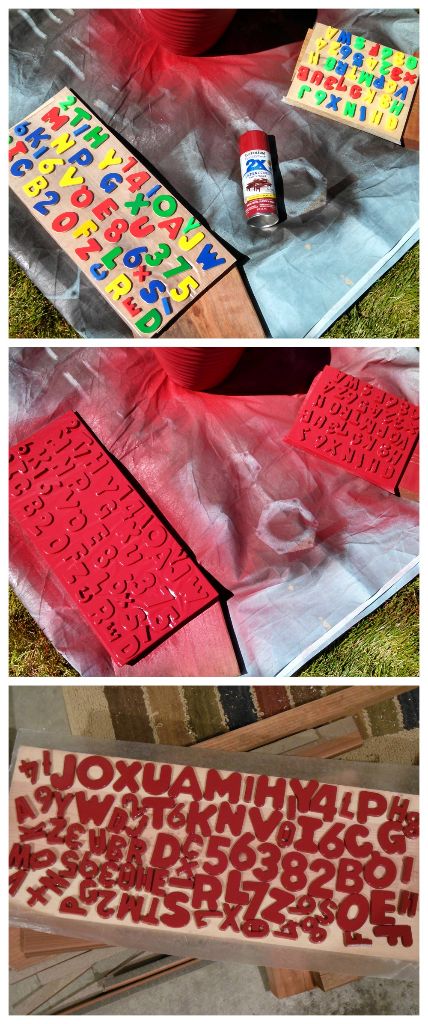 Painting them only took a few minutes and was pretty easy. Probably the hardest thing was laying them out before painting them! Also, I had been painting some other things too, so by the time I got around to the magnets, my right arm was actually shaking a little bit from all of the (oh-so-very) hard work of spray painting..! But aside from that, this really was a very simple project!
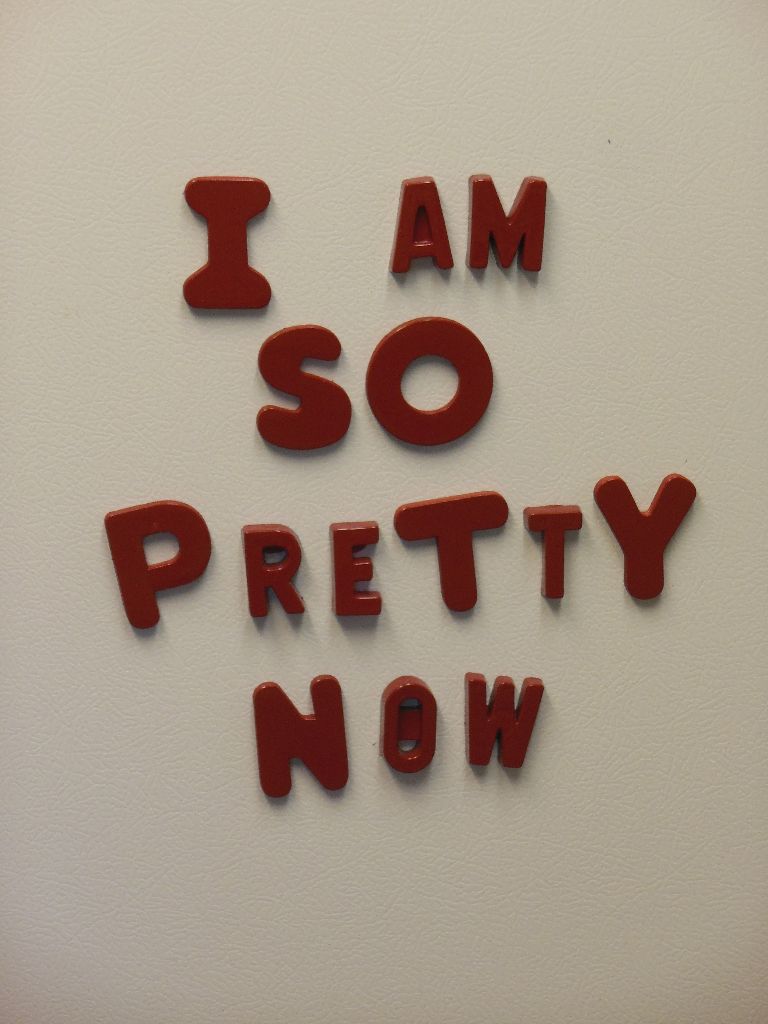
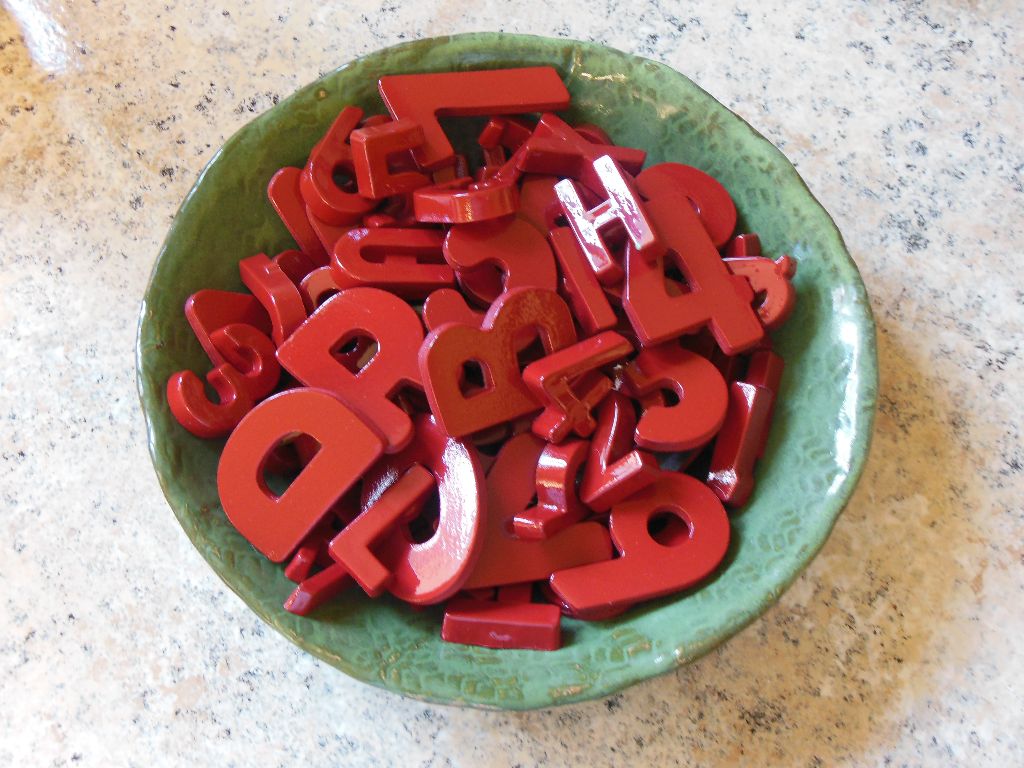
Now the magnets are finished and they are so happy to be back in my kitchen ready to be used!
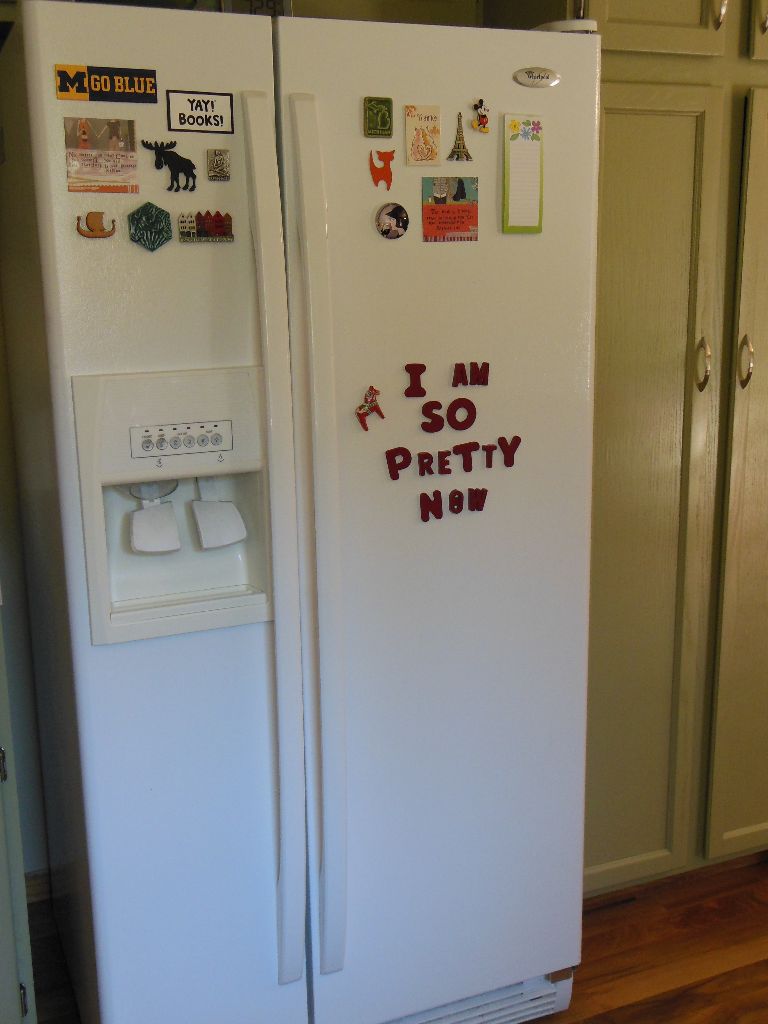
I also decided that when not in use, extra letters and numbers should live in a bowl somewhere in the kitchen instead of the front of the fridge itself. My mom does this and I think it helps to contain the cluttered look quite a bit! Thanks for the inspiration, Mom!
Now, what fun messages should I spell out on the fridge today?!