Fall Tour 2015 ~ Part 3

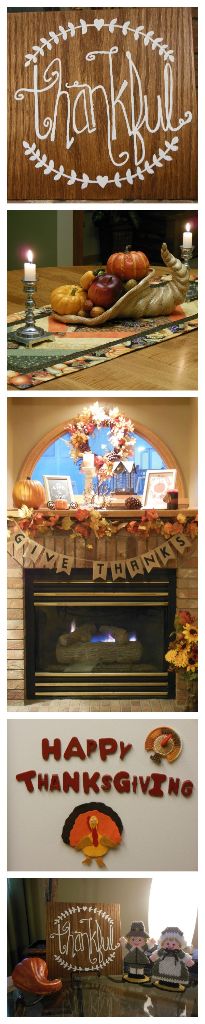
Happy Thanksgiving, friends! With the yummiest holiday of the year only a week from tomorrow, I thought it might be time to post some pictures of my Thanksgiving decorations. As you saw in Part 1, my fall décor starts with general fall items featuring pumpkins, leaves, earthy colors, and natural elements. In Part 2 I showed how I added Halloween accessories to some spaces. Now, for Thanksgiving, I have packed away the Halloween things and added a few Thanksgiving pieces here and there!

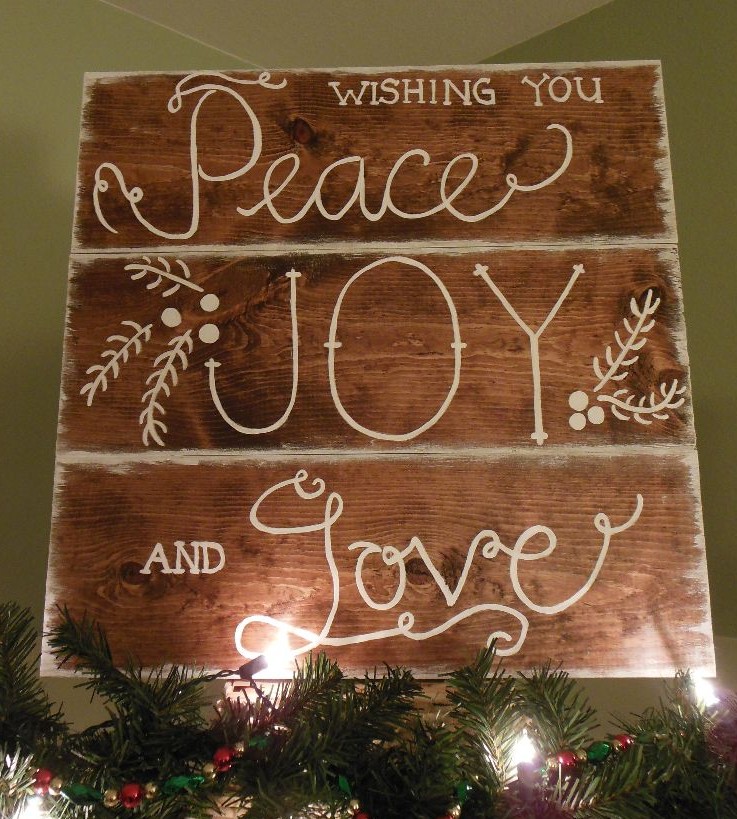
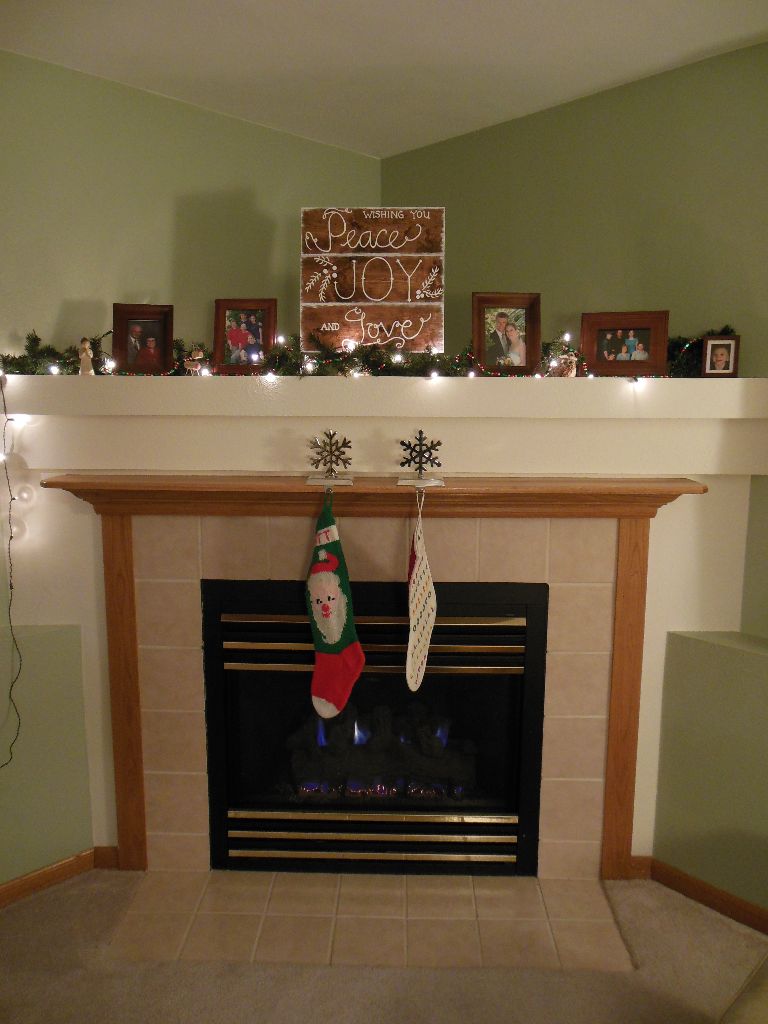
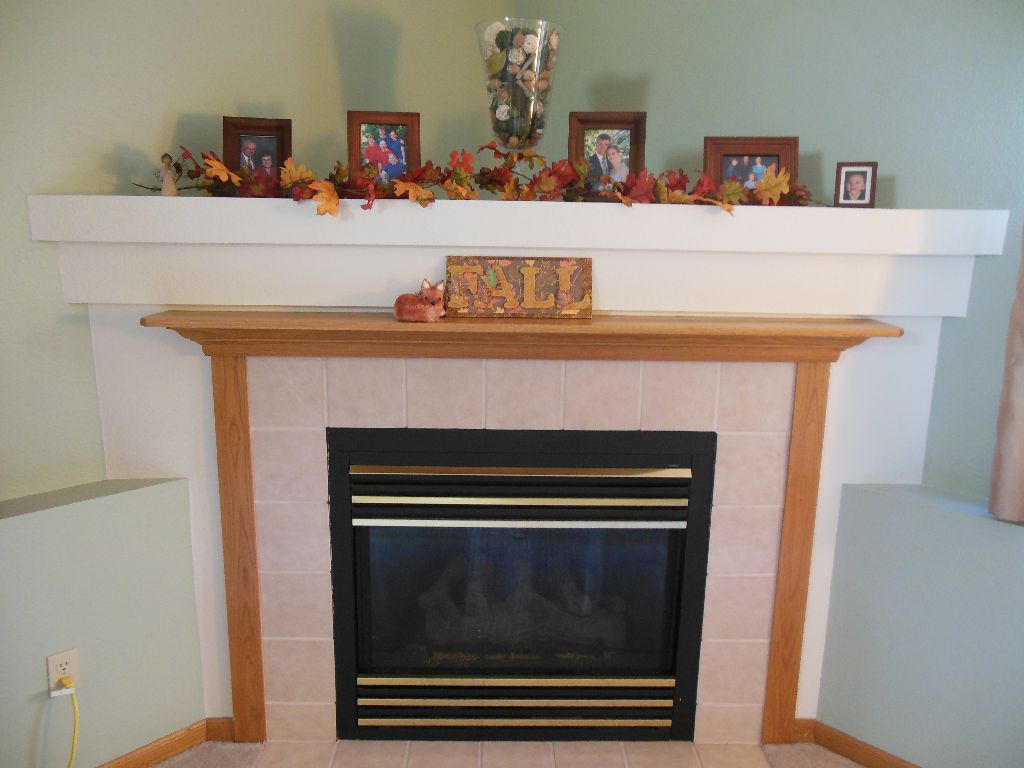
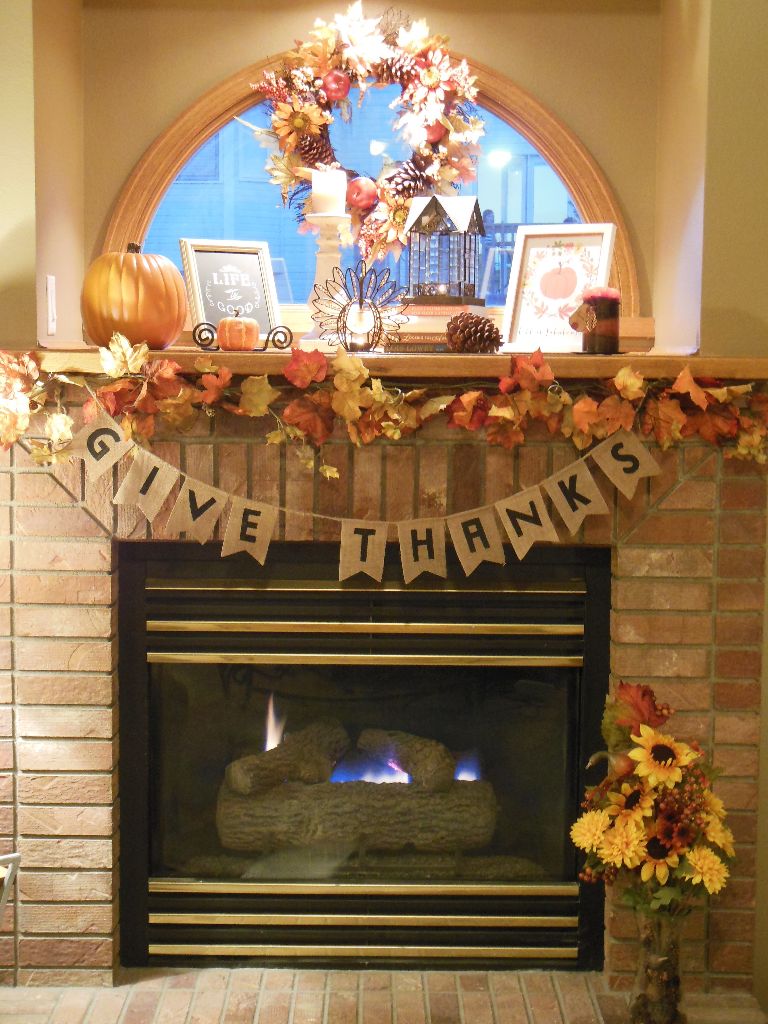
We’ll start the tour in the living room! I added a cute banner to the fireplace and a cute little turkey (he holds a candle!) to the mantel.

Fall3_2015_Fireplace

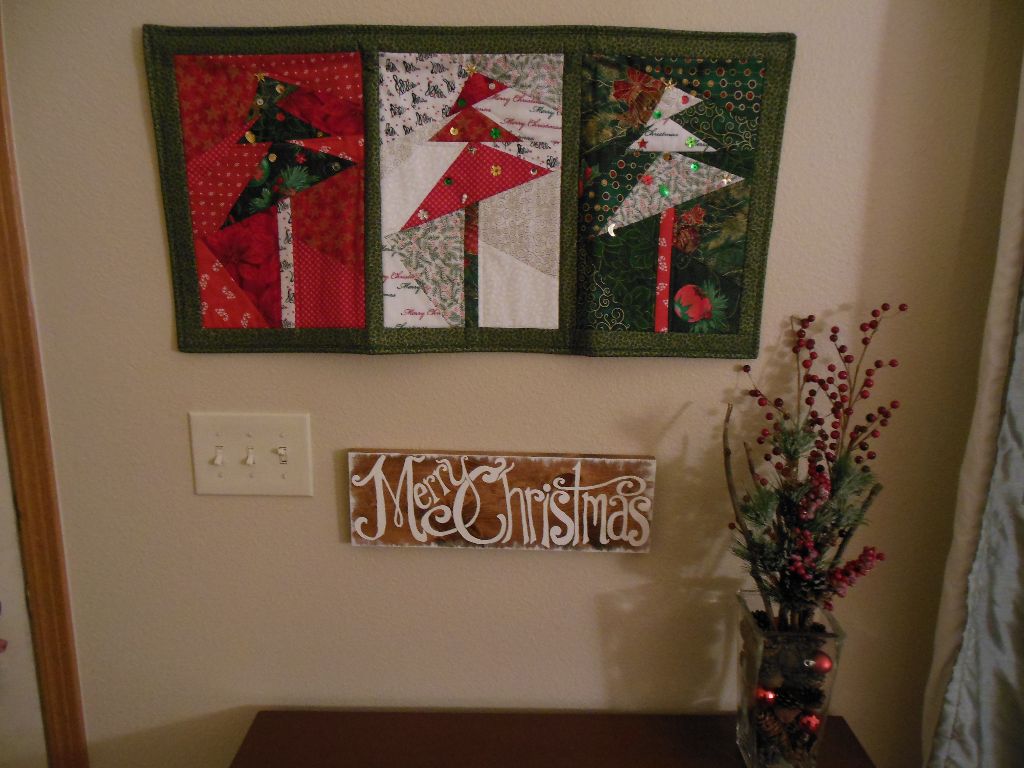
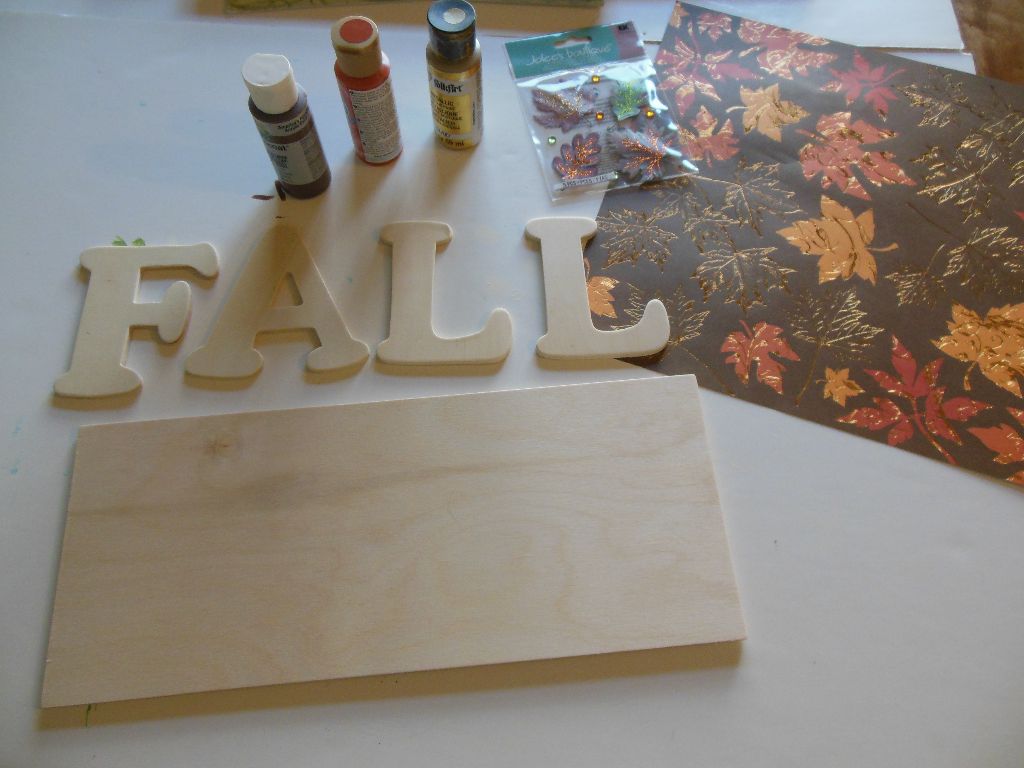
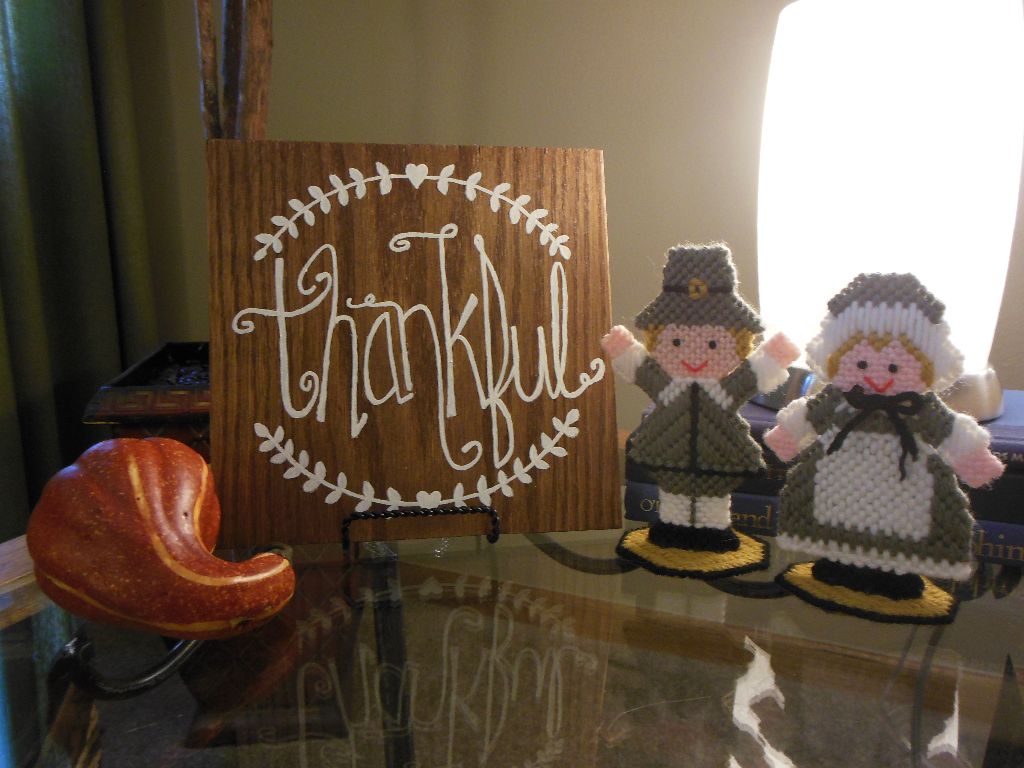
On the side table, I replaced my Halloween kitty and framed card with a “thankful” sign I made this year and two little pilgrims that my grandma made.

Fall3_2015_SideTable&ThankfulSign

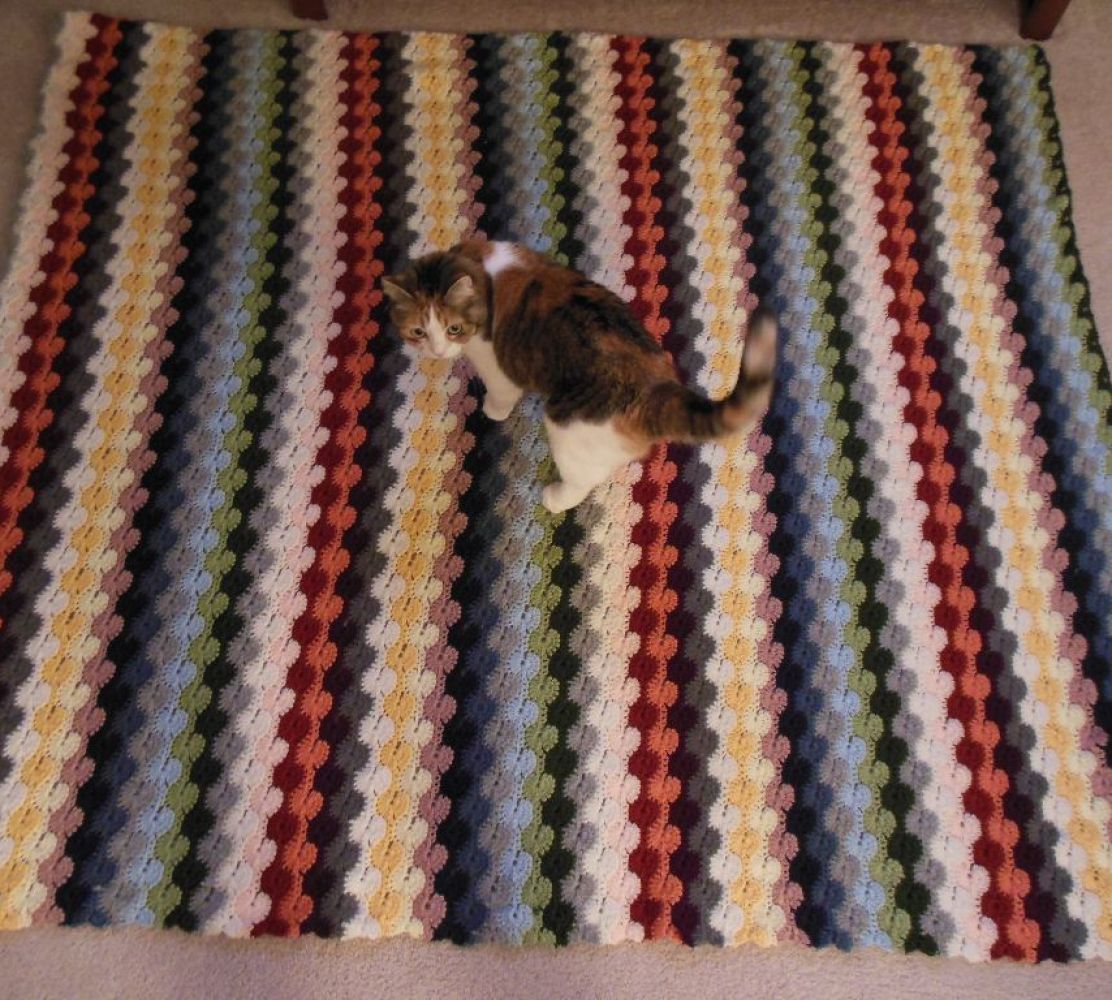
I also have a few turkeys here and there… Can you spot any in this picture?

Fall3_2015_StereoCorner

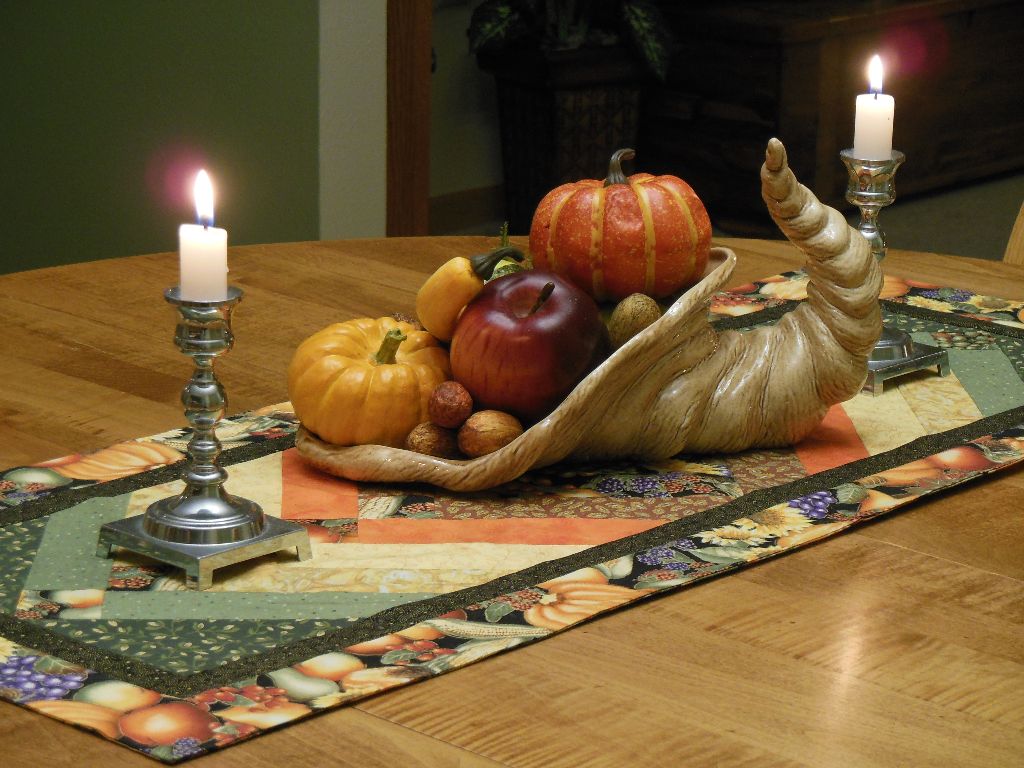
Moving on to the kitchen, I have replaced my centerpiece with a beautiful table runner that my mother-in-law made for me (it has moved around this fall — did you notice it in my previous posts?!), a cornucopia that my grandma made and used to have on a table at her house, and my grandma’s candlesticks!

Fall3_2015_TableCenterpiece

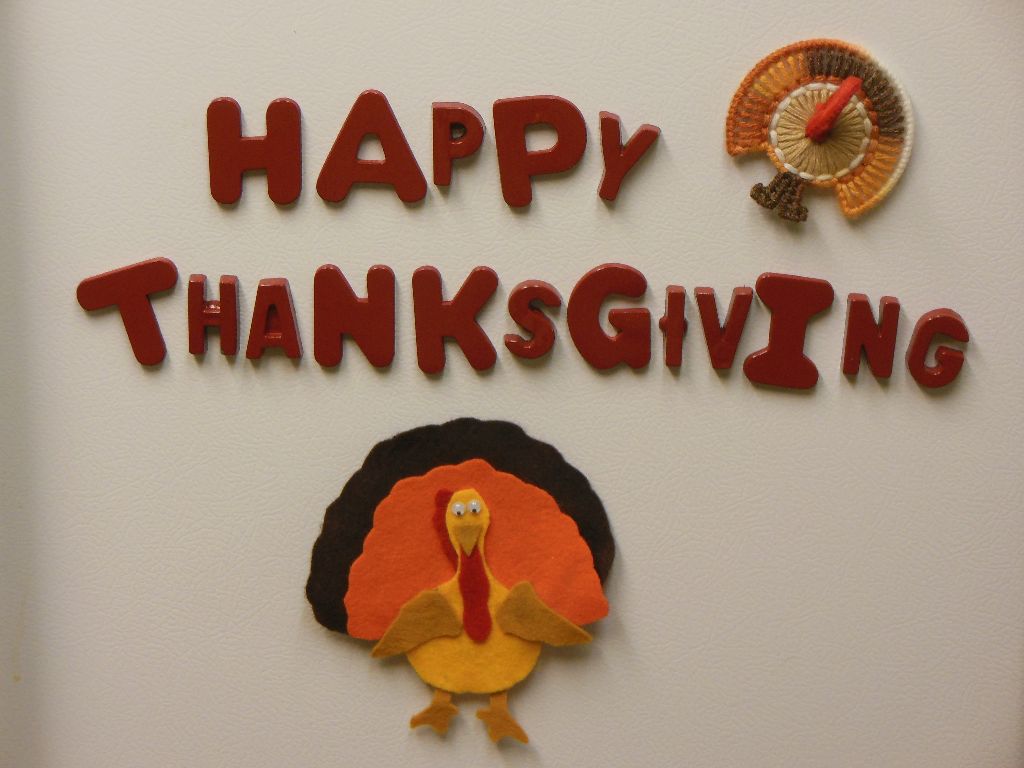
And lastly, I have a couple fun turkeys and a message on the fridge. My grandma made the plastic canvas turkey, and 5-year-old Jenna made the felt one. :-)

Fall3_2015_FridgeMagnets

That’s all for my fall tour(s) this year! I hope you all have had a wonderful fall!

Pin Me:

ThanksgivingDecor2015

Literary Sign Post

LiterarySignPost

I love reading. I also love my little slice of paradise (a.k.a. my yard & garden). So when my mom found this literary sign post on pinterest, I just knew I had to have one of my own to bring some of my literary worlds into my garden!

I ran the idea past Matt and he really liked it too. He’s not always on board with helping with my crafts, but he was excited about this one and even helped me pick out some of the locations to put on the signs! ;-)

The Wood

First we got the signs ready to paint. Earlier this summer Matt tore down the old dog run in our backyard from the previous owners, so we had a pile of aged wood and he also had some scraps in the garage. I picked out a few pieces and had him cut them down into points. He also had fun ideas to give some tails and to make one look like an arrow!

SignCollageBefore

Carbon PaperLettering & Painting

The problem was how to get the lettering on the signs. Stencils? Freehand? I wanted to use a variety of fonts and sizes and I was stumped on how to do it and be time-effective. Mom came up with the brilliant idea of printing the letters out from the computer and then using carbon paper to trace and transfer the outline of the letters! I found carbon paper at Office Max for about $7 for a pack of 12 sheets. Score.

Next, we painted! While the guys were working on my amazing deck and pergola, my mom, my sister-in-law Jillyn, and I worked on my literary signs! Mom handled the lettering and carbon paper and Jillyn and I did most of the painting.  Here are my helpers! Thanks, ladies! :-)

Sign post - in progress

The carbon paper worked perfectly on all but 2 of the signs — they were too dark and rough to handle the carbon transfer. On those two, Mom did cut out the letters and then use the paper as a stencil, but on all the others, the carbon paper worked like a charm. I had never crafted with carbon paper before, but I think I will probably find uses for it in the future now that I know how awesome it is.

SignPost&MattFinal Touches

Once all the signs were painted, Matt sprayed them all with a few coats of polyurethane from Home Depot to keep them protected in our harsh Colorado sun and weather! Then we put the post up in the garden and screwed on the signs.

I LOVE it! It’s just the cutest thing in my backyard!

LiterarySignPostDo you recognize all of the locations?!

Cool Things in My Kitchen

My new kitchen is full of awesome things and features. It’s a combination of things given to me and/or made by my family, and extra fun touches I added!

cute tea thingsWorking our way around the kitchen, the first awesome spot in the kitchen is my sink area. On the counter we have a little tea area, complete with a cute sign from a box of tea that my sister-in-law sent me from England! The sink itself is nothing too special, but the faucet is new and I just love it — the faucet pulls out and turns into the sprayer! It is so handy.

 In front of the sink we turned the cabinet fronts into tilt down trays. We used a Rev-A-Shelf kit to install the trays. These have added a great place to store sponges, scissors and a pen!

Kitchen sink

Next we have a bottle opener that my brother, Nickolas, made Matt. It has a really strong magnet inside it that catches the cap as it falls! So cool.

Bottle Opener

My favorite thing in the kitchen is my pull down recipe holder that used to be my grandmother’s! Also in this picture you can see the beautiful cutting board that Nickolas made us for Christmas last year!

Recipe Rack

Above the microwave is our liquor cabinet and I wanted to give it some personality… I lined it with a wild contact paper (so it will be easy to change later!) and it’s super fun!

Fun Liquor Cabinetwhisk me awayIn the picture above, the cute sign you see sticking out from under the cabinets says “whisk me away”. It makes me smile!

Next is my wonderful recipe holder that my grandpa made me. It’s full of recipe cards from my family, and recipes I’ve found in magazines and online. If a recipe is good enough to make again, it gets put onto a card and filed in my grandpa’s box. :-) I have the recipes sorted by category, and every recipe is inside a protective sleeve. This system works well for me because I can quickly find all of my favorite recipes, and the protective sleeves are easy to wipe off and clean!

recipe_holderKitchen wall arrangementI also have a really cute wall arrangement in the kitchen! Two of the pieces are by Curly Girl, who just has the cutest things. The other print is from Target, and the tea set is from South Korea!

Those are some of the cool things in my kitchen. What awesome things do you have in your kitchen?

Signs for Christmas!

I made some Christmas signs!

NOEL

I made “NOEL” out of wooden letters and a little wreath! I painted the letters (one of them used to be a zebra print pattern…) and wrapped little berry garland around the wreath. I also painted two stars and glued them together. I placed this “sign” above a little ledge in my kitchen.

NOEL signNOEL sign in kitchen I got the idea for my NOEL sign from a pin on pinterest. Unfortunately, it looks like the post that linked to this pin has been deleted… Anyway, I really like how the in the pin’s photo the letters overlap each other, but I couldn’t do that on my little ledge because it wasn’t deep enough.

(Also note that I tie ribbons around my cabinet doors and use cute little clothes-pins to display my Christmas cards! This was another idea from pinterest from the blog Greener Grass.)

Wishing You Peace, Joy, and Love

Next I made “Wishing You Peace, Joy, and Love”! This sign is my favorite. Matt bought me a 1×6 board and cut 18 inch pieces. Then he stained them and glued them together. Then I painted on the words and around the edges!

"Wishing You Peace, Joy, and Love" signChristmas sign on mantel

My mantel is so pretty with my new Christmas sign! (Also, aren’t our stockings adorable? And they still get used – we take our stockings with us every year to Michigan for Christmas and Santa still finds us and leaves us gifts!)

Merry Christmas

There was extra wood from my Love, Joy and Peace sign (above), so Matt stained it too and I turned it into my “Merry Christmas” sign! I hung this one by my front door with my beautiful wall hanging that my mother in law made me!

"Merry Christmas" signMerry Christmas sign by front doorThis was also a sign idea from pinterest! I hadn’t planned on making this one, but when I realized there was extra wood Matt had prepared, I had to go find another idea… and it didn’t take long! Gotta love Pinterest! This sign is Matt’s favorite. :-)

Signs of Fall

2013 Leaves 1Fall is here! I love fall! It has nice weather, scarves and boots, pretty colors, my birthday, Halloween, Thanksgiving, and the excitement that Christmas is right around the corner!

I was able to spend a little bit of fall this year in Michigan! Michigan has really pretty fall colors. I guess the colors peaked after I left, but I was able to see some pretty colors during my visit.

Back in Colorado things are pretty too! Our trees and mums are looking quite nice! Most of the colors around here are yellow, but occasionally you get lucky and spot a red or orange tree (we have a red tree at our house!).

2013 Leaves 3 2013 Leaves 4

The inside of my house is also looking nice! I have fall decorations out around the house – garland that Theo keeps chewing on, cute leaf and pumpkin bowls, candles, pillows, and a new fall sign! I was so pleased with my spring sign, that I made a fall one too.

Here is the fall sign on my mantel with my adorable fox from Pier 1!

Fall sign on mantel

Quick photo “instructions” (for better instructions, see my post on Signs of Spring):

Fall sign 1 Fall sign 2 Fall sign 4 Fall sign

Edit: a close up of the fox and the sign for my mom!

Fall sign with fox