Outdoor Living ~ Part 2

2015_Backyard

We have been very busy this summer improving our living spaces outside our home. Outdoor Living ~ Part 1 was about our front yard and front porch, and as promised, here is Part 2 ~ all about our back yard improvements!

Trees

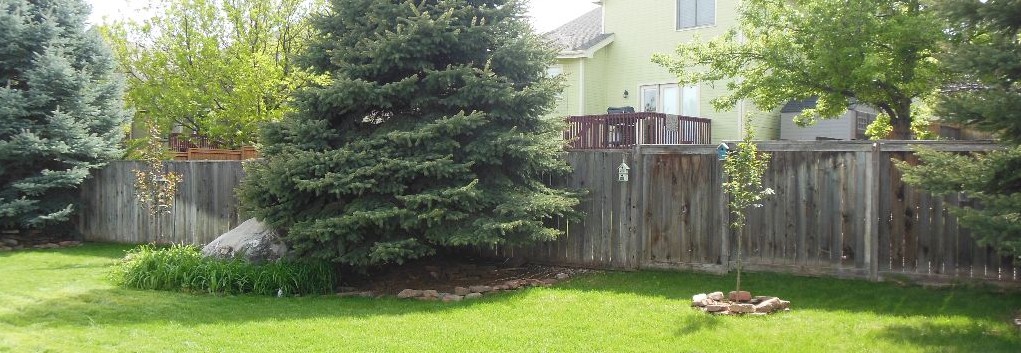
The first change we made was planting two new trees. We had some great big pine trees already, but I wanted some pretty flowering trees too, and more privacy, so we planted two crab-apple trees that will flower in the spring. One will have white flowers and the other will have pink flowers! I can’t wait to see their pretty flowers next year.

2015_backyard_trees

Decorations

Some small, but cute additions to our back yard this year are a garden spinner and a literary sign post. I gave Matt the spinner for his birthday — it’s fun to watch! And we made the literary sign post. So cute!

Spinner&SignCollage

Deck & Pergola

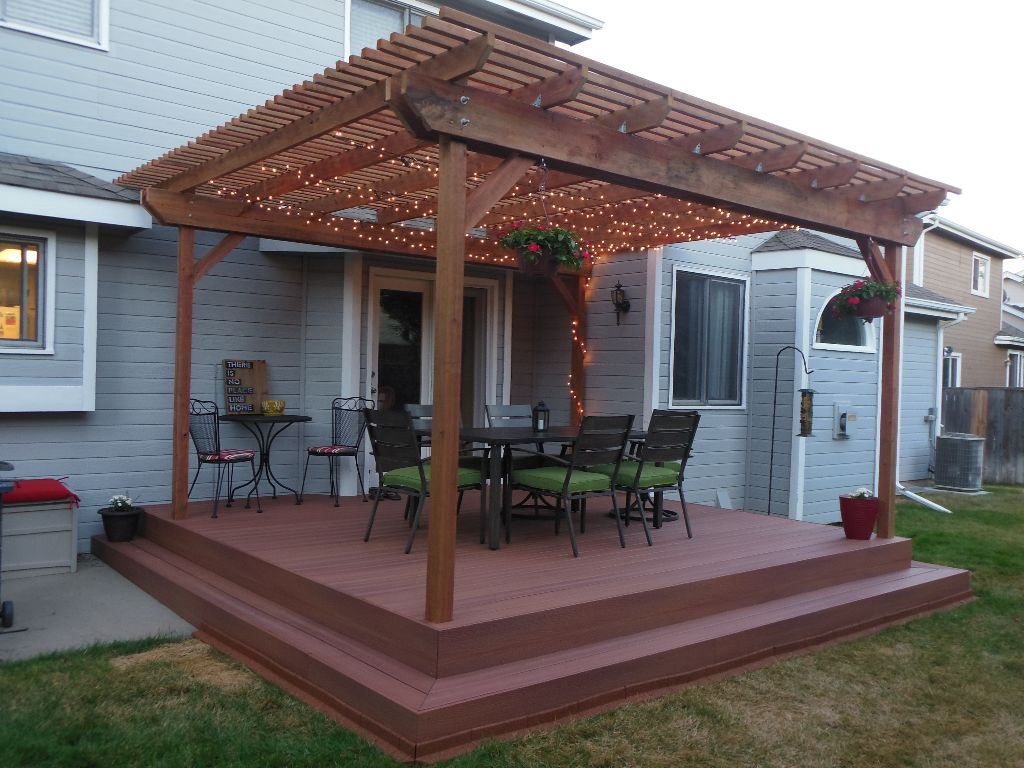
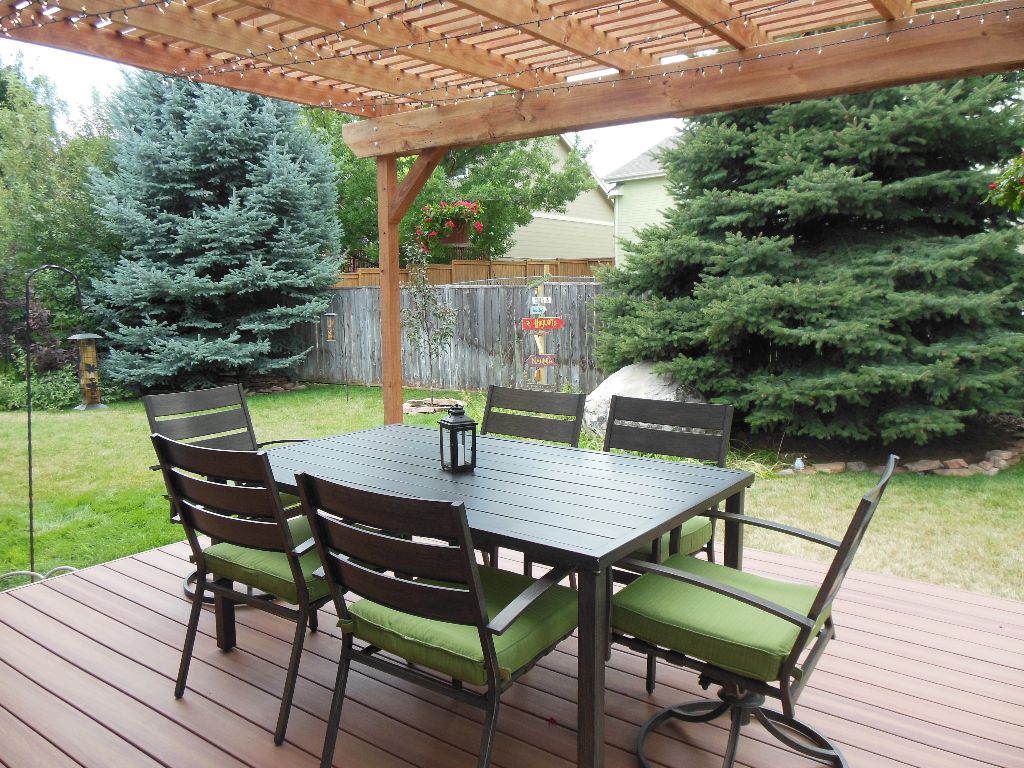
DeckProgressCollageThe biggest update in our back yard is our deck & pergola! When we bought the house, it had a tiny concrete patio. It was hardly large enough for our tiny bistro table and chairs and grill. Pathetic. So we talked with my dad and planned a deck and pergola! I collected some ideas on pinterest and showed all of my dreamy spaces to Matt and Dad. There were two I especially loved: this one has a great deck, pergola & fun lighting, and this one has a pergola with a separate fire area. (This year we did the deck & pergola. Another year we’ll do something about the fire area!)

Once we had our plans and our building permit, my dad and my brother Kristofer planned a trip out here to help Matt build the deck & pergola. They were hard, hard workers and nearly finished it in only 4 days of work! My guys are awesome!

A few notes on our deck & pergola construction:

  • We used composite decking and tried to closely match it to the red-tinted treated lumber that we used for the pergola. I think we did a pretty good job!
  • We used hidden fasteners with the composite decking, and it looks amazing! There are no exposed nails or screws, so we can happily walk around out there barefoot or in socks and not catch on anything! The thing we didn’t know about the hidden fasteners was that they are tedious to use… it took the guys longer to put down the decking than they were used to with regular wood.

After the pergola was built, we arranged the furniture, Matt hung up our fairy lights and Kristofer hung up a couple of hanging flower pots too! Those final touches really make the space. It is so cute!

I love that our deck has plenty of room for lots of seating! I searched and searched for the perfect furniture too — our dining set is from Ace Hardware. The bistro set is from American Furniture Warehouse and we’ve had it since we bought our first house.

Deck&Pergola

The finished product is so beautiful and even better than I’d imagined. I just love it.

Sometime in the future we’ll work on a walking path, a fire pit, planting more flowers and maybe even a vegetable garden… but for now, we’ll sit back on our new deck and enjoy the shade. :-)

Thank you, thank you, thank you to Dad, Kristofer, and Matt for working so hard to build such a wonderful outdoor space for us to enjoy.
Outdoor Living ~ Part 1

2015 Front Yard - mjblythe.com

I am sure it will come as a shock to no one that I have grand plans for our yard. But since we cannot possibly do all of my projects at once (I have projects in mind for inside the house too, of course!), we have to pick and choose what to work on. This spring and summer we are focusing on our outdoor living spaces! First space completed: the front of our house!  Our front yard, porch and door have all received a few updates this spring and summer! :-)

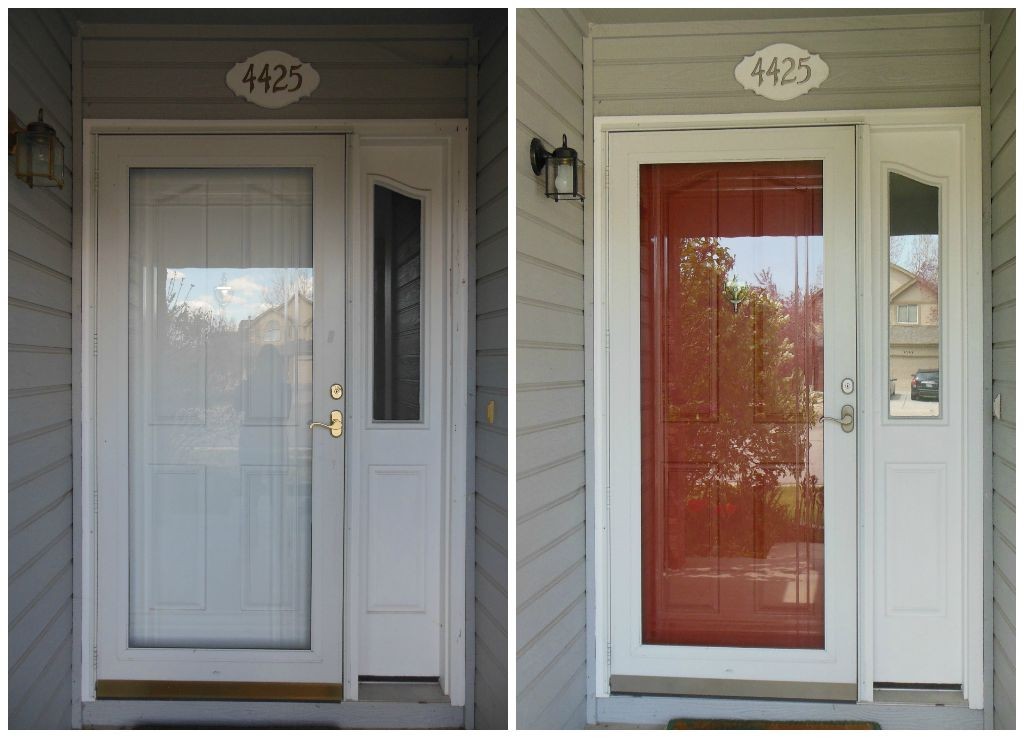
First, we painted our front door — inside and out! It used to be white and boring and now it is red on the outside and green on the inside, and I love it. According to a little book I have, Fortune-Telling Book of Colors (Chronicle Books LLC, 2014), a red front door means, “Your home is filled with love, and you welcome visitors with open arms. A red door is also believed to draw prosperity into a house.” That all sounds good to me! But they forgot to mention that it’s adorable too.

2015 Front Door - mjblythe.com

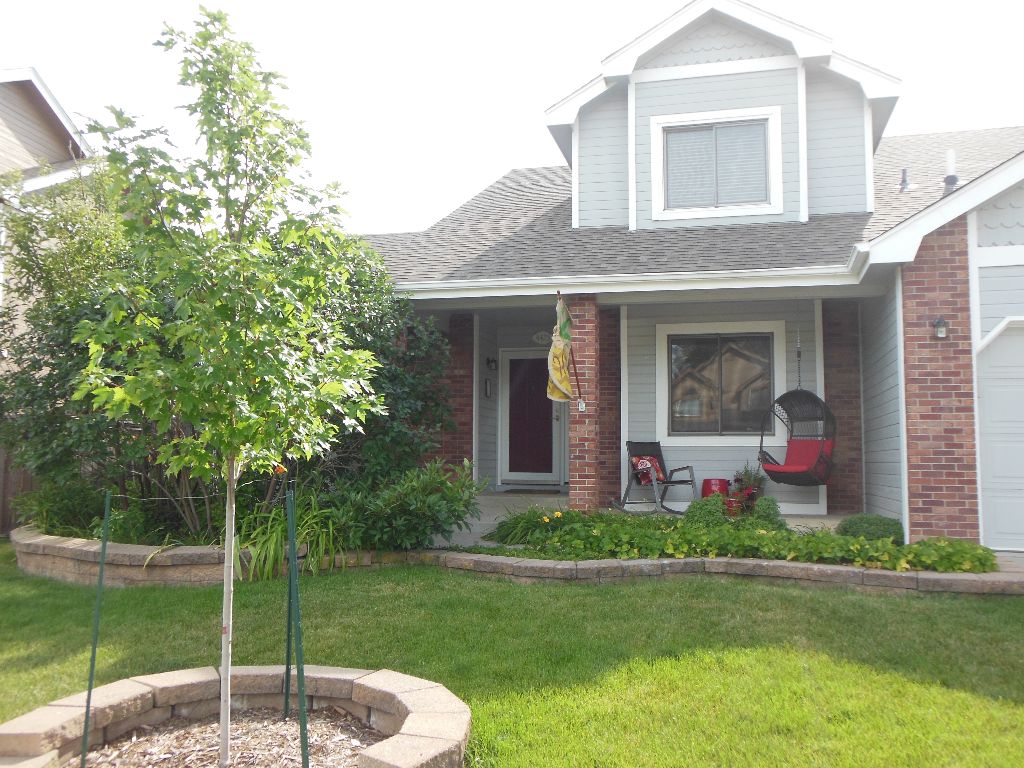
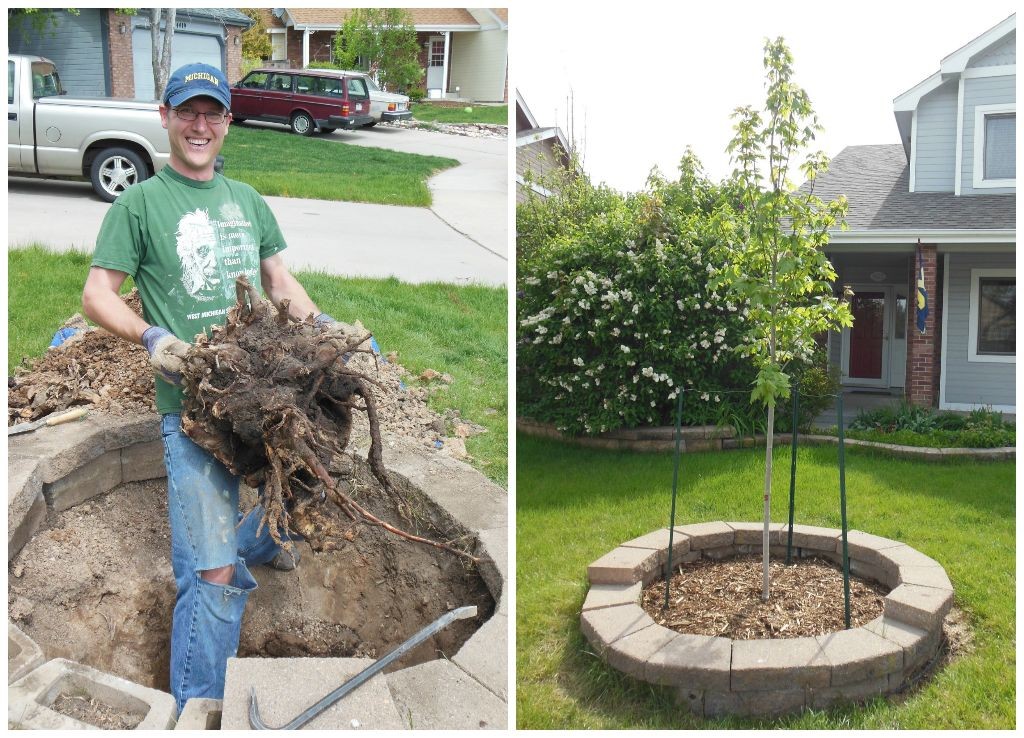
Next, we planted a new tree in the lonely circle in the middle of the front yard. Turns out the previous owners left an old stump there and just planted grass over it… so first Matt had to dig out the stump. This was a lot of work, but he finally beat the stump and on the fourth of July we cooked hot dogs and s’mores over it. Take that, stump! And our new tree is so nice and has already grown a lot.

2015 Front yard tree - mjblythe.com

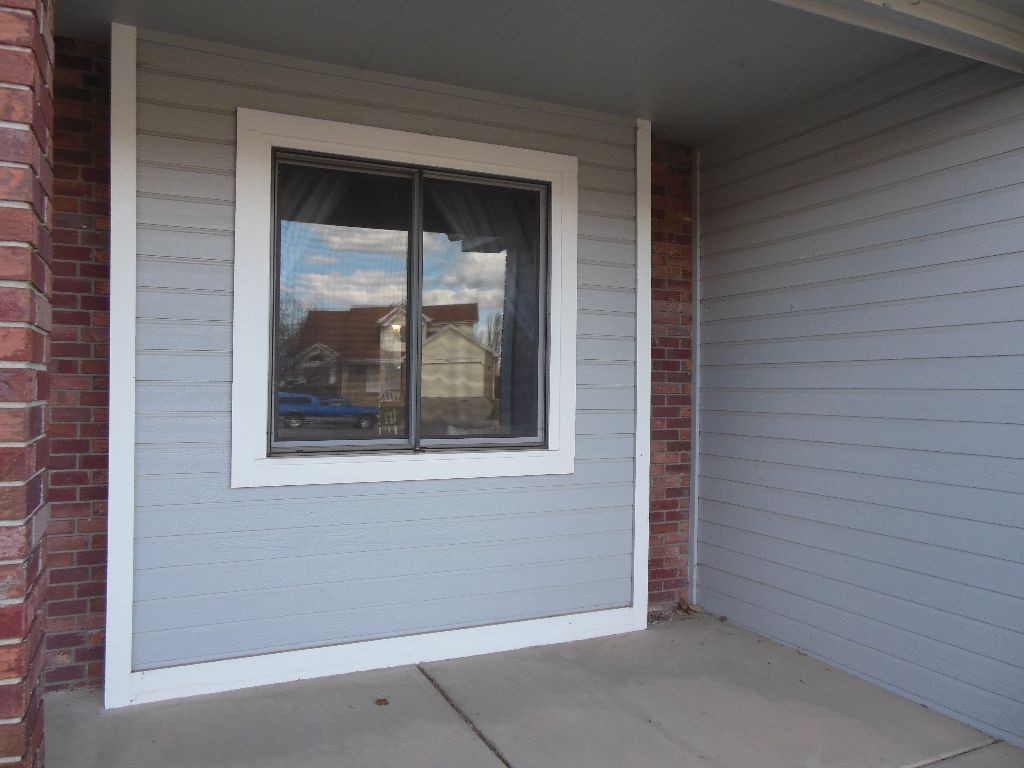
And last, but not least, our front porch is (finally) decorated! Last year it sat looking sad and lonely, and we never used it.

Lonely front porch

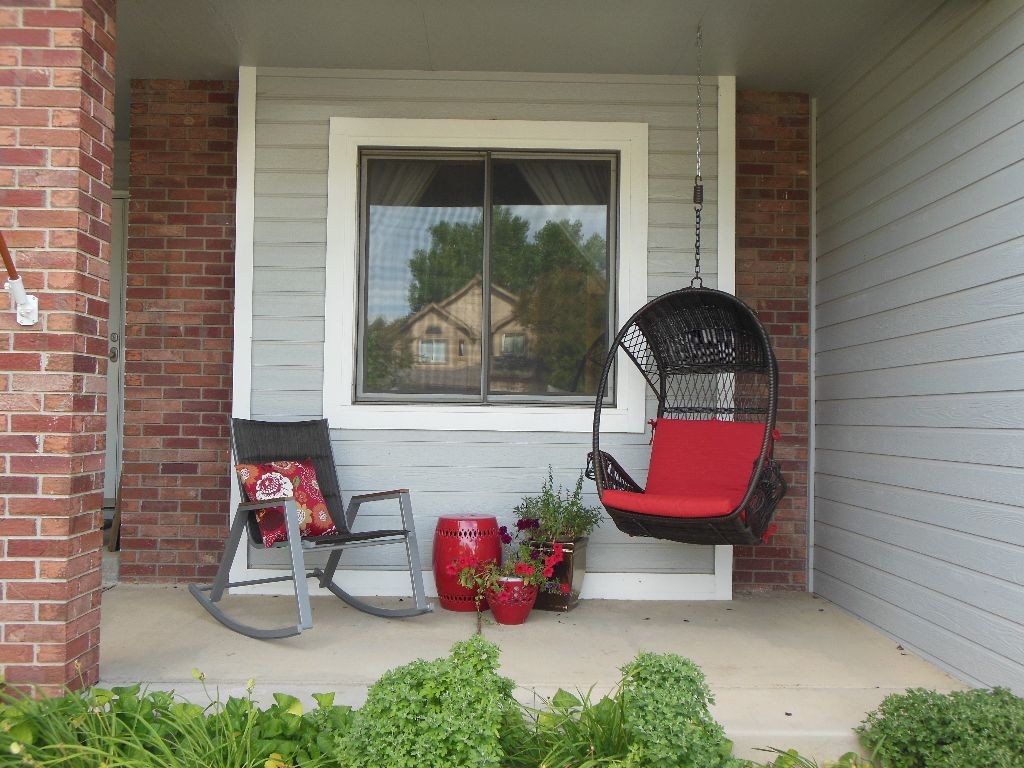
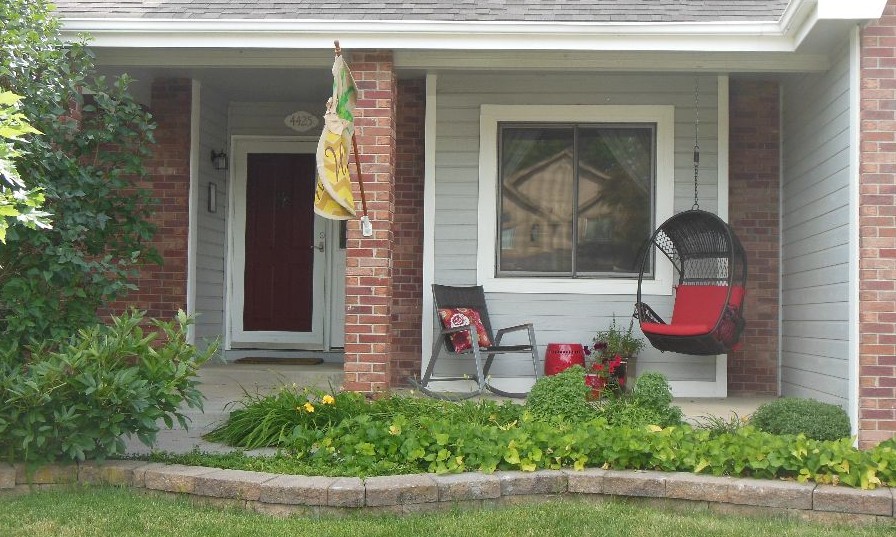
This summer I gave the porch some love! Now it’s so cute and we have been using it a lot. We like to sit out on the porch and have a drink or eat dessert, relax and talk, wave to and chat with the neighbors, and I’ve even watched a few rain storms from there too! It’s covered and mostly protected from the elements, so it’s perfect for storm watching.

Front Porch 2015 - mjblythe.com

Ingredients:

  • Swingasan chair from Pier 1 (I call it the “basket swing”) with a red cushion from Target. This chair is apparently an object of envy — I’ve had at least 4 neighbors comment on it!
    swingasan - mjblythe.com
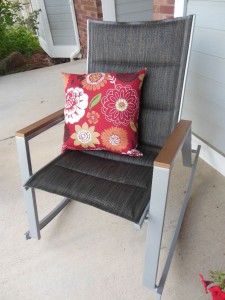
  • Rocking chair from Target with a floral pillow from Lowe’s
    Front porch rocking chair - mjblythe.com
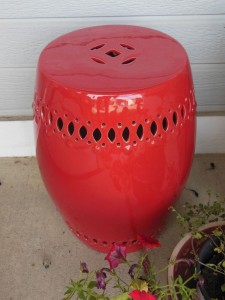
  • Red garden stool from Home Goods (Seriously, those things are SO expensive. If you want one, check your local Home Goods or a similar store. The prices there are much better!)
    DSCN7360
  • Flower pots and flowers (we have problems remembering to water them though..!)

2015 Front Porch 2 - mjblythe.com

So that’s the front of our house this year! I’m very pleased with the changes. Thanks to my wonderful and (mostly) patient husband for all his hard work!

Update: Check out my post Outdoor Living ~ Part 2 too — we made some changes in our back yard as well!


Laundry Room

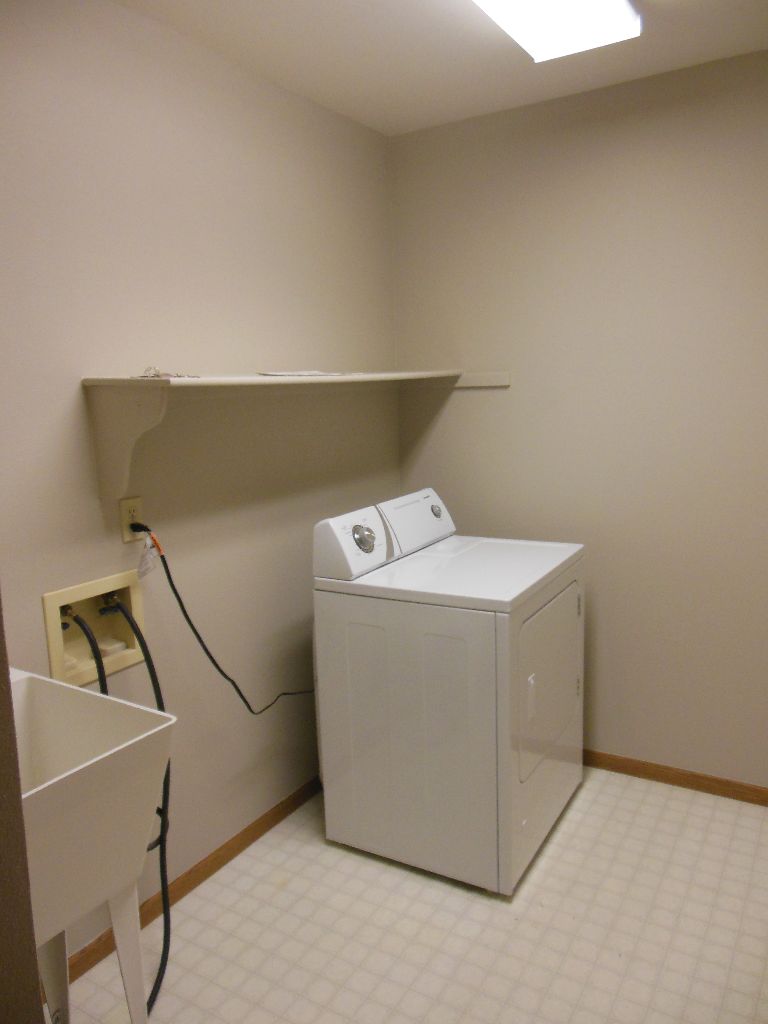
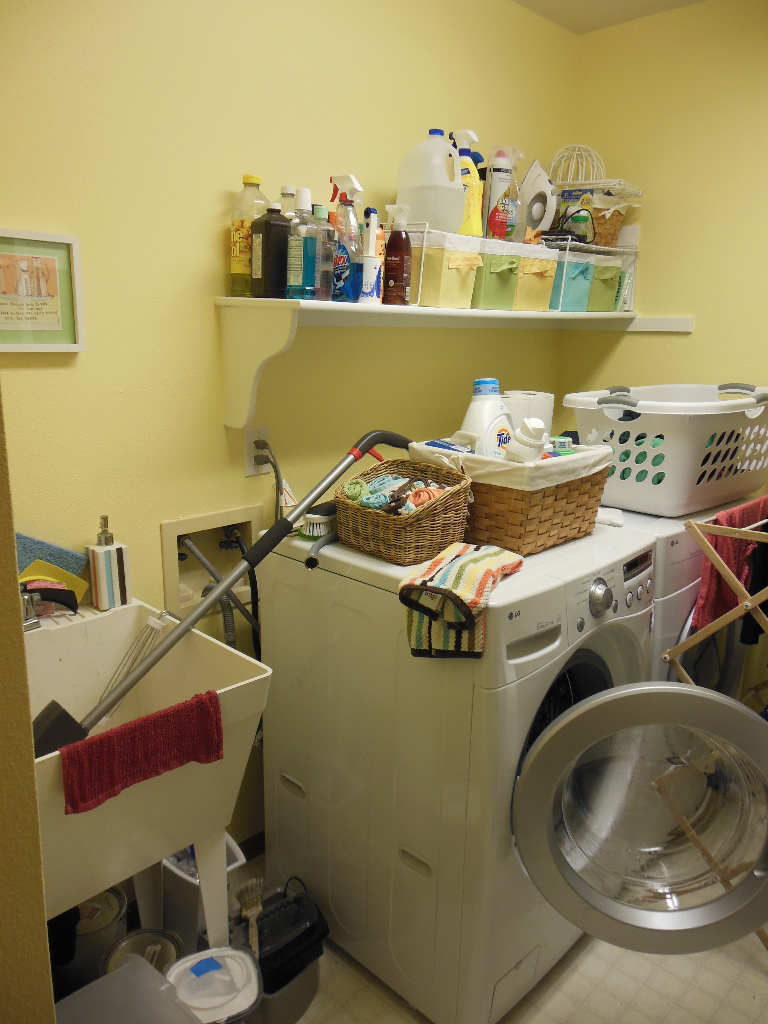
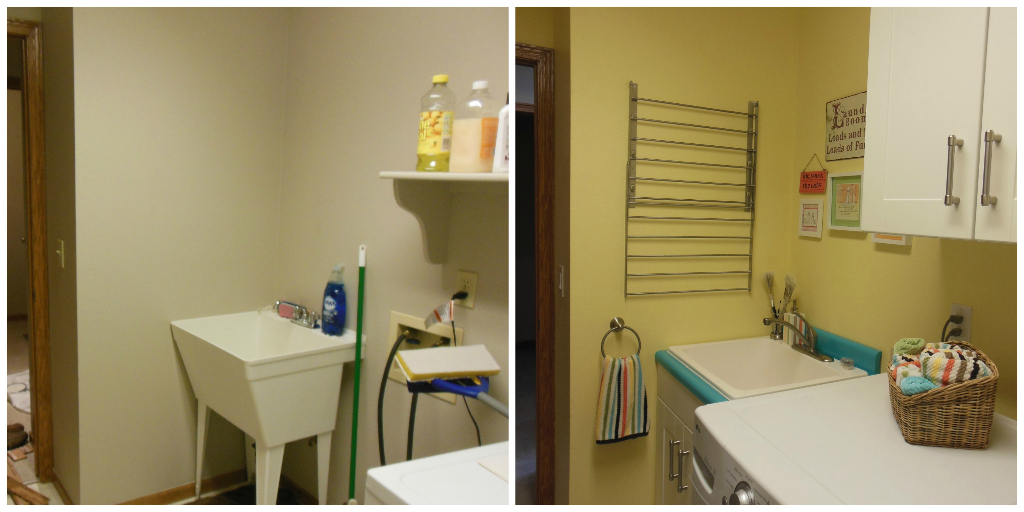
It has been a work in progress for a while… but my laundry room is finally finished receiving its makeover! (Until we tile the floor..?!) When we bought the house in March 2014, this room only had a sink, a shelf, and a dryer. That’s not even close to enough storage. Updating this room was one of my TOP priorities. It was the first room we painted, and one of the first to receive attention from my handy father too. Dad helped us install a mud room wall, a new vanity and sink, and cabinets over the washer and dryer. It’s a completely different space from a year ago!

Before: Laundry - Before

After we moved in, to no one’s surprise, this room needed serious help. It was an absolute mess and it drove me nuts. The picture is embarrassing.

Laundry Room - help!

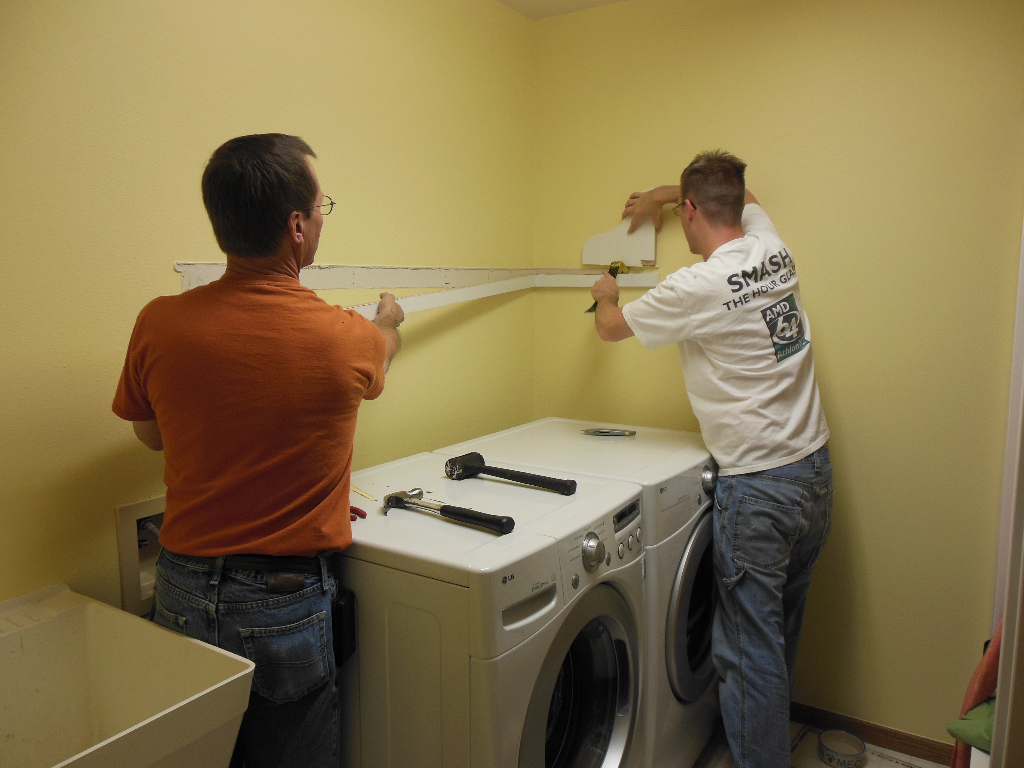
Here are my amazing workers (my dad and my husband) getting ready to install the cabinets. Thanks guys!

Laundry Room - in progress

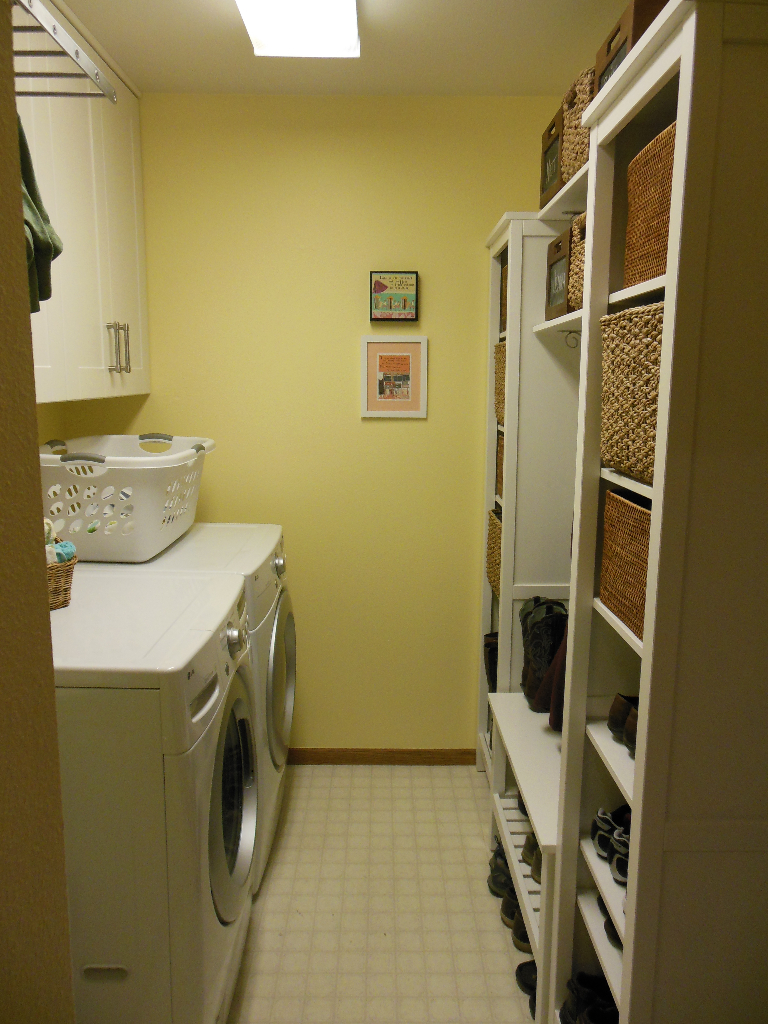
After the updates:

Laundry Room - After

It’s just beautiful!

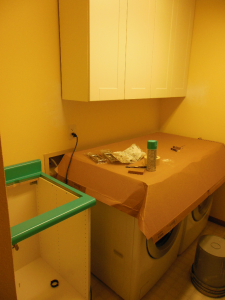
Laundry Room - in progress 2The cabinets over the washer and dryer and the sink base/vanity are from IKEA. We wanted a deep utility sink instead of a kitchen sink though, so we decided to buy the sink somewhere else. The problem with this is that the IKEA pieces are in European sizes, not US sizes… so we had a hard time finding an easy solution for the counter top and sink. We ended up buying a new drop in utility sink and buying a used piece of counter top from our local Habitat Re-Store, cutting it to size and painting it blue. I wanted a wild color there… and I LOVE it!

In the new sink cabinet base we also have a hidden kitty litter box. It’s amazing. Check out my post on that project here!

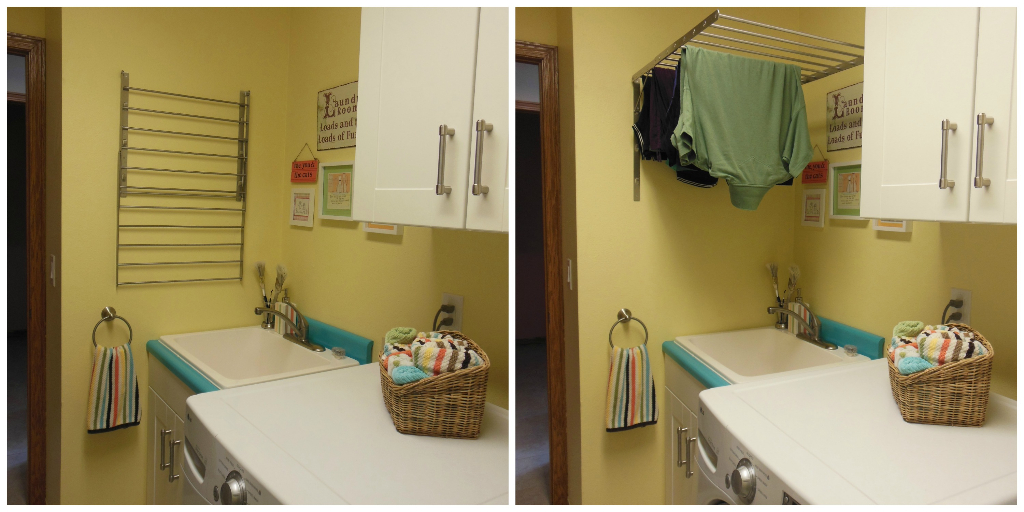
The drying rack is also from IKEA, but Matt modified it. I hang dry a LOT of clothes, and the standard rack off the shelf wasn’t large enough… so we bought two and Matt took them apart and combined them to make one long rack with more rods. It’s perfect and awesome. We were careful to hang it high enough over the sink that we can still easily access the sink while clothes are hanging.

LaundryDryingRack

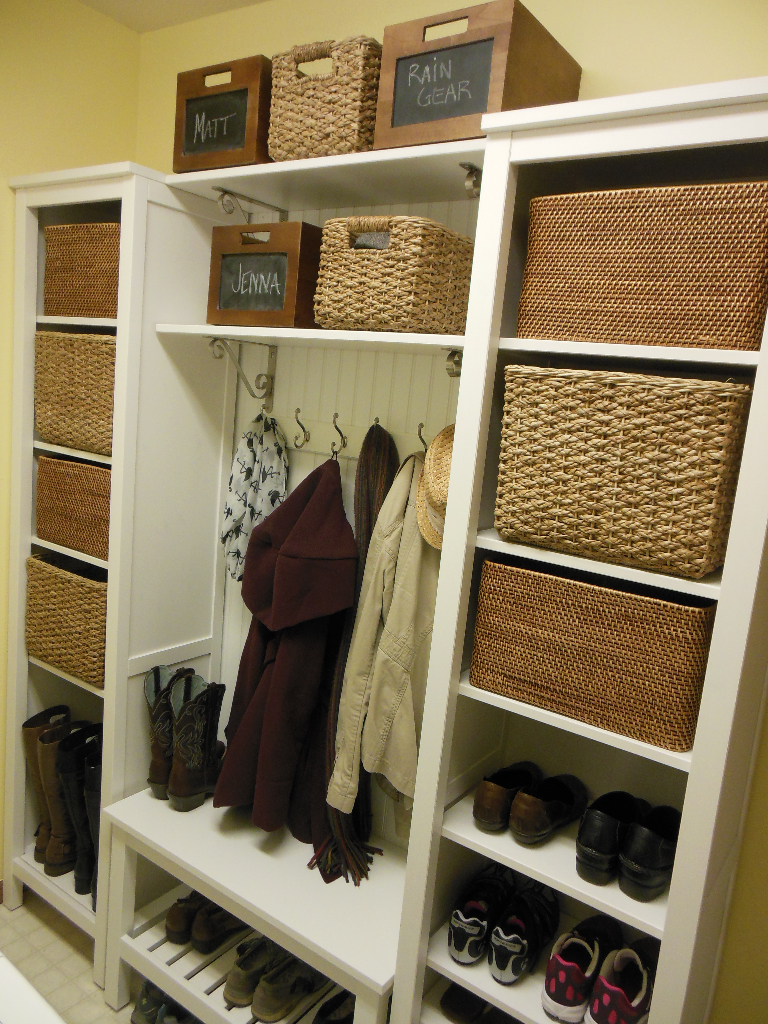
The mud room wall also has pieces from IKEA. They seriously know how to utilize space! Our wall consists of:

  • 2 IKEA “Hemnes” bookcases
  • 2 IKEA shelves
  • 1 IKEA “Hemnes” bench
  • Bead board
  • 1 Hook Rail

The new mud room wall is beyond awesome. I am so pleased with how it turned out! I had searched pinterest for days before deciding what I wanted… and I’m so happy with my solution.

Laundry Room Mud Wall - AfterThe adjustable IKEA shelves allow us to store all kinds of strange sized shoes, from tall boots, to flip flops! I also selected a few different baskets to keep things interesting. The baskets are from Target and Crate & Barrel. Matt really likes the ones with the chalkboard!

In the baskets we are hiding things like:

  • Helmets and cycling accessories
  • Hats and gloves
  • Umbrellas
  • Sunglasses

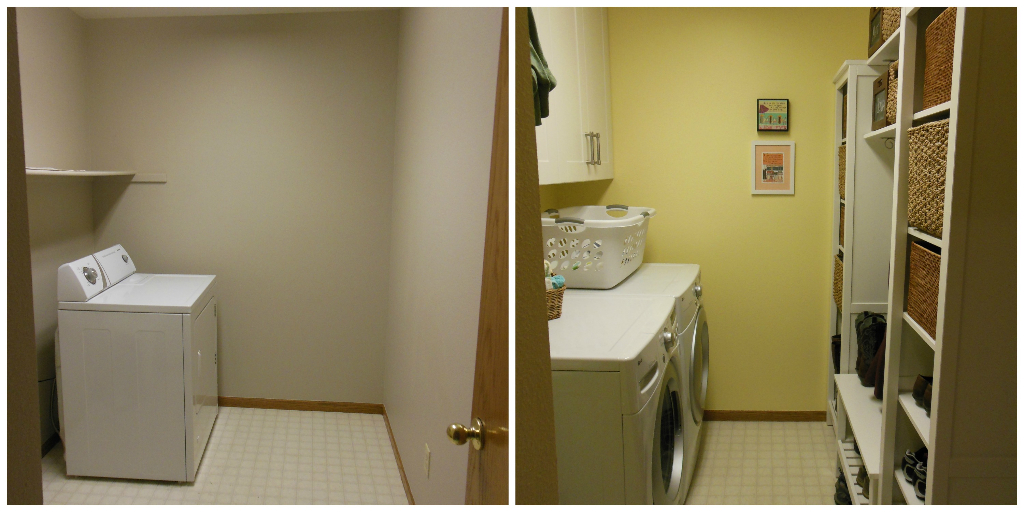
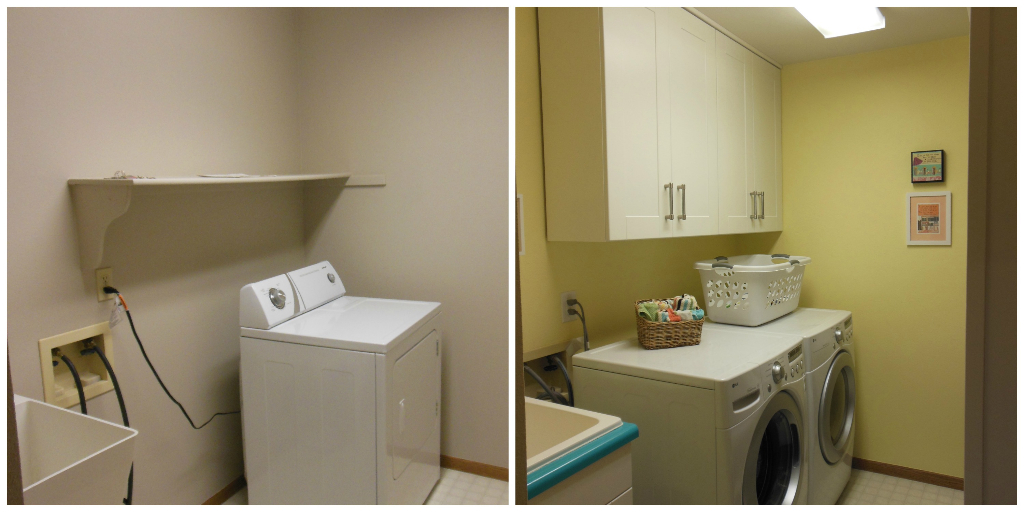
Here are some fun side-by-side before & after pictures:

LaundryRoom2LaundryRoom1LaundryRoom3

It may have taken a while to get this room put together, but it was worth the wait. It’s just what I wanted! :-)

Pin Me:

LaundryRoomPin


Christmas Tour 2014

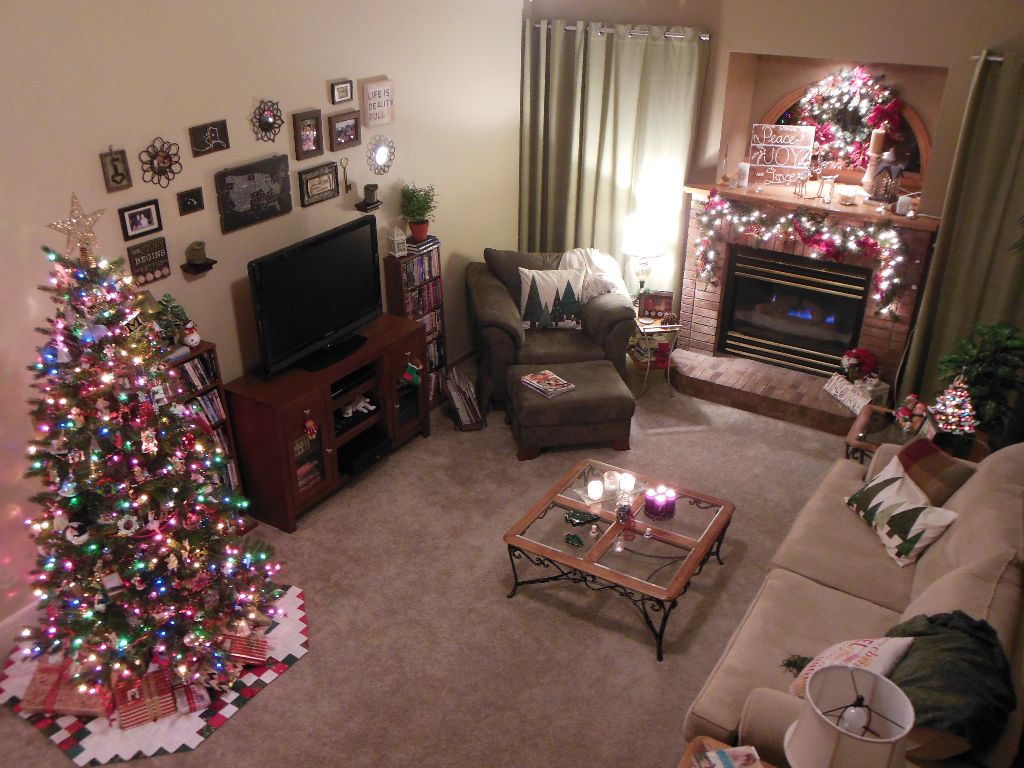
Since it’s our first Christmas season at our new house, I had a lot of work to do in the decorating department this year! I had to find places for all of my items. And I’m loving how things turned out. Here’s a quick little tour!

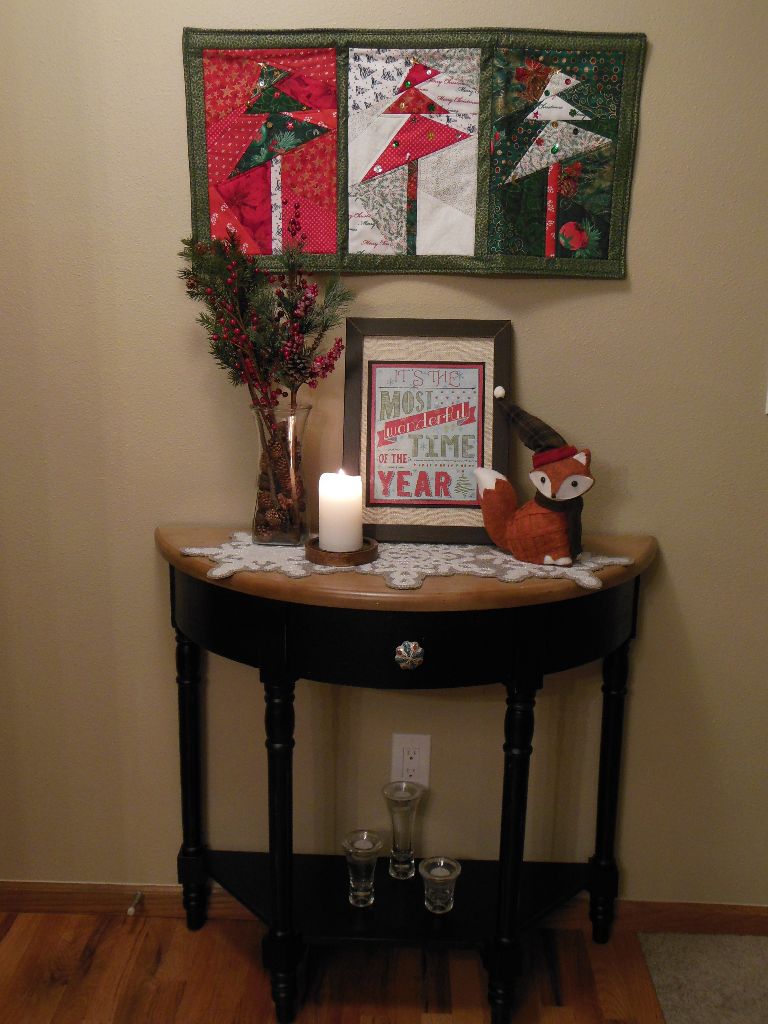
We’ll start in the entryway. I put together this adorable arrangement that makes me smile every time I pass it. :-)

Christmas Entry Way

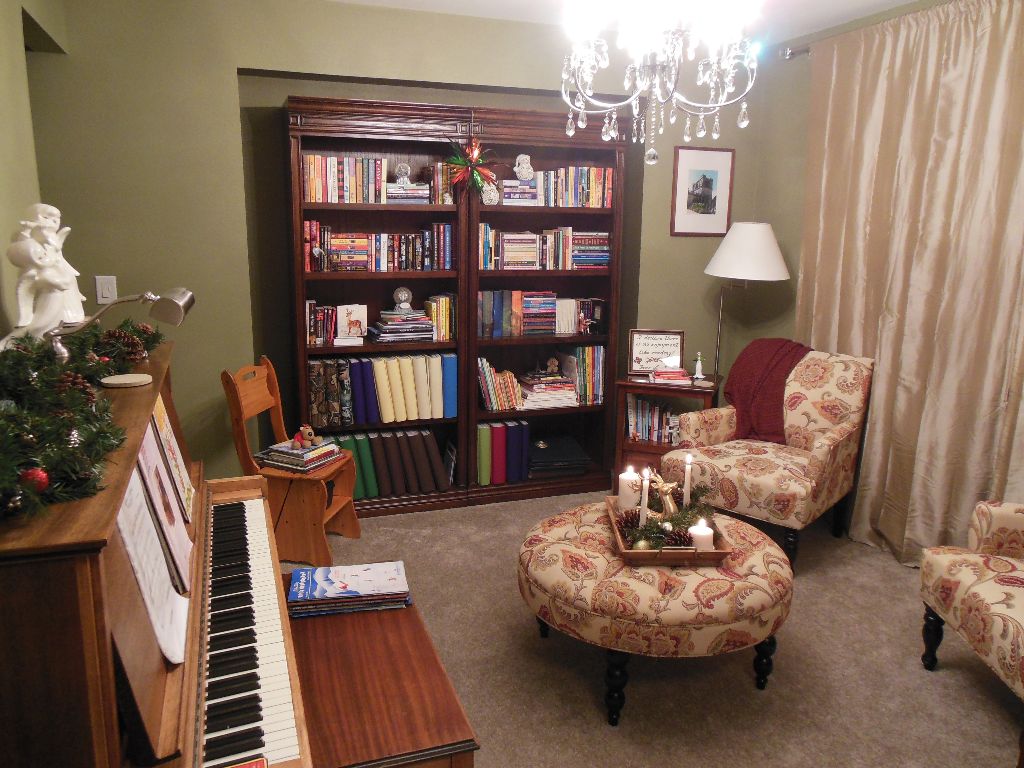
From the front door you can see our Christmas tree! But before we go into the living room, we’ll visit the Jane Austen Room. I love how this room’s Christmas decor came together.

Jane Austen Christmas 2014

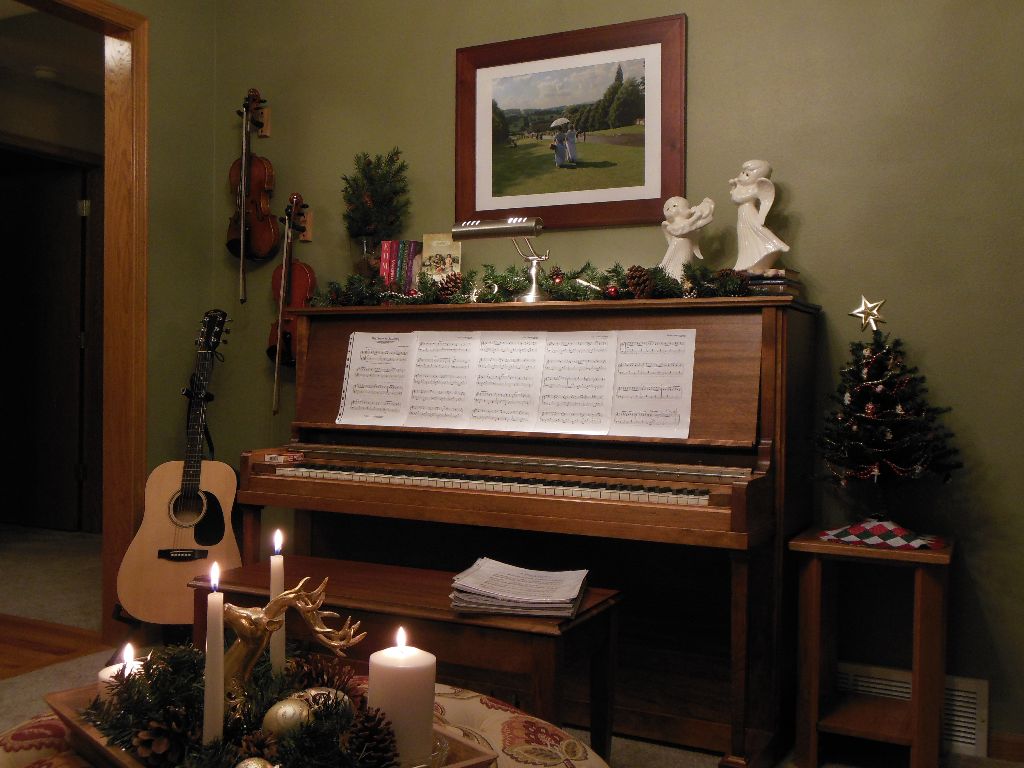
My grandmother made the ceramic angels on the piano.

Christmas Piano 2014

Inspiration for the tray came from The Fancy Shack.

Christmas Tray 2014

Jane Austen Christmas 2014 - tray and chairs

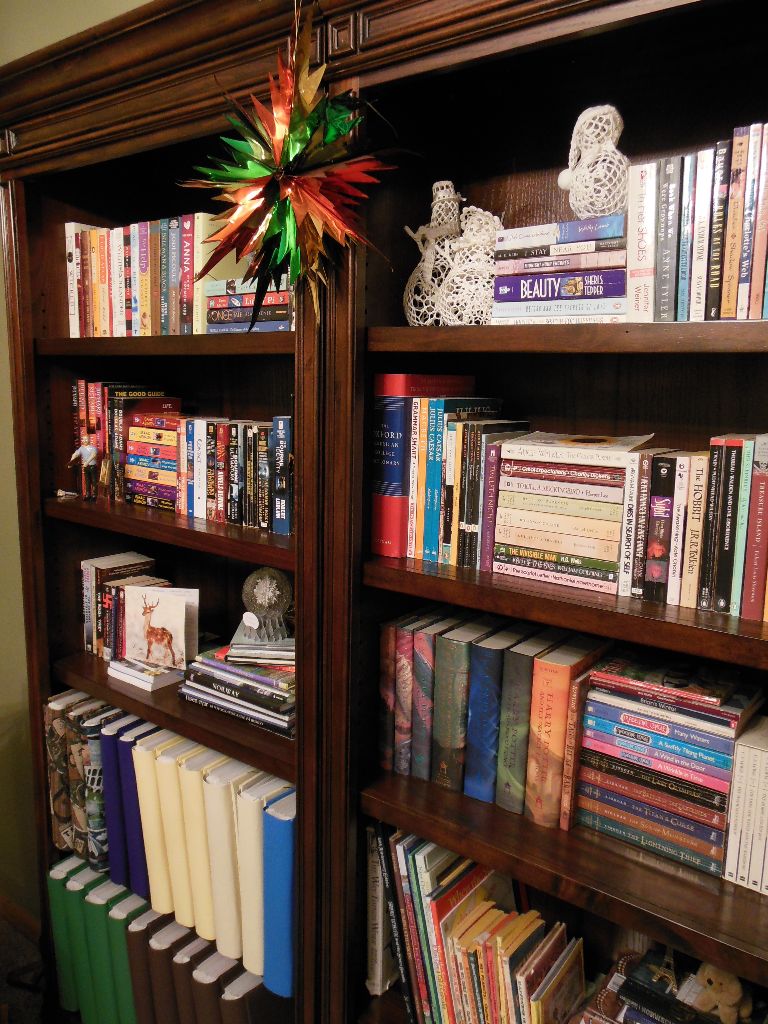
Christmas Bookshelves 2014

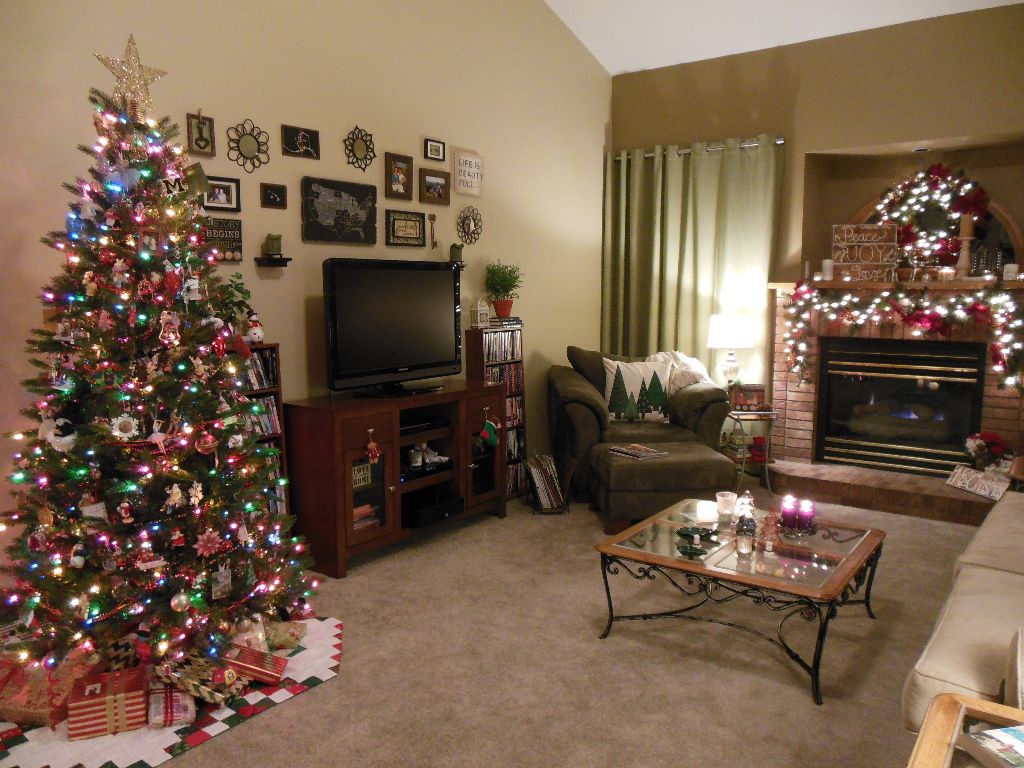
Let’s move on to the living room… It turned out really nicely too! I really wanted a bigger tree this year, but I couldn’t get Matt on board… I’ll try again next year. ;-) This living room definitely wants a taller tree! But even with the small tree, my living room is so pretty!

Christmas Living Room 2014

Christmas Living Room-2 2014

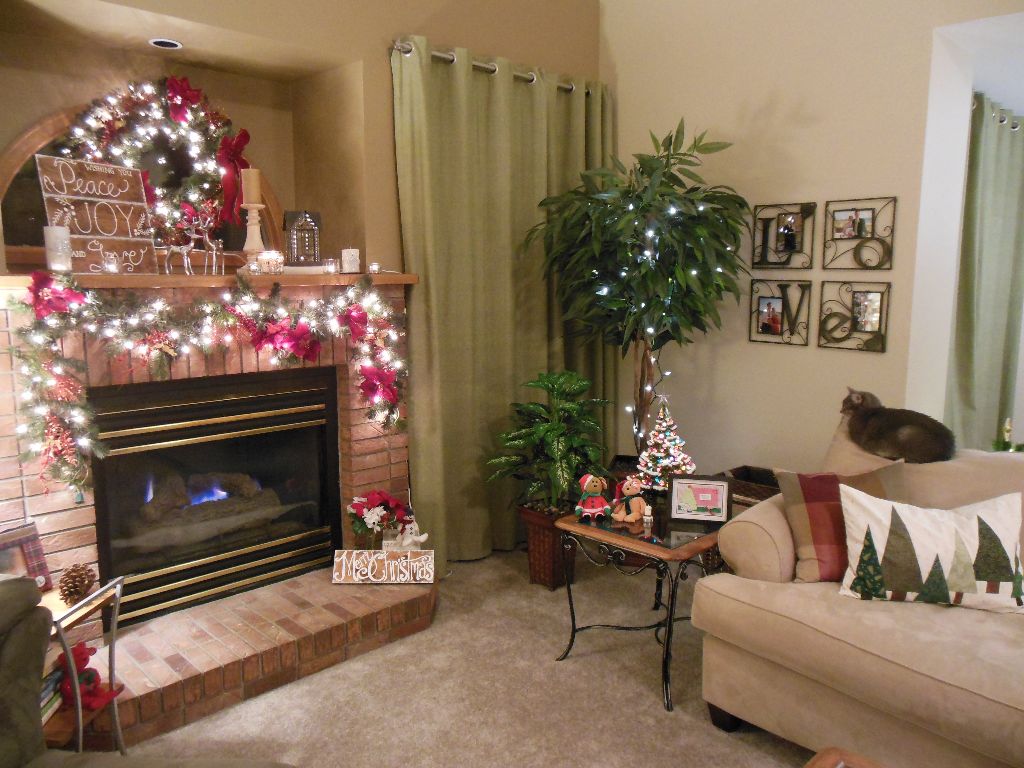
My favorite arrangement this year is above the fireplace. It’s so pretty. I really love the wreath on the window — it’s making me think I should do seasonal wreaths there more often!  Here’s a close up:

Christmas Mantel 2014

The kitties really like it when we have the fire going. Here’s Theo being adorable.

Christmas Theo 2014

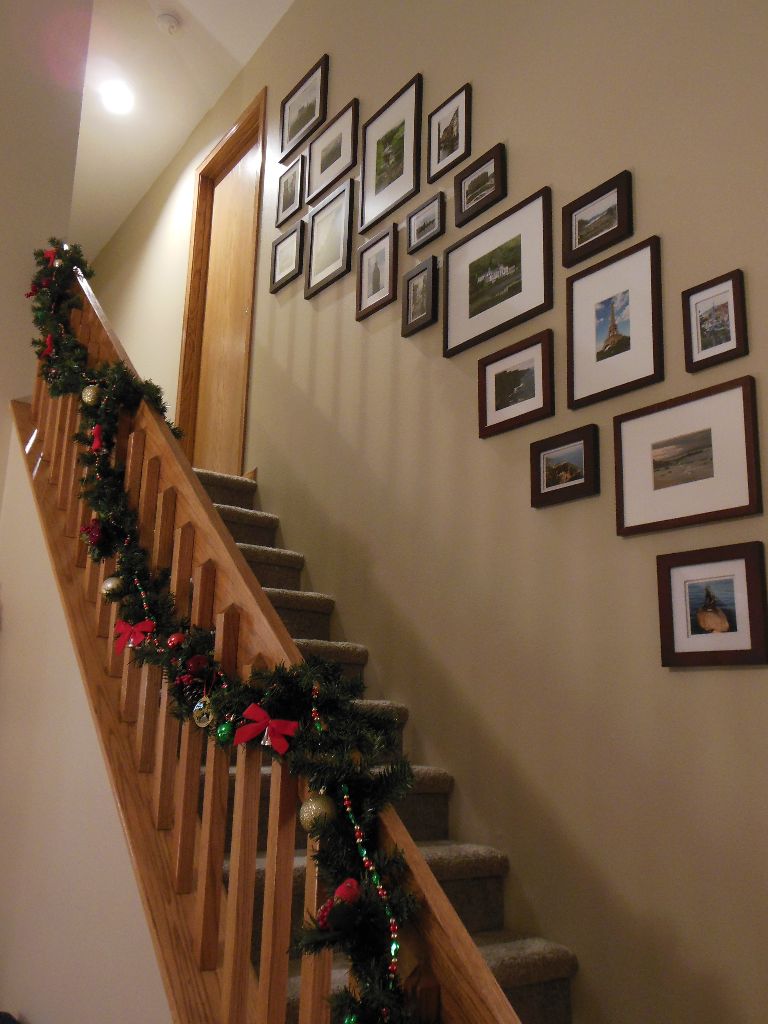
I put some garland on the stairs. I started with really simple (i.e., cheap) garland, added some picks with pine cones and berries, some bells with red bows that used to be my grandmother’s, some beaded garland and some ornaments. Pretty!

Garland on Stairs 2014

And last, but not least, here’s an overview of the living room from the stairs:

Christmas Living Room

I hope you all have a wonderful Christmas!

Thoughts on Our Popcorn Ceiling Removal

So… it’s been a while since I’ve blogged about anything! Let’s just say that between starting my own business, Blythe Styles, buying a new house, selling our old one, moving, and spending a month in Europe, I’ve had a fairly busy 2014! But now that things are settling down, it’s time I report on some of our projects from this year! First up are some thoughts on our popcorn ceiling removal.

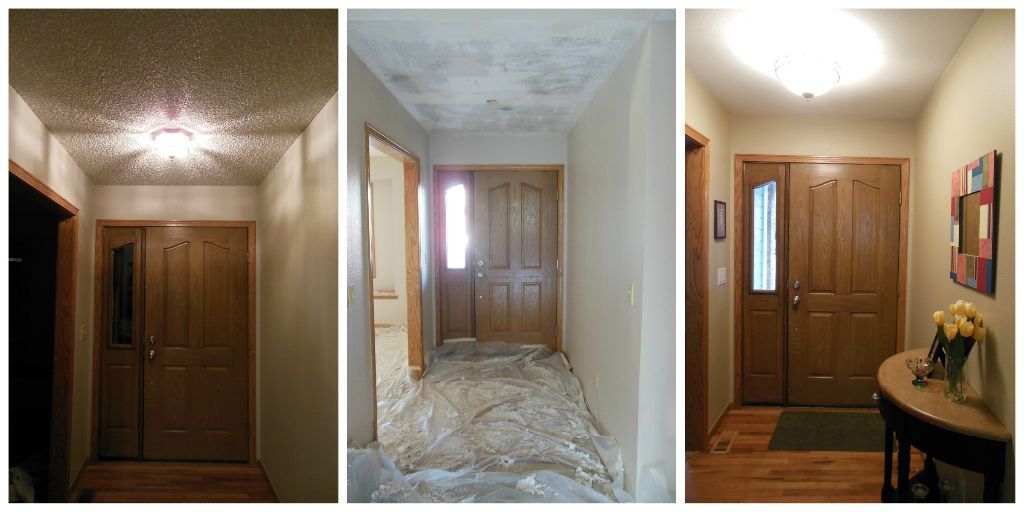
The house we bought this year had popcorn ceilings. If you don’t know what this is, you are lucky! But assuming you know what popcorn ceilings are, you will be glad to know that we had them removed! Here are before/during/after pictures of our entry way:

EntrywayCeilingCollageBefore: In the picture on the left, you can see the crazy amount of popcorn texture that the ceilings in the house originally had. I was so anxious to get rid of them!

During: In the center picture, you can see the texture has been scraped off. Next it needed to be re-textured (a light orange peel) and painted.

After: In the picture on the right, you can see the finished product (and a new light fixture). The ceiling is so smooth now, and instead of sucking light out of the space, it spreads the light nicely. :-)

We had read about popcorn removal online and decided that this was a project we wanted to hire out. Basically you need to get the texture wet, scrape it off, re-texture the ceiling, and paint it. Matt and I are big “do it yourselfers”, but this project was going to be really messy and time consuming. So we hired it out, and I’m SO glad we did. In the end, our house now feels cleaner and lighter, and we are so happy with our “new” ceilings. It is the best thing we’ve done for the house so far.

For anyone considering removing popcorn ceilings, here are some of our thoughts on the project:

  1. Popcorn MessPopcorn ceiling removal is MESSY. I am not kidding. Be prepared for a big mess. On the right is a picture of some of the popcorn on the floor after it was scraped off. Now imagine this all over. And on your shoes. And everywhere you walk in those shoes for the next week. Our entire house was covered in drywall dust. The guys did a fairly good job of taping things off and using plastic sheets to cover the floors, but it still got everywhere. If at all possible, do this type of ceiling work in a vacant home. If that’s not possible, I would suggest vacating affected spaces as much as possible, covering what’s left really, really well, and taping off unaffected spaces as best as you can. It is so messy.
  2. Hire it out and understand the quotes. I was so horrified at the popcorn ceilings that they were the first item on our list of things to change after closing on the house. We wanted the ceiling work to be done by the time we moved in (that gave us 3 weeks). We’d already agreed to hire it out, so we got a few quotes as soon as possible and selected the team. We thought we had done our homework and knew what we were getting into, but we didn’t. We realized too late into the project that this particular team’s quote didn’t include painting. Lesson learned. Always make sure you know exactly what the quote covers. We decided we’d already spent enough money on the ceilings, so we ended up having to paint the ceilings ourselves, and it was a LOT of work. We spent HOURS painting ceilings at this house. We were really disappointed and felt pretty stupid… So know what the team is going to do. We assumed too much.
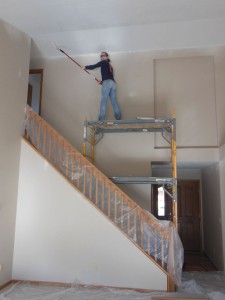
  3. Jenna with roller extension poleIf you end up the painting ceilings like we did, definitely get an extension for your roller or a paint sprayer. We bought a paint sprayer for a different project after the ceilings were already done, and Matt was kicking himself for not buying one sooner because it could have saved us a bunch of time. If you don’t want to splurge on a paint sprayer, at least get an extension pole for your rollers. This was a suggestion from my dad, and it was fantastic. We loved having the extension on the roller. (That’s me on the right with my roller and extension pole! Don’t you love the scaffolding too? We’re awesome.) Oh, and wear eye protection too. Matt always wears glasses so he was already covered (pun intended), but I usually wear contacts. I learned the hard way that painting ceilings WILL get paint in your eyes. And it hurts. So I wore my awesome blue safety glasses to protect my eyes after that first (painful) day.
  4. If you can, see samples of their work. We were in such a rush to get the ceilings fixed before we had to move in, that we selected our team really quickly. Probably too quickly. You learned above that the guys we picked didn’t paint… We also didn’t ask to see samples, and although our guys did a pretty good job, they did make a few mistakes. There are a few places where they gouged our ceilings a little bit during the scraping. Matt and I are probably the only ones who will ever notice those spots (they aren’t horrible or anything), but I still wish they weren’t there. If we’d been able to see samples of their work, we might have picked a different team.

In the end though, we are so happy with our ceilings now. They look great and they make the whole house feel so much better. We are so, so glad that we had the ceilings worked on and that we did the work before we moved in!