
After my butterfly garland, my next project for my niece was to make her a Tinker Bell canvas! I hunted around on google for some ideas, and my favorite was the quote, “All it takes is faith and trust, and a little bit of pixie dust!” But I didn’t just want the quote – I wanted Tink on it too! So I decided to put them together!
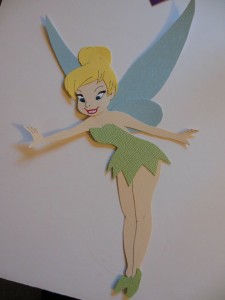
Here’s the finished product:
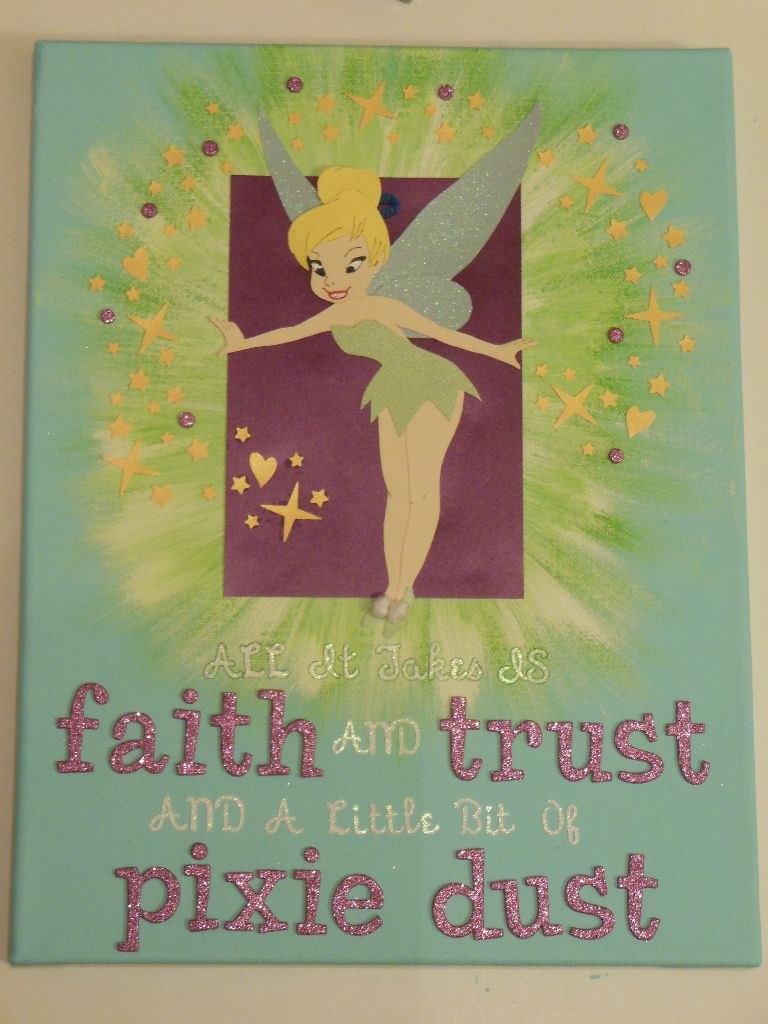 This project took hours, but, like I told my mom, it’s probably the cutest thing I have ever made. Ever. I just love it! I can’t wait to see how happy it makes my neice!!
If I were good at drawing or painting, I would have painted Tinker Bell and the quote onto the canvas… but I’m much better with tracing, cutting, and gluing, so I made my Tinker Bell out of paper! And I also saved myself the stress of stencilling letters by using alphabet stickers for the quote!
Here’s how I did it:
 Materials:

- A Tinker Bell to trace! I found a great one at tinkfanatic.com and printed out a few copies
- canvas (mine was 11×14)
- paints: light blue, dark blue, green, white
- paint brushes
- markers: brown, green, black, red
- paper: light skin tone beige something, green (mine was shiny), yellow, shiny gold, shiny purple, glittery blue
- yarn: white, blue
- adhesive: elmer’s glue, tape, double sided scrapbook adhesive
- alphabet letters: big glittery purple, small glittery white
- paper punches: various sizes of hearts and stars
- scissors
- crafty tweezers
 Step 1: Prepare the canvas

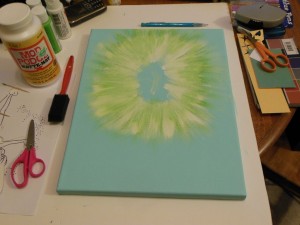
- I painted my canvas the light blue color. I think it took 3 coats.
- Then I painted the green and white burst from where I would later place Tinker Bell. Be sure to leave enough space at the bottom for the quote!
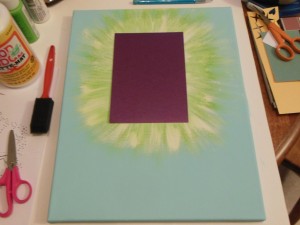 Then I used scrapbook adhesive and elmer’s glue to adhere the purple paper to the middle of the burst for Tink’s background. I tried modge podge, but it wouldn’t take…
- Now the canvas is ready for Tinker Bell!

 Step 2: Prepare Tinker Bell for Assembly
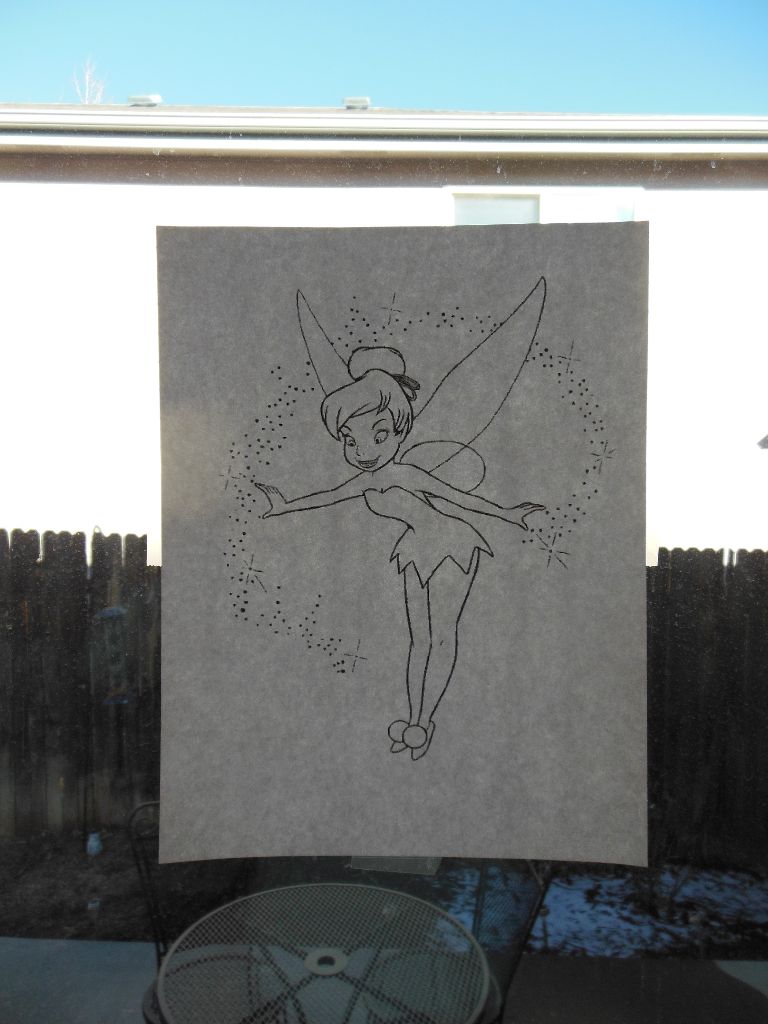
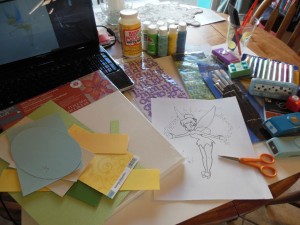
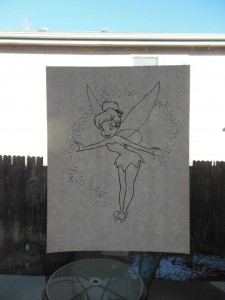
- Have your Tinker Bell print out ready to go!
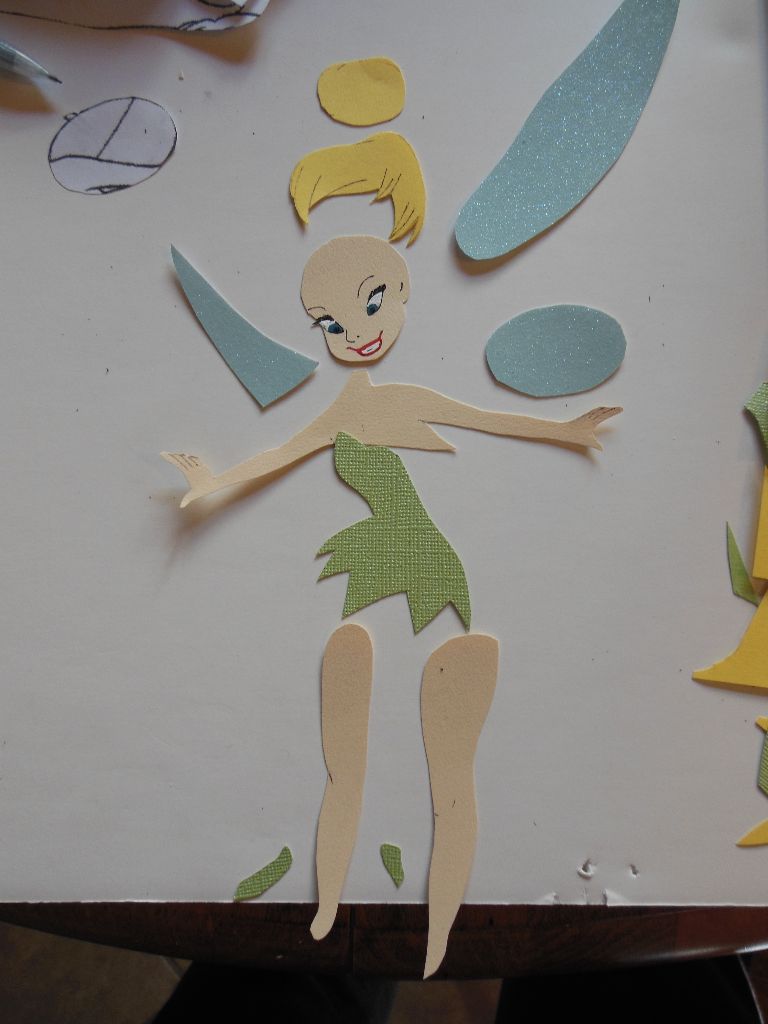
- In lieu of a lightbox, I taped my Tinker Bell to a window so that I could see through and trace her body parts onto their appropriate colored papers. I was able to trace her arms, legs, face and hair using this method… which was great, because I was able to get the features on her hair and face just perfectly!
- My thicker papers for her wings and her dress and shoes didn’t show through. So I had to cut them out of another print out, then trace those onto my colored papers. More work, but it turned out just fine!
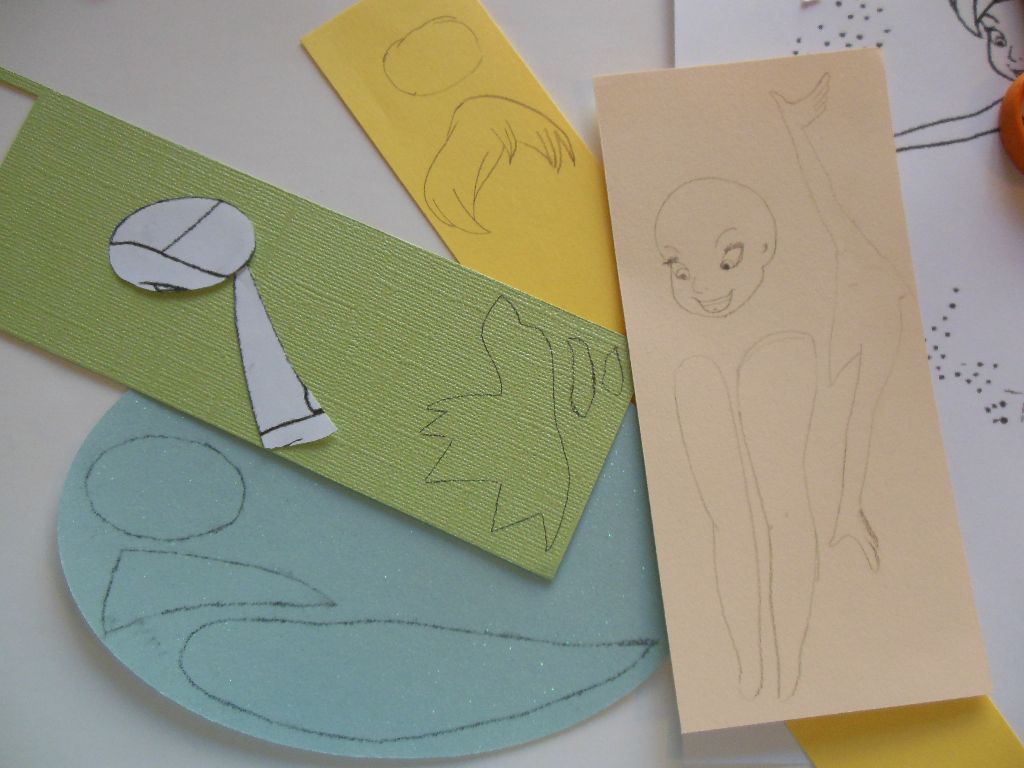
- Next I used my markers and paints to make Tinker Bell’s facial features, hair and knees. This was quite easy to do since I had been able to trace those things easily!
- Then I cut out all of her body parts… and started to put them together. This was a little creepy to me. See for yourself…!
 Step 3: Assemble Tinker Bell
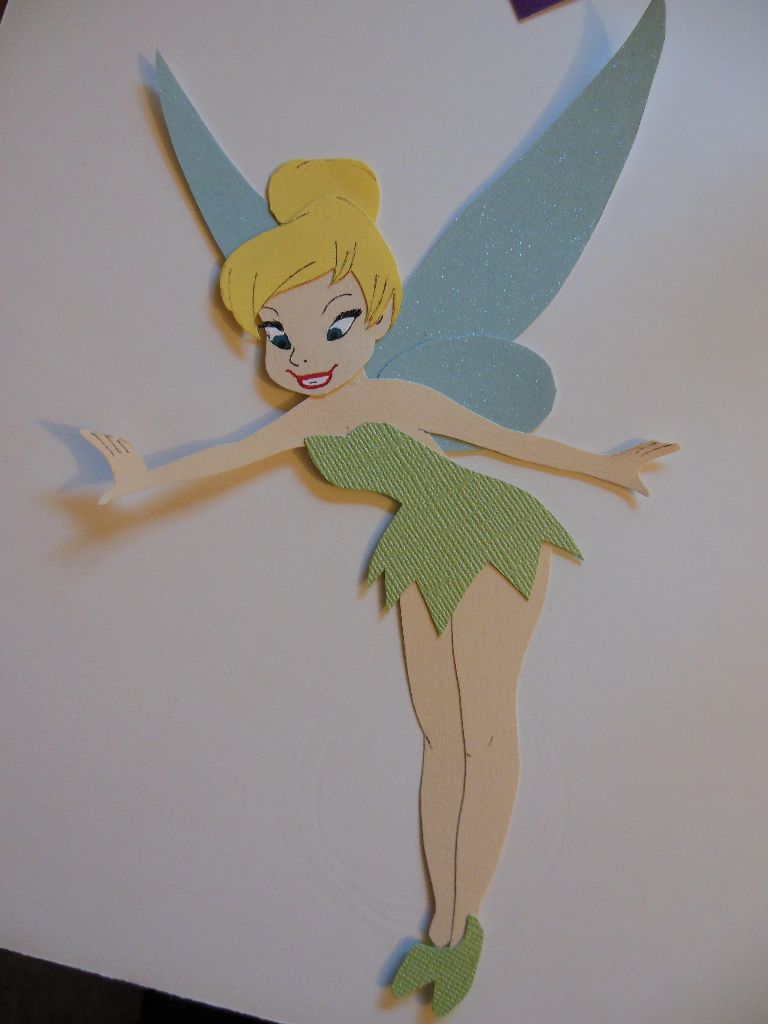
- I used a combination of tape and scrapbook adhesive to stick Tinker Bell together. On the right, here she is all together, minus her shoe puffs and hair ribbon.
- Lastly, Tinker Bell needed a hair ribbon and those little white puffs on her shoes. So I used my blue yarn and taped some behind her hair, and then tied little knots with the white yarn and glued them to her shoes. Now she was ready to go live on the canvas!
Step 4: Adhere Tinker Bell to the canvas!
Since I was sticking paper to paper, I mostly used scrapbooking adhesive to stick Tink on her purple background. But I did use a bit of glue in a few places too. Next she was ready for her pixie dust!
Step 5: Create Tink’s pixie dust!
I used my shimmery gold paper and my various heart and star paper punches and punched out a BUNCH of stars and hearts. Then I placed them all around Tinker Bell, similiar to the dust pattern in the picture I had traced of Tink. I used elmer’s glue and tweezers to place each tiny star and heart around her.
Step 6: Lay out and stick the letters on the canvas
I had already decided to emphasize “faith”, “trust”, and “pixie dust”, so laying out the quote was fairly easy. Those words got the big purple letters, all others got the little white letters. So I got them ready and started sticking them down on the canvas! Once they were all down though, I realized that my first line of white stickers was disappearing into the white and green burst I’d painted. No problem! I just outlined those stickers in green marker and it was ok again!
And that’s it! Now we have a completed Tinker Bell canvas perfect for my neice’s new bedroom!

Love, love, love it!