Outdoor Living ~ Part 2

2015_Backyard

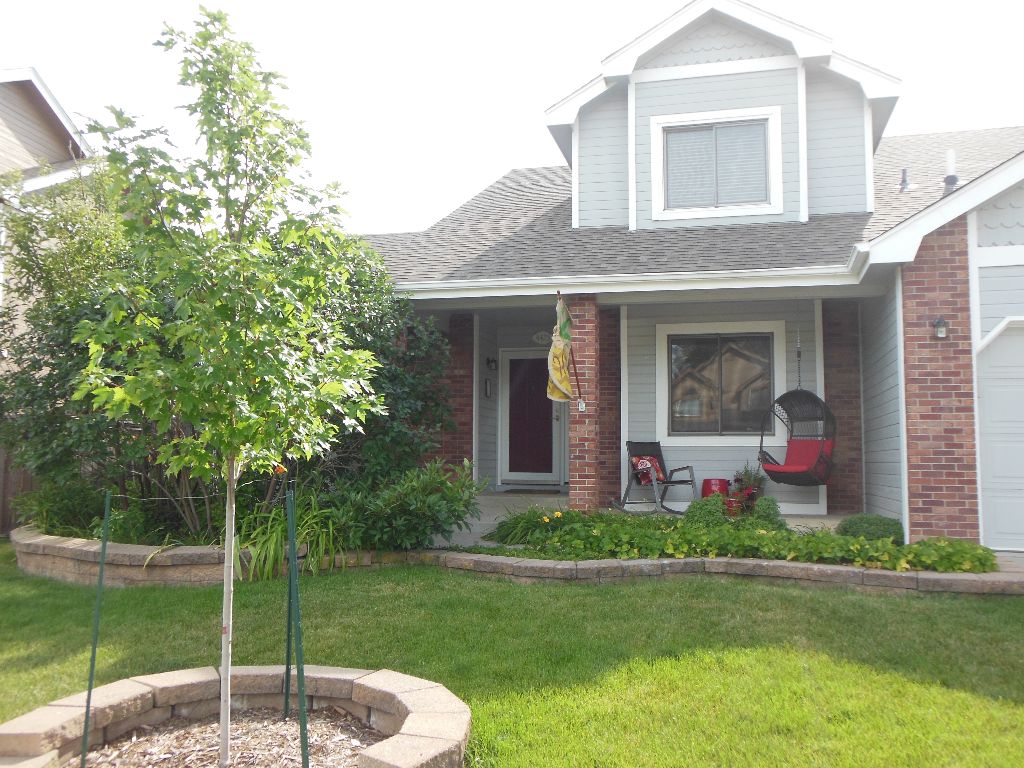
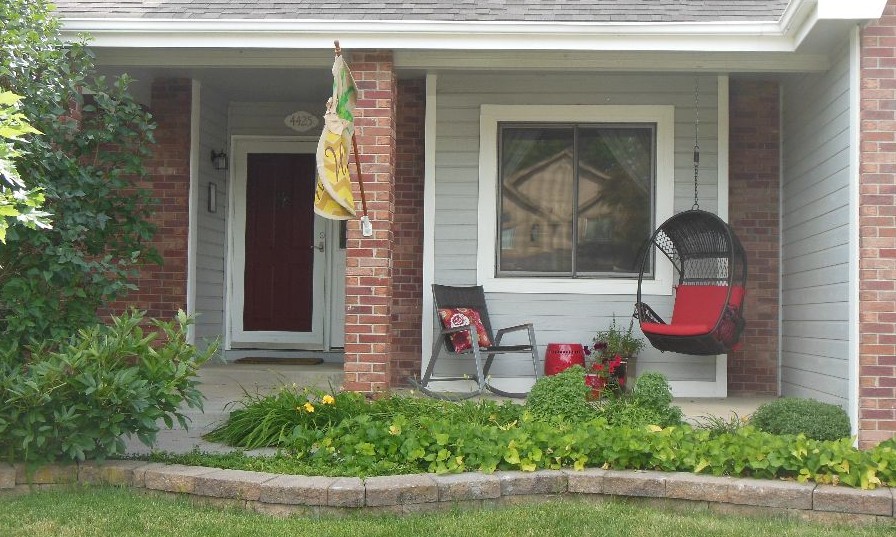
We have been very busy this summer improving our living spaces outside our home. Outdoor Living ~ Part 1 was about our front yard and front porch, and as promised, here is Part 2 ~ all about our back yard improvements!

Trees

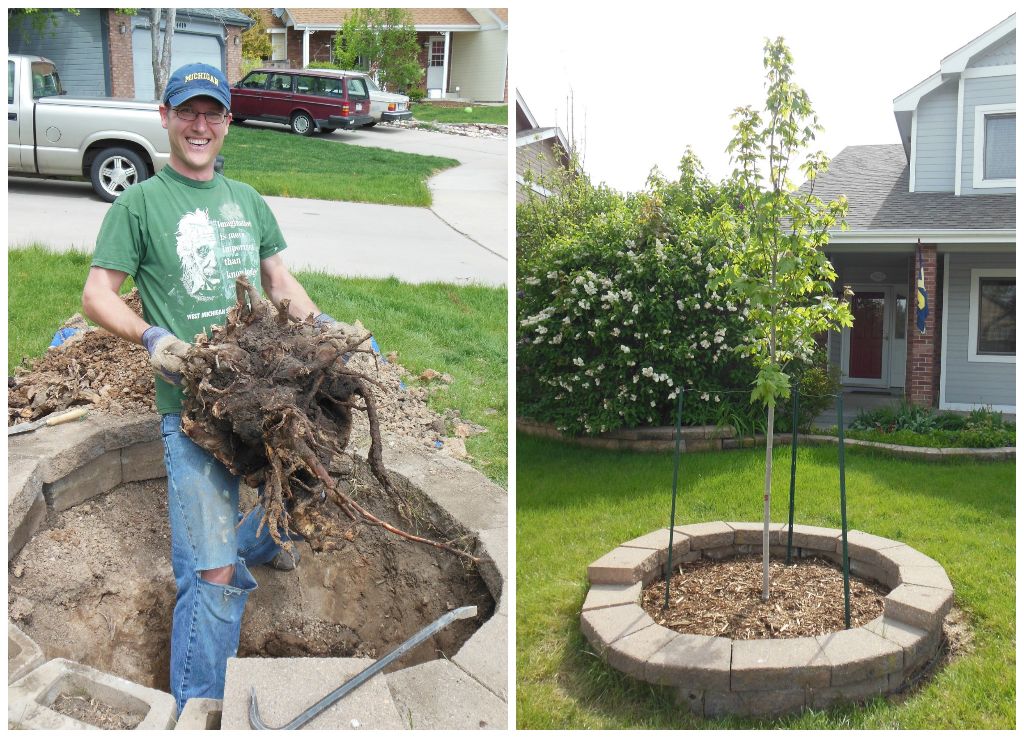
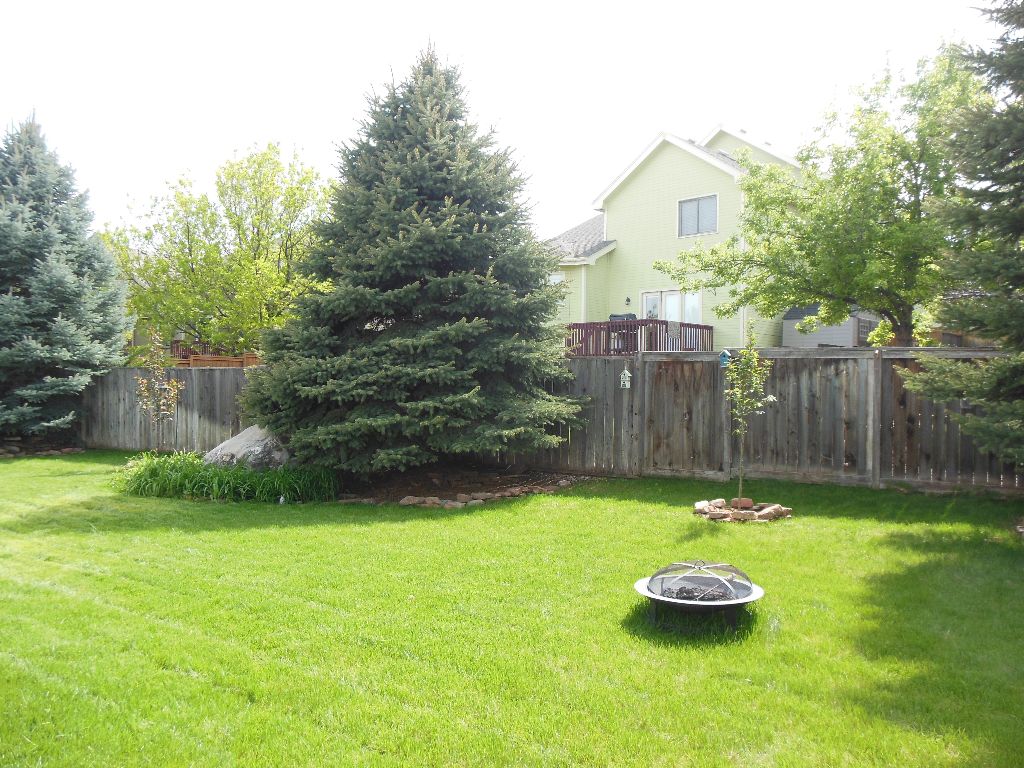
The first change we made was planting two new trees. We had some great big pine trees already, but I wanted some pretty flowering trees too, and more privacy, so we planted two crab-apple trees that will flower in the spring. One will have white flowers and the other will have pink flowers! I can’t wait to see their pretty flowers next year.

2015_backyard_trees

Decorations

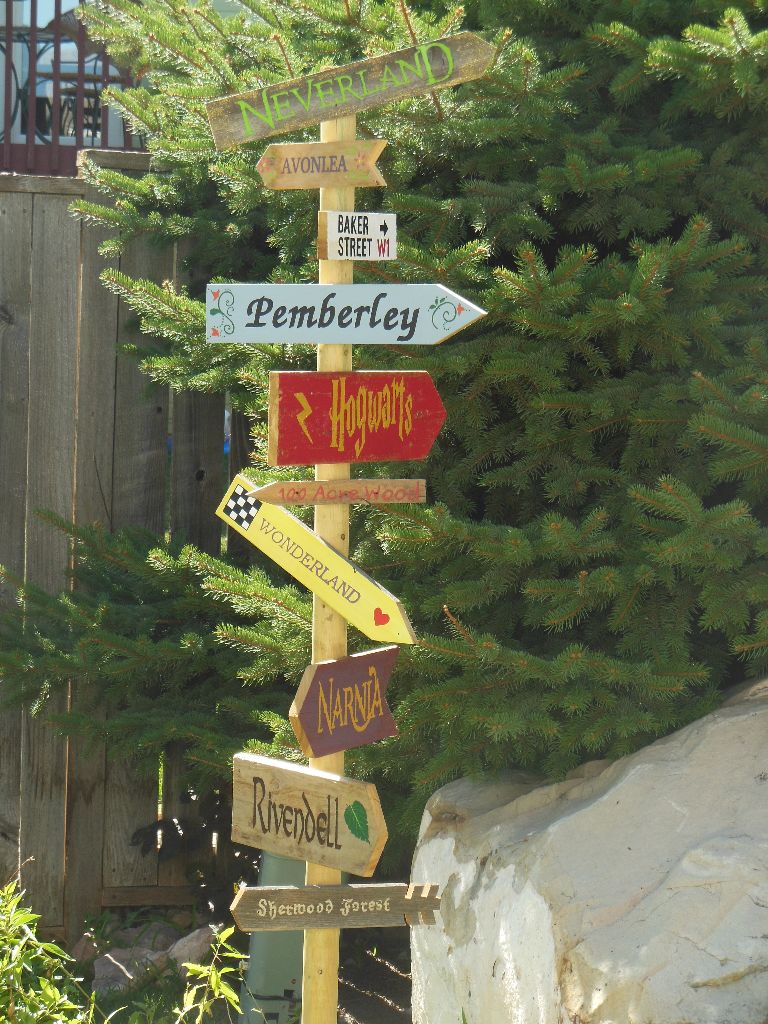
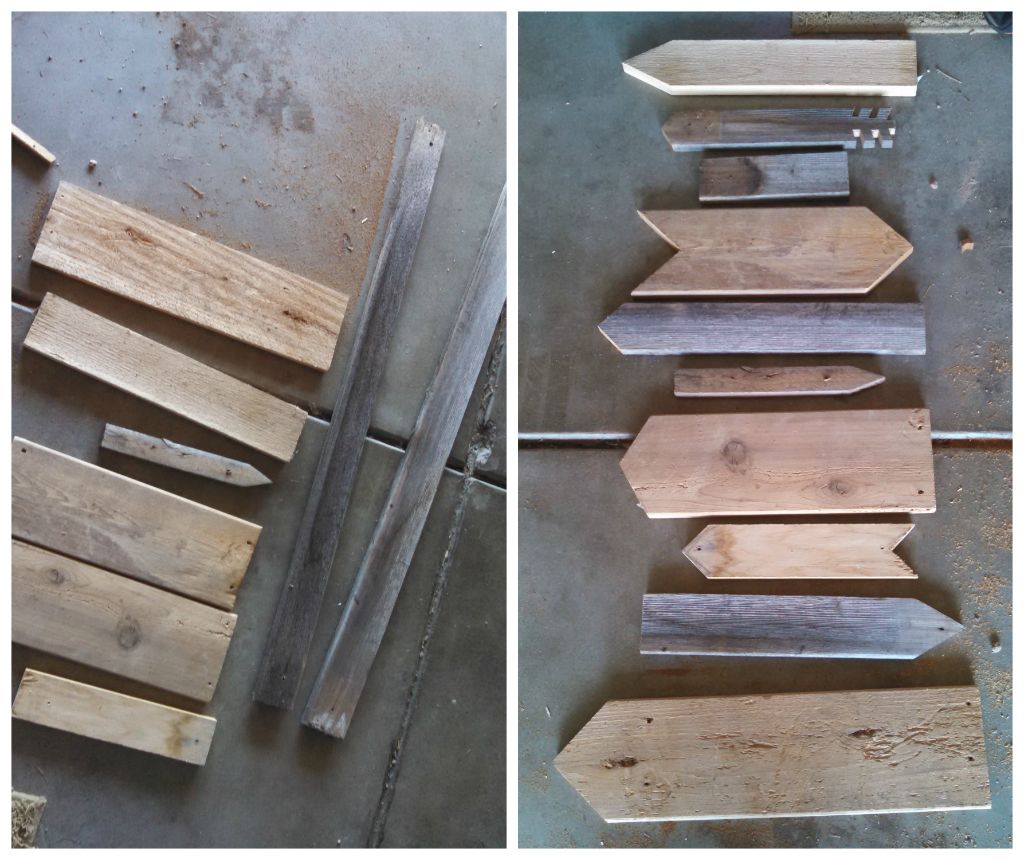
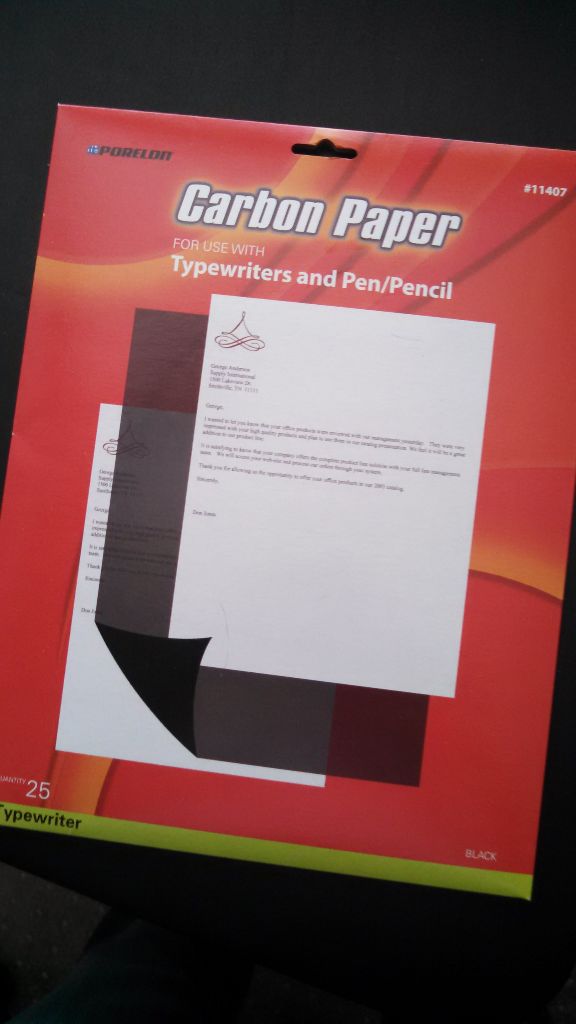
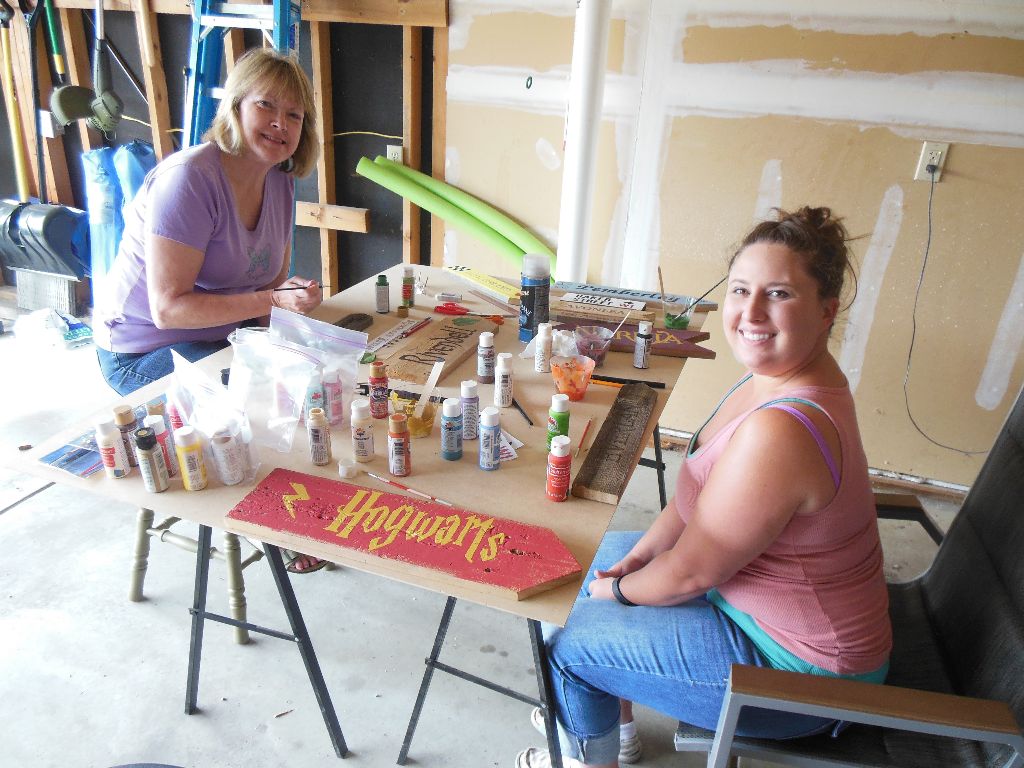
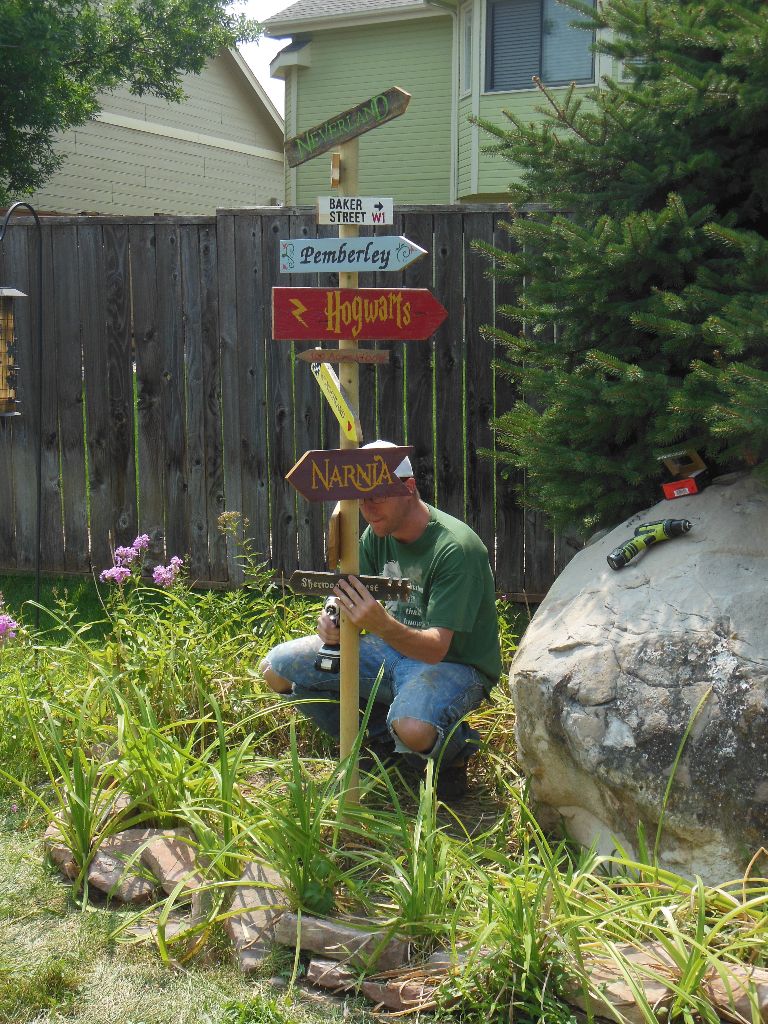
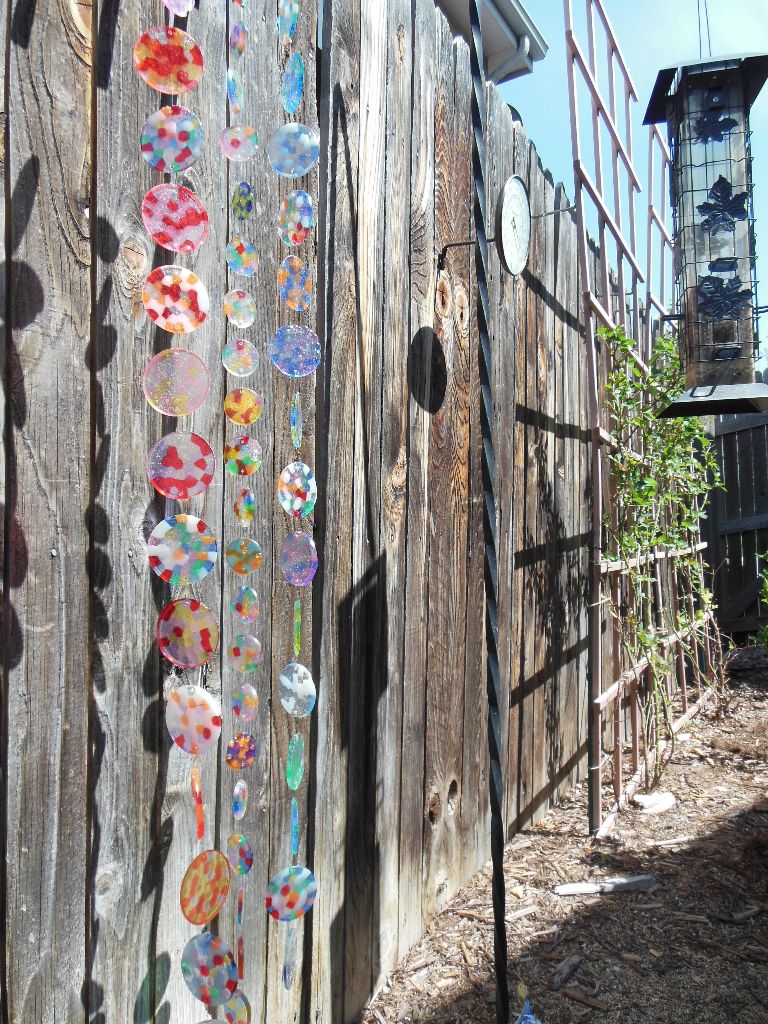
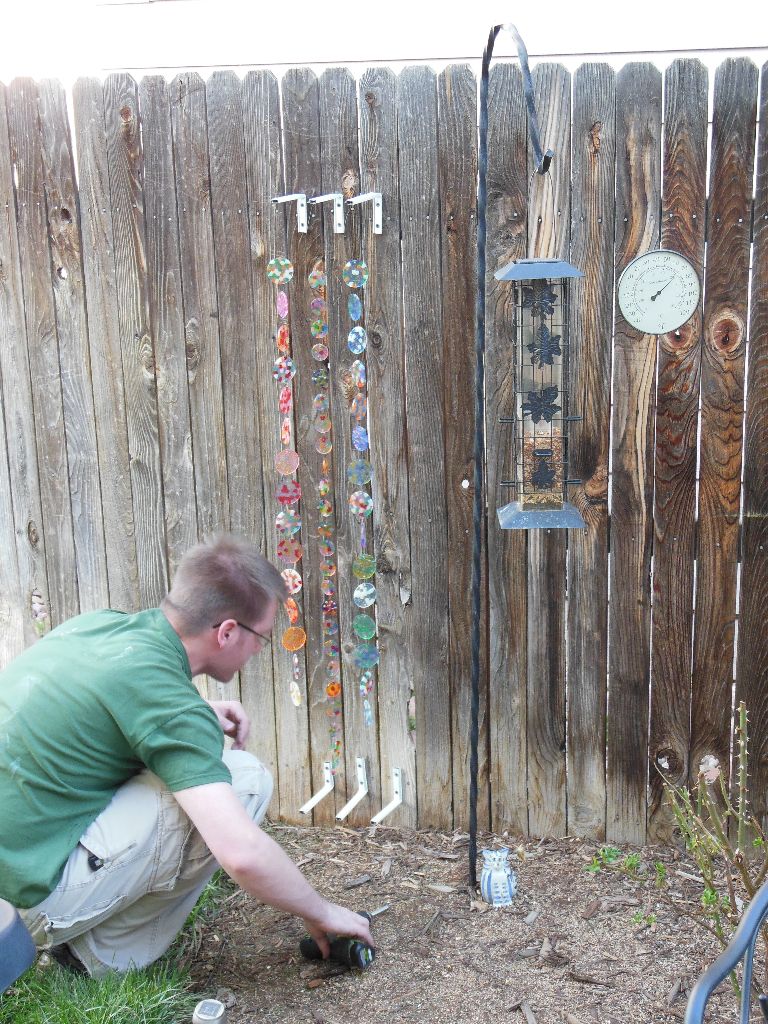
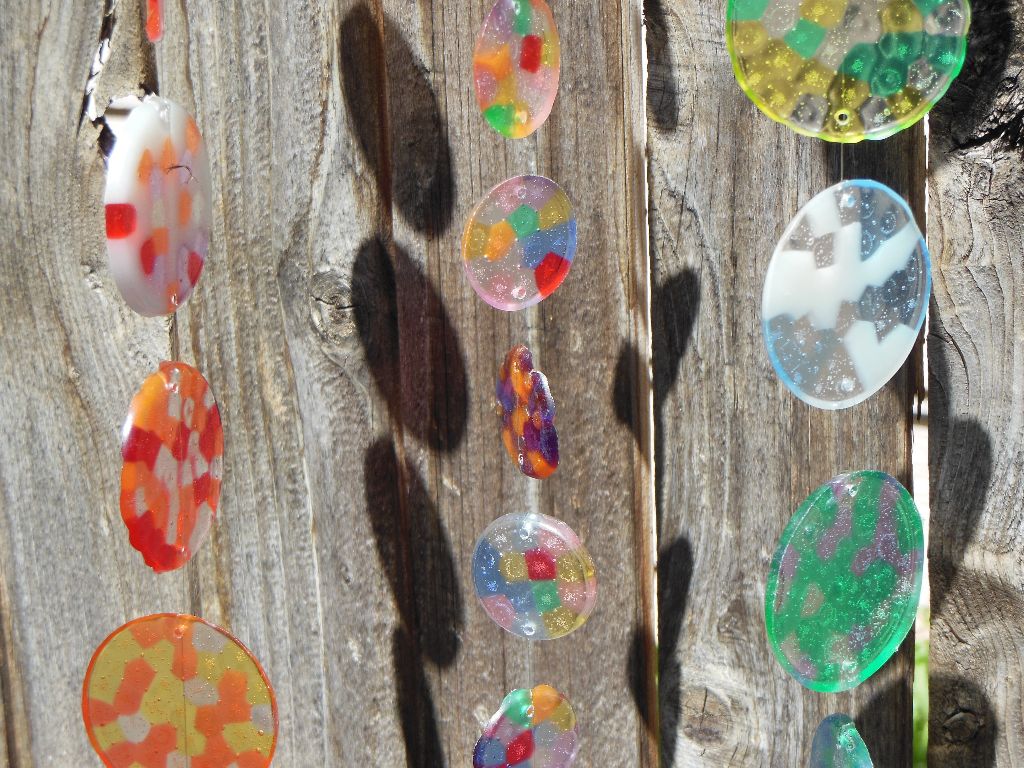
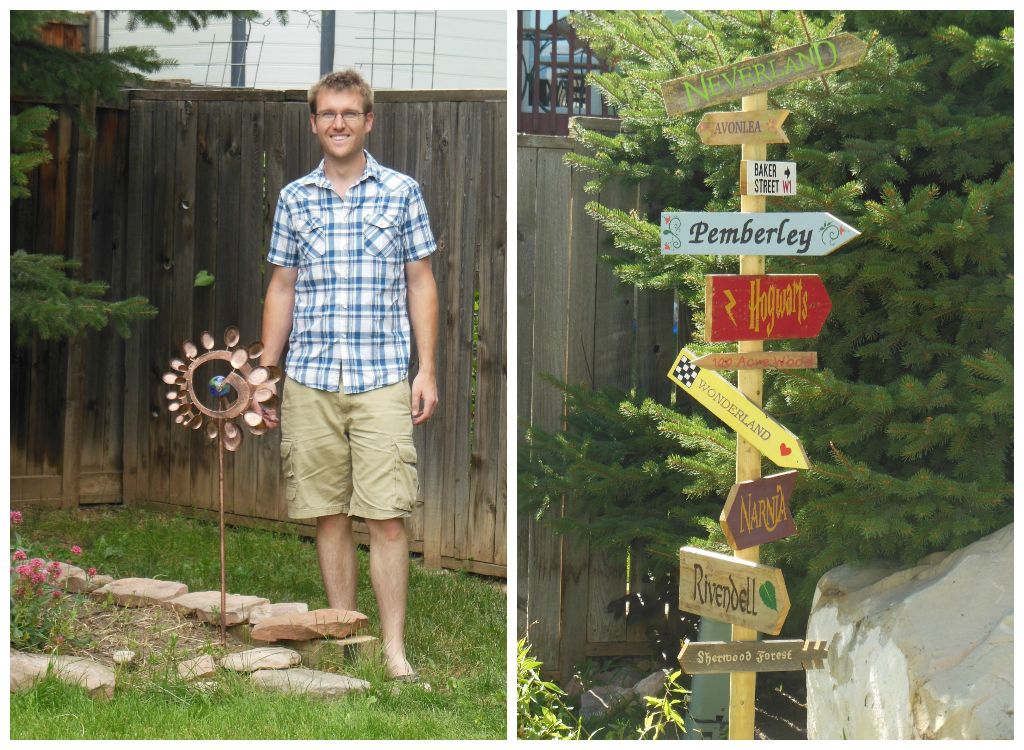
Some small, but cute additions to our back yard this year are a garden spinner and a literary sign post. I gave Matt the spinner for his birthday — it’s fun to watch! And we made the literary sign post. So cute!

Spinner&SignCollage

Deck & Pergola

DeckProgressCollage
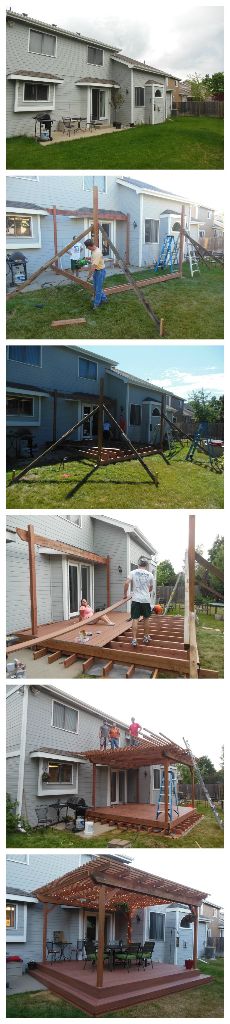
The biggest update in our back yard is our deck & pergola! When we bought the house, it had a tiny concrete patio. It was hardly large enough for our tiny bistro table and chairs and grill. Pathetic. So we talked with my dad and planned a deck and pergola! I collected some ideas on pinterest and showed all of my dreamy spaces to Matt and Dad. There were two I especially loved: this one has a great deck, pergola & fun lighting, and this one has a pergola with a separate fire area. (This year we did the deck & pergola. Another year we’ll do something about the fire area!)

Once we had our plans and our building permit, my dad and my brother Kristofer planned a trip out here to help Matt build the deck & pergola. They were hard, hard workers and nearly finished it in only 4 days of work! My guys are awesome!

A few notes on our deck & pergola construction:

  • We used composite decking and tried to closely match it to the red-tinted treated lumber that we used for the pergola. I think we did a pretty good job!
  • We used hidden fasteners with the composite decking, and it looks amazing! There are no exposed nails or screws, so we can happily walk around out there barefoot or in socks and not catch on anything! The thing we didn’t know about the hidden fasteners was that they are tedious to use… it took the guys longer to put down the decking than they were used to with regular wood.

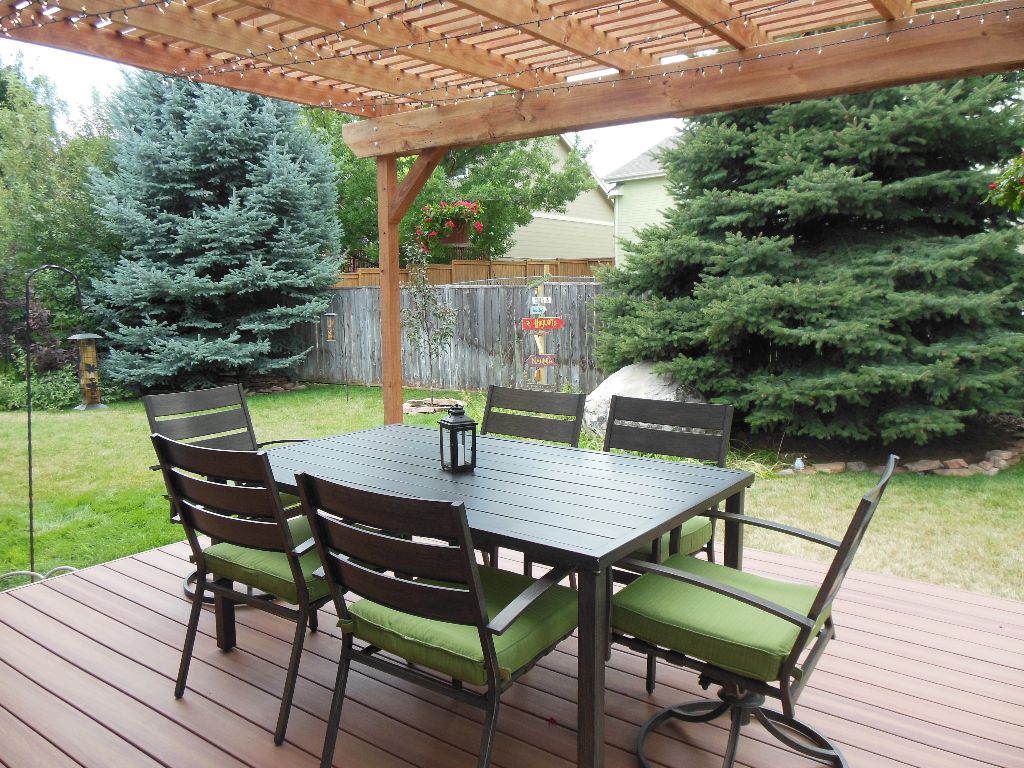
After the pergola was built, we arranged the furniture, Matt hung up our fairy lights and Kristofer hung up a couple of hanging flower pots too! Those final touches really make the space. It is so cute!

I love that our deck has plenty of room for lots of seating! I searched and searched for the perfect furniture too — our dining set is from Ace Hardware. The bistro set is from American Furniture Warehouse and we’ve had it since we bought our first house.

Deck&Pergola

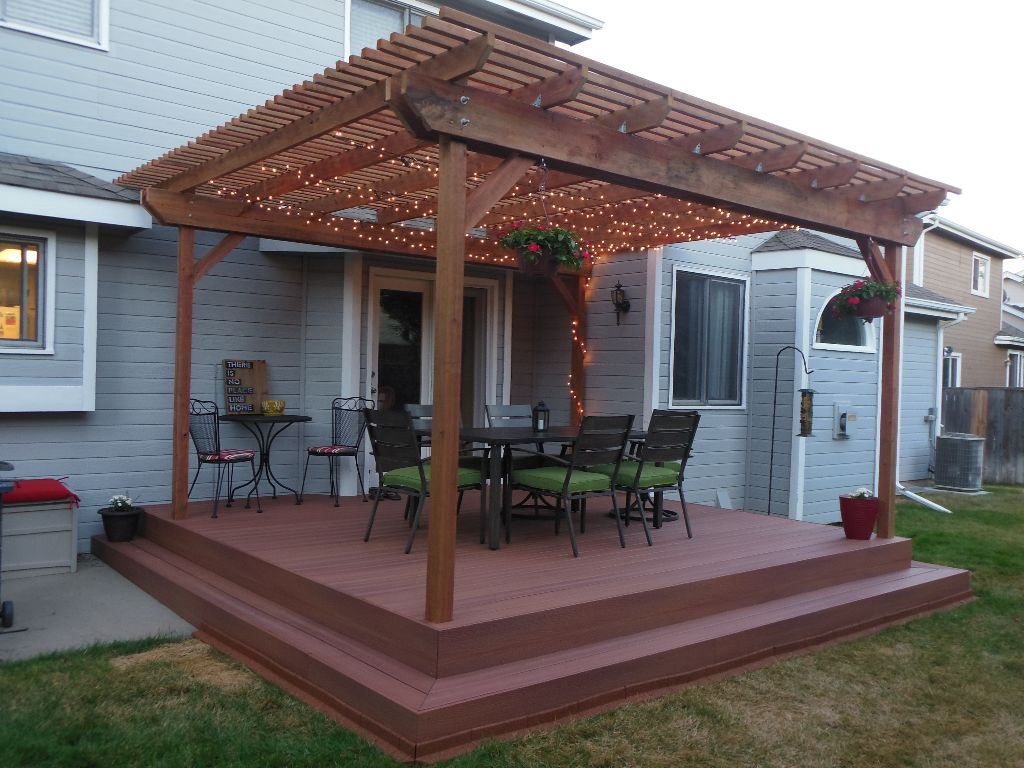
The finished product is so beautiful and even better than I’d imagined. I just love it.

Sometime in the future we’ll work on a walking path, a fire pit, planting more flowers and maybe even a vegetable garden… but for now, we’ll sit back on our new deck and enjoy the shade. :-)

Thank you, thank you, thank you to Dad, Kristofer, and Matt for working so hard to build such a wonderful outdoor space for us to enjoy.

Literary Sign Post

LiterarySignPost

I love reading. I also love my little slice of paradise (a.k.a. my yard & garden). So when my mom found this literary sign post on pinterest, I just knew I had to have one of my own to bring some of my literary worlds into my garden!

I ran the idea past Matt and he really liked it too. He’s not always on board with helping with my crafts, but he was excited about this one and even helped me pick out some of the locations to put on the signs! ;-)

The Wood

First we got the signs ready to paint. Earlier this summer Matt tore down the old dog run in our backyard from the previous owners, so we had a pile of aged wood and he also had some scraps in the garage. I picked out a few pieces and had him cut them down into points. He also had fun ideas to give some tails and to make one look like an arrow!

SignCollageBefore

Carbon PaperLettering & Painting

The problem was how to get the lettering on the signs. Stencils? Freehand? I wanted to use a variety of fonts and sizes and I was stumped on how to do it and be time-effective. Mom came up with the brilliant idea of printing the letters out from the computer and then using carbon paper to trace and transfer the outline of the letters! I found carbon paper at Office Max for about $7 for a pack of 12 sheets. Score.

Next, we painted! While the guys were working on my amazing deck and pergola, my mom, my sister-in-law Jillyn, and I worked on my literary signs! Mom handled the lettering and carbon paper and Jillyn and I did most of the painting.  Here are my helpers! Thanks, ladies! :-)

Sign post - in progress

The carbon paper worked perfectly on all but 2 of the signs — they were too dark and rough to handle the carbon transfer. On those two, Mom did cut out the letters and then use the paper as a stencil, but on all the others, the carbon paper worked like a charm. I had never crafted with carbon paper before, but I think I will probably find uses for it in the future now that I know how awesome it is.

SignPost&MattFinal Touches

Once all the signs were painted, Matt sprayed them all with a few coats of polyurethane from Home Depot to keep them protected in our harsh Colorado sun and weather! Then we put the post up in the garden and screwed on the signs.

I LOVE it! It’s just the cutest thing in my backyard!

LiterarySignPostDo you recognize all of the locations?!

Outdoor Living ~ Part 1

2015 Front Yard - mjblythe.com

I am sure it will come as a shock to no one that I have grand plans for our yard. But since we cannot possibly do all of my projects at once (I have projects in mind for inside the house too, of course!), we have to pick and choose what to work on. This spring and summer we are focusing on our outdoor living spaces! First space completed: the front of our house!  Our front yard, porch and door have all received a few updates this spring and summer! :-)

First, we painted our front door — inside and out! It used to be white and boring and now it is red on the outside and green on the inside, and I love it. According to a little book I have, Fortune-Telling Book of Colors (Chronicle Books LLC, 2014), a red front door means, “Your home is filled with love, and you welcome visitors with open arms. A red door is also believed to draw prosperity into a house.” That all sounds good to me! But they forgot to mention that it’s adorable too.

2015 Front Door - mjblythe.com

Next, we planted a new tree in the lonely circle in the middle of the front yard. Turns out the previous owners left an old stump there and just planted grass over it… so first Matt had to dig out the stump. This was a lot of work, but he finally beat the stump and on the fourth of July we cooked hot dogs and s’mores over it. Take that, stump! And our new tree is so nice and has already grown a lot.

2015 Front yard tree - mjblythe.com

And last, but not least, our front porch is (finally) decorated! Last year it sat looking sad and lonely, and we never used it.

Lonely front porch

This summer I gave the porch some love! Now it’s so cute and we have been using it a lot. We like to sit out on the porch and have a drink or eat dessert, relax and talk, wave to and chat with the neighbors, and I’ve even watched a few rain storms from there too! It’s covered and mostly protected from the elements, so it’s perfect for storm watching.

Front Porch 2015 - mjblythe.com

Ingredients:

  • Swingasan chair from Pier 1 (I call it the “basket swing”) with a red cushion from Target. This chair is apparently an object of envy — I’ve had at least 4 neighbors comment on it!
    swingasan - mjblythe.com
  • Rocking chair from Target with a floral pillow from Lowe’s
    Front porch rocking chair - mjblythe.com
  • Red garden stool from Home Goods (Seriously, those things are SO expensive. If you want one, check your local Home Goods or a similar store. The prices there are much better!)
    DSCN7360
  • Flower pots and flowers (we have problems remembering to water them though..!)

2015 Front Porch 2 - mjblythe.com

So that’s the front of our house this year! I’m very pleased with the changes. Thanks to my wonderful and (mostly) patient husband for all his hard work!

Update: Check out my post Outdoor Living ~ Part 2 too — we made some changes in our back yard as well!


Suncatchers

Matt and I made some suncatchers!

Suncatchers

I was inspired from a craft on pinterest that used cake pans and melted beads.  But I had an idea to make mine a little differently…

Craft ovenBefore I started on this craft, I talked with Matt because I was freaked out about melting plastic in our oven. He had the brilliant idea to get a used toaster over and melt the beads in the garage. I found one at Goodwill for $8.99! Sweet. Now we have a craft oven for all of our crafty needs. Matt says he’ll even use it too with his electronics…

Suncatchers - 1Supplies:

  • Cheap plastic beads – I found that pony beads worked best. I tried some others, but they didn’t melt as well as the pony beads.
  • Muffin pan (I also used a mini muffin pan!) – I bought these at Goodwill because I didn’t want to hurt my good ones.
  • Fishing line (or other string)
  • Drill (and I also needed my handy husband to operate the drill because it’s unsafe for me to use power tools…)

Suncatchers  - before meltInstructions:

  1. Arrange your beads in your pan. All it takes is a single layer, but don’t skimp – I had a few that I didn’t fill quite enough. They turned out ok, but they aren’t quite as round as the others.
  2. Melt them for about 20 minutes at 400 degrees F. Make sure they are good and melted before you take them out. Suncatchers - Matt drills holesI took one tray out a little early and those discs are a little lumpy.  They will probably smell funny while they bake. We melted them in the garage in the craft oven for a few reasons…
  3. Let them cool. They cooled pretty fast for me.
  4. Pop them out of the muffin tins. It also works to just turn the tin upside down – they all fall out.
  5. Drill two small holes in each disc for the string.
  6. String them together! I laid them out on the floor before we strung them so I could decide how I wanted them organized. Matt tied them together for me. He’s better with knots than I am! I tied a few, but then let Matt take over again.
  7. Hang them up! We hung ours on the fence by my roses… maybe not the best place to catch the sun, but they do ok and they are really pretty! Matt made the little bracket things to hang them, and then I painted them black.

Suncatchers - ready to stringSuncatchers - Matt ties them upSuncatchers - Matt ties them up 2


Suncatchers - 3

Note: The white spots are from glow in the dark beads – I thought they might be cool at night… turns out they don’t glow that well or for very long. But it was worth a try!