
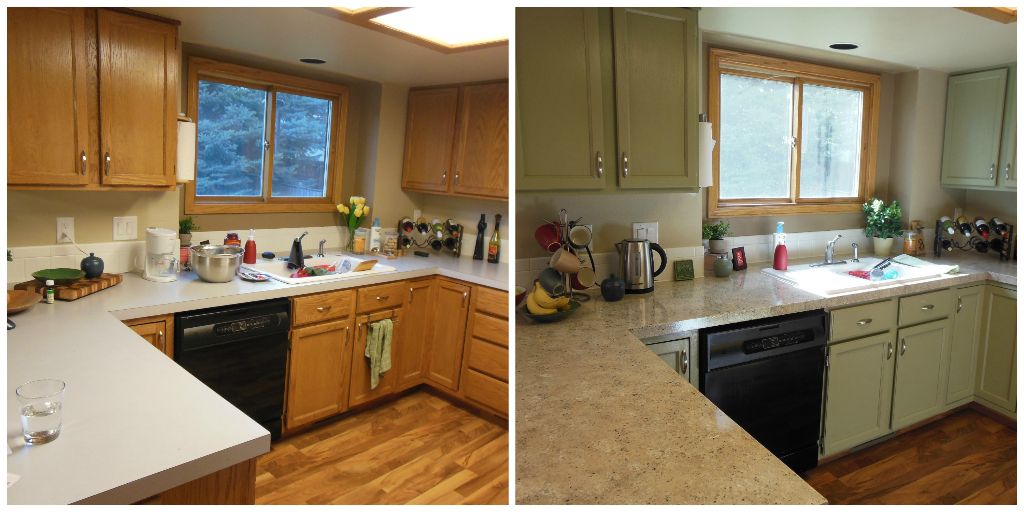
We painted our kitchen cabinets! “Gee, that a lot of work,” you’re thinking. And you’re absolutely right. It was a lot of work. But definitely worth it! See how awesome it looks?
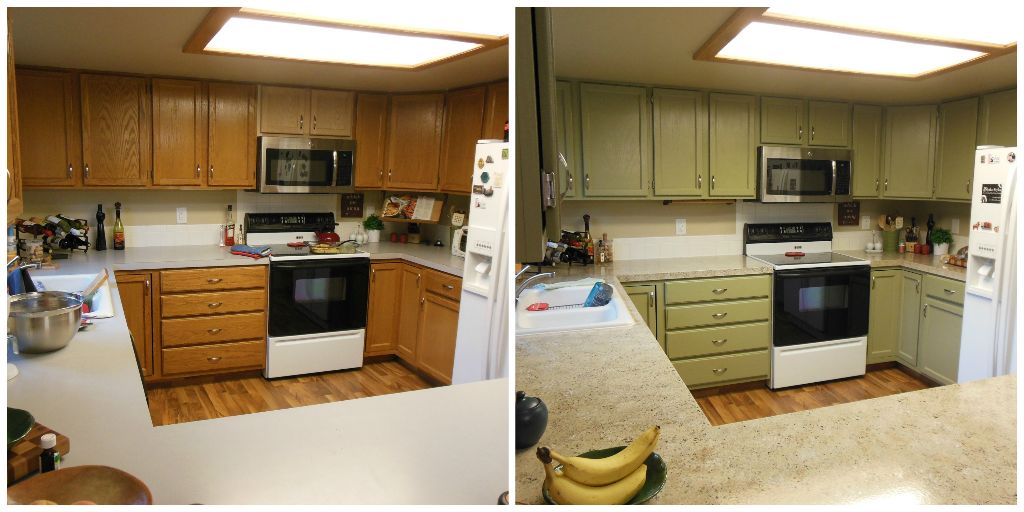 (Our countertops have also been resurfaced… more on that soon!)
Our cabinets were just your regular oak cabinets, the same in probably every house in our neighborhood. And our old neighborhood. And probably many neighborhoods across the city. And they weren’t in great shape, so we didn’t feel bad painting them!
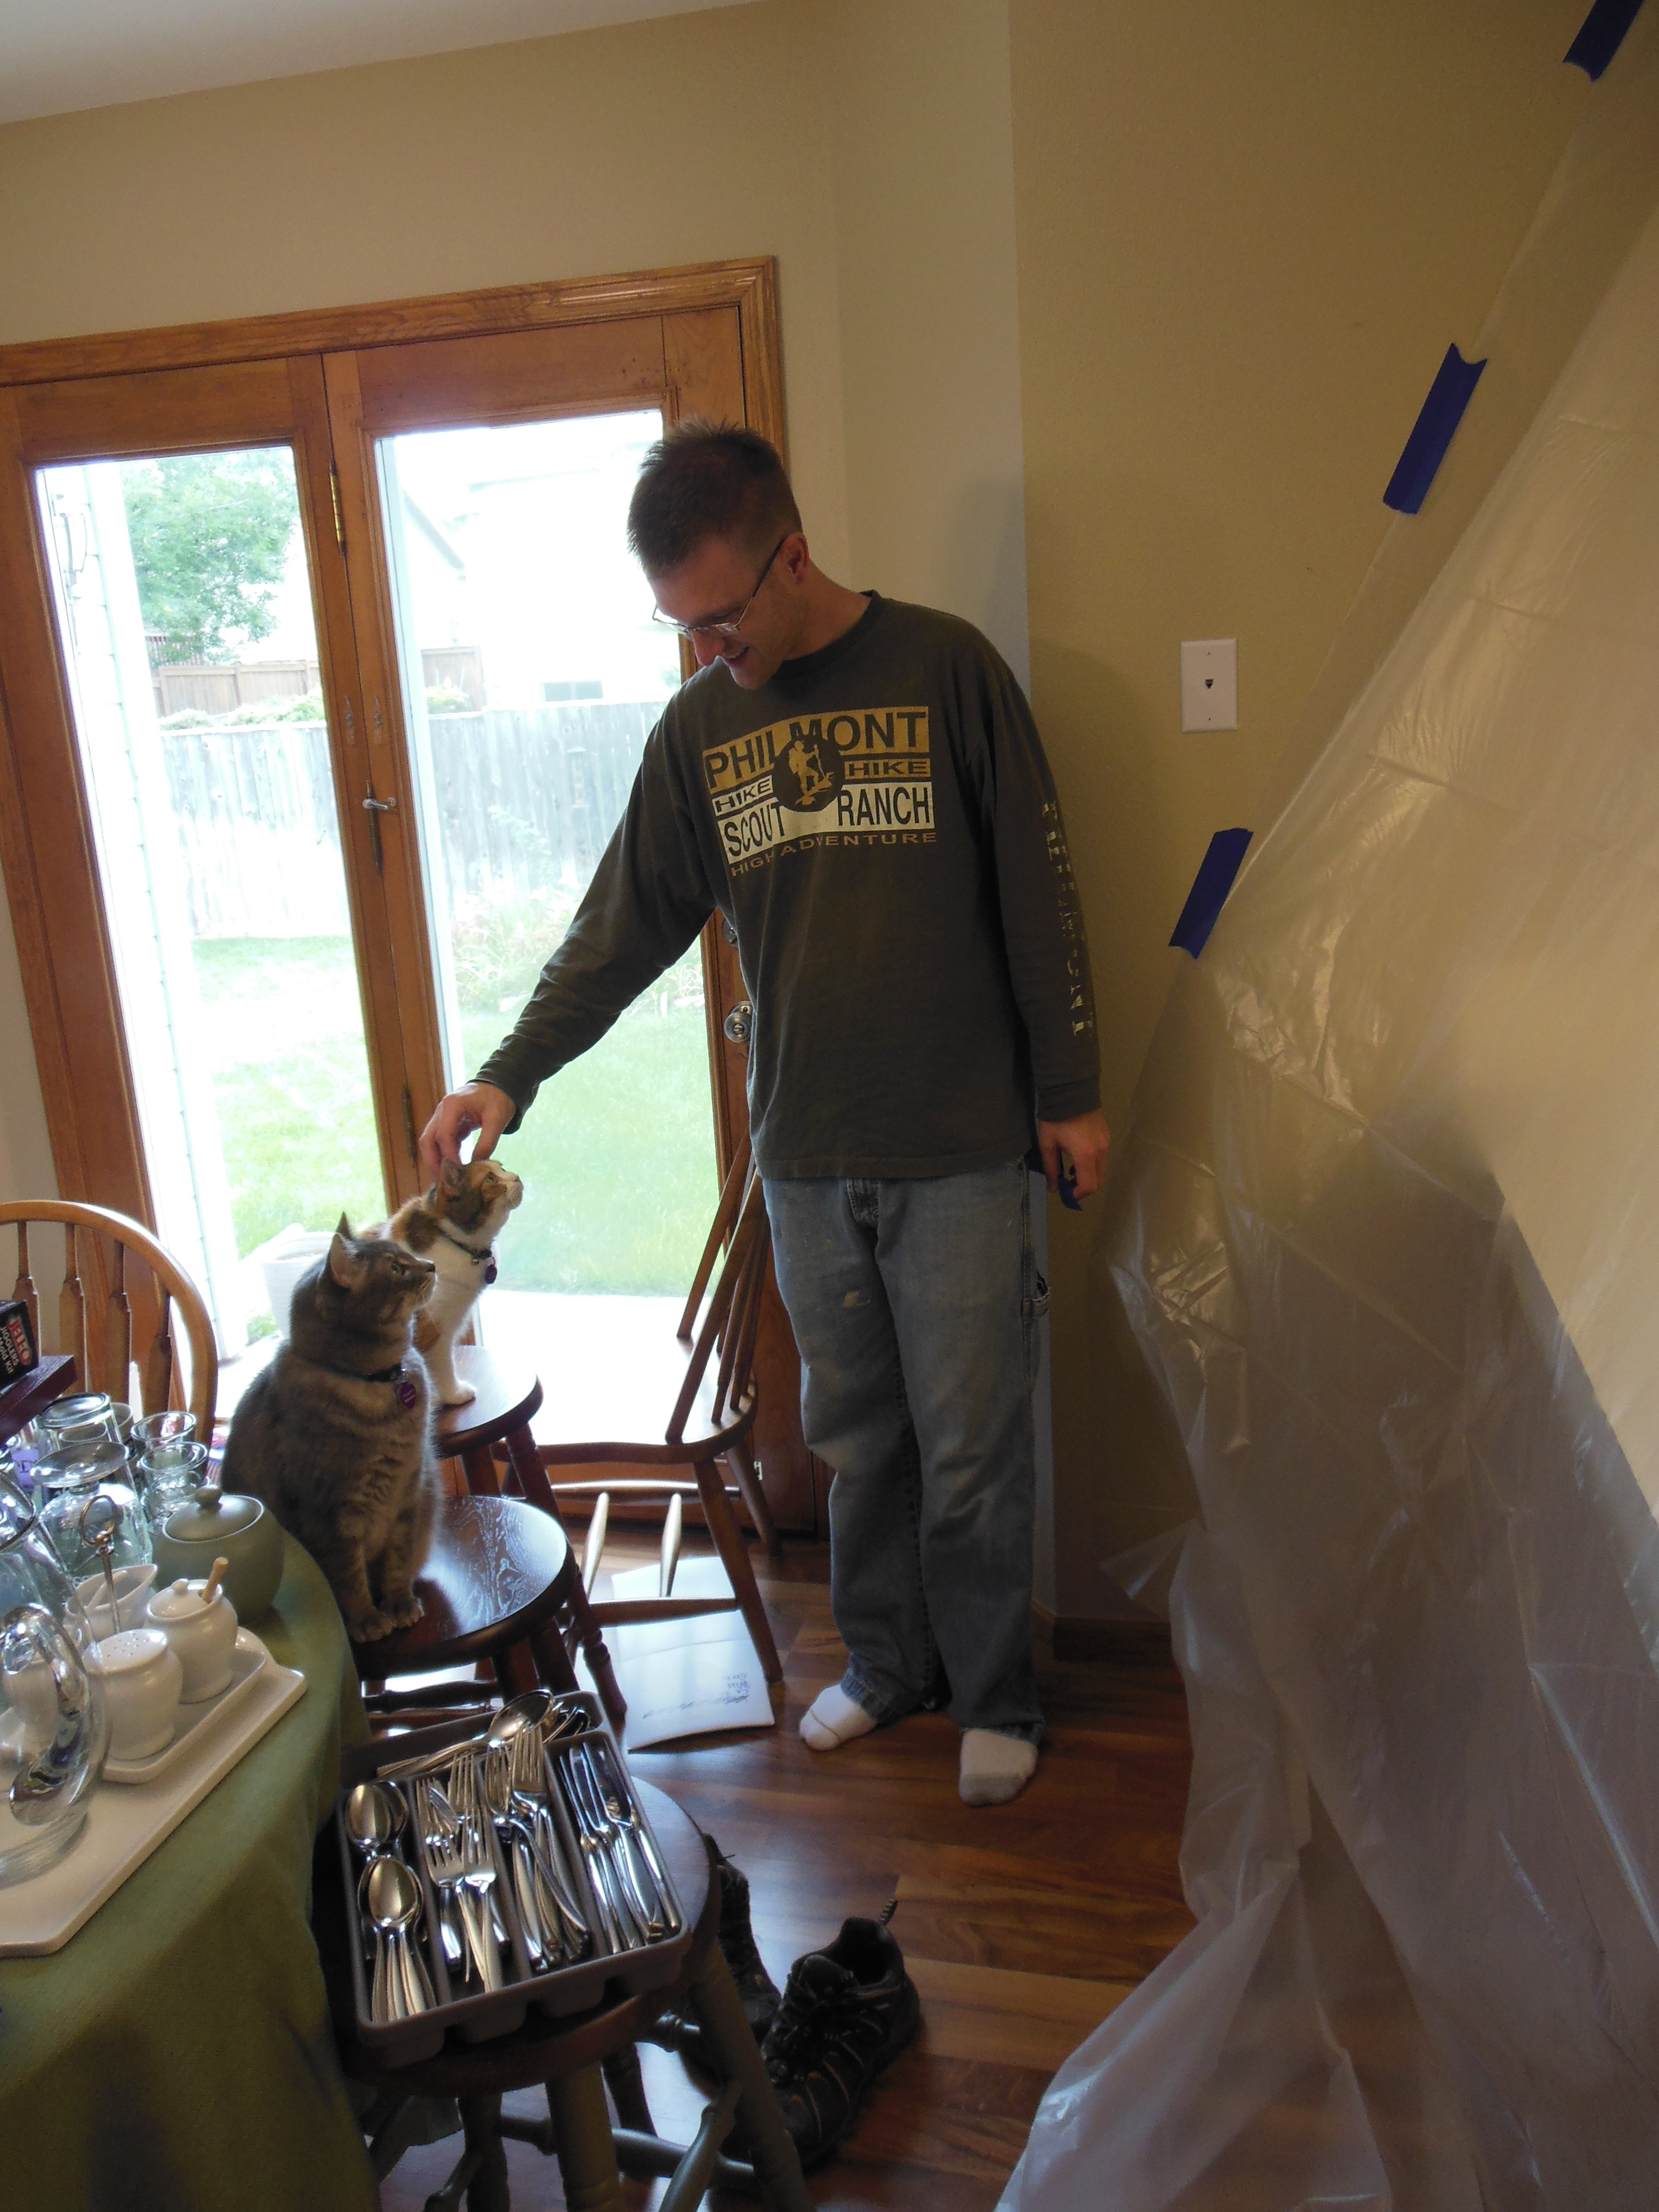
We taped off the kitchen to contain the mess and keep the kitties out. The cats were NOT happy about being excluded from the action.
We followed the steps on how to paint kitchen cabinets from Better Homes and Gardens. They have some good instructions there and a materials check list that was pretty helpful. It definitely got us started. We also talked to some paint people at our paint store to get their opinions on paint and tools that we would need.
In case you are thinking of painting your cabinets, here are a few of our thoughts and lessons learned:
- The TSP was pretty impressive. Our house is 23 years old, so our cabinetry had some seriously sticky/gross spots from the previous owners that hadn’t come off for me with dawn or wood cleaner. The TSP took care of most of those bad spots! We definitely recommend using TSP.
- We used Matt’s power sander where possible, but we realized too late that not all of the doors had been sanded equally. Definitely don’t skimp on your sanding or your sand paper. We realized after the first coat of paint/primer that some of the doors hadn’t been sanded very well and they ended up being harder to cover well. The paint didn’t want to go into the areas with deep wood grain. As a result, we brushed a coat on the front of the doors, when we’d hoped to only have to spray. Speaking of spraying…
 On the doors and drawers, we used our awesome paint sprayer and it was amazing. It left such a nice even coat, with no brush or roller marks, and it was really fast. The exception of course is the coat we brushed by hand because of the sanding/wood grain problem. But we still sprayed a coat of paint over the brushed coat because it looked so much better.
- On the cabinets bases left in the kitchen we brushed and used a small 3 inch roller. After the primer coat we learned that the brush left marks, and on the second coat we rolled where ever possible and brushed in just corners and tight edges.
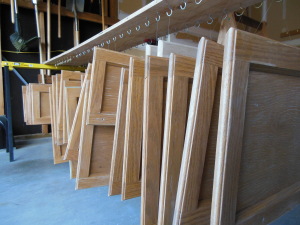
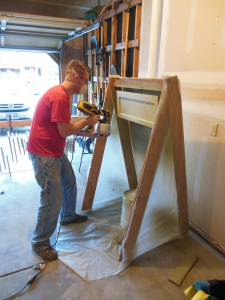
- Matt built an awesome hanging system that allowed us to paint all sides of the doors at one time. He left two screws in each door from the holes for the hinges and tied a piece of fishing line to the screws. Then he used mug hooks screwed into a big piece of plywood to hang all doors. Because we could move the doors around by the fishing line and hang them to dry by the fishing line, we were able to paint the entire door at one time, then hang it up to dry. He built a painting tent where we hung one door at a time, painted it, flipped it over, and painted the other side. Then we moved the wet door to the hanging system and retrieved the next one in line for painting. We didn’t have to wait for side one to dry before flipping over and painting side two. With over 20 doors in the kitchen it still took us a lot of time, but being able to paint the front and back together made it go faster!


 Once we were done painting the cabinets we had to do something about the counter tops because now they looked seriously bad. For our next project, we resurfaced our counter tops!

I can’t wait to see this! Great planning. You really did your homework.